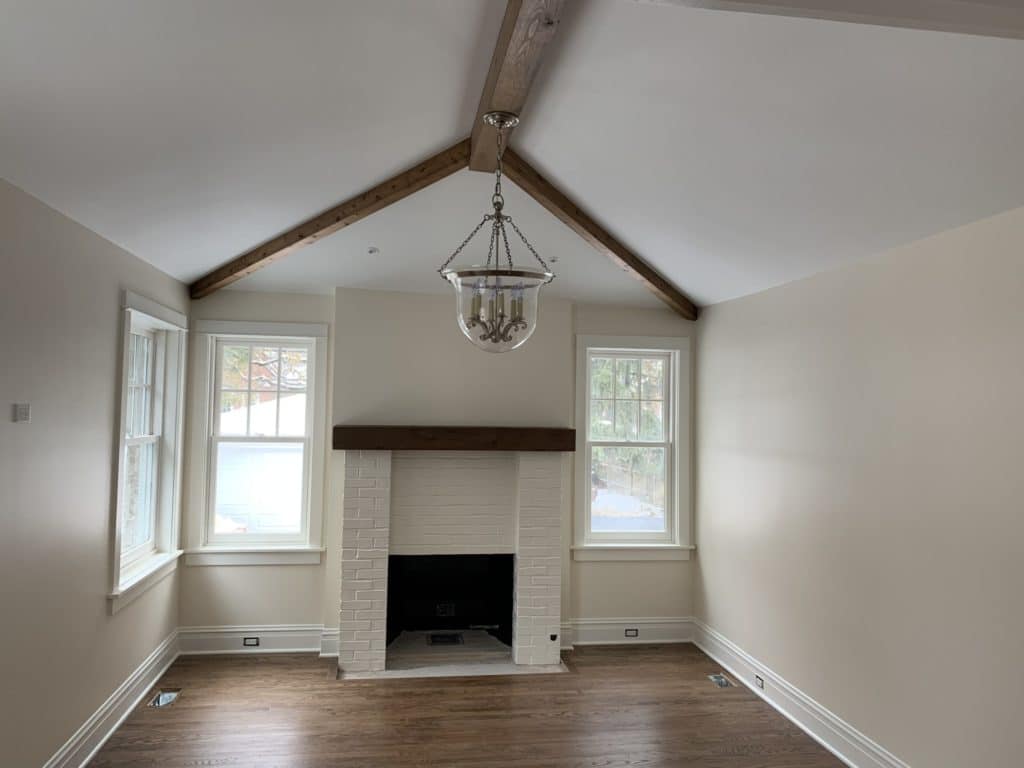
If you have a home with a brick fireplace or accent wall then this post is for you!
Over the past year, we have been blessed to be able to help people in their homes by updating kitchen cabinets with paint, repainting walls, and adding wallpaper to their homes. But one of the most dramatic transformations is taking a brick wall, fireplace, or accent wall and updating the look to make it fresh and relevant. Today we look into how to paint bricks!
Why paint bricks?
The better question is why not paint brick? When bricks are put into homes, they are made at a certain time and day based off what is popular at that time. Installing brick is nothing that is cheap or easy- replacing them is worse. The best option is paint! Just like your kitchen cabinets, if there is nothing wrong with them then painting them just makes sense.
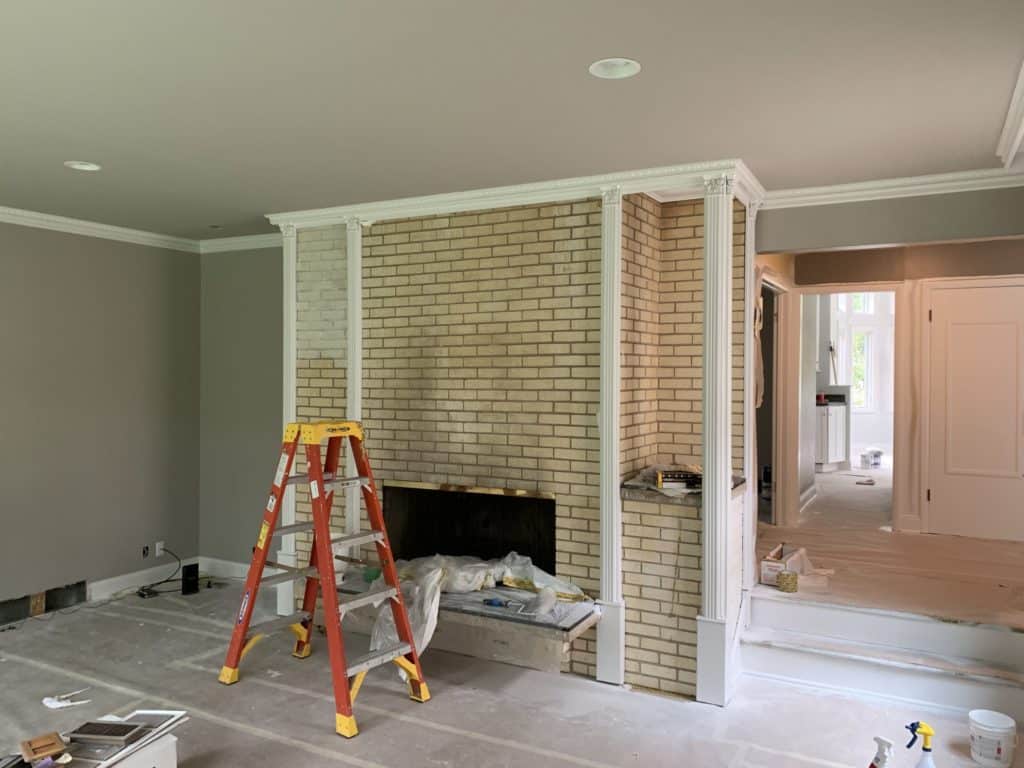
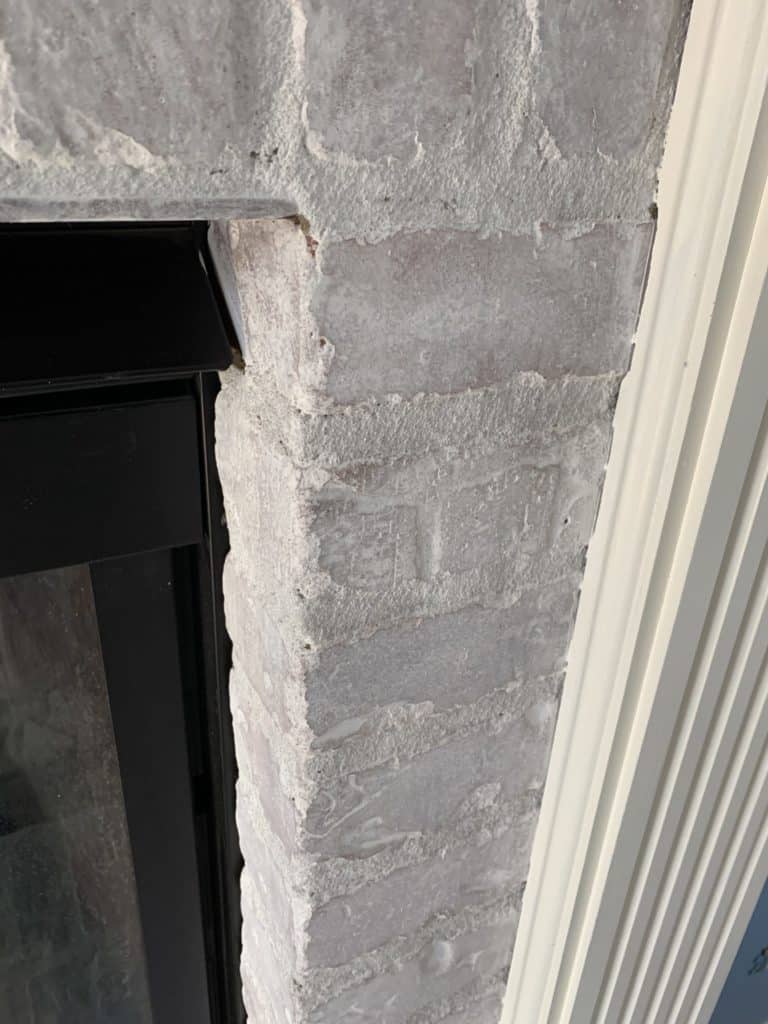
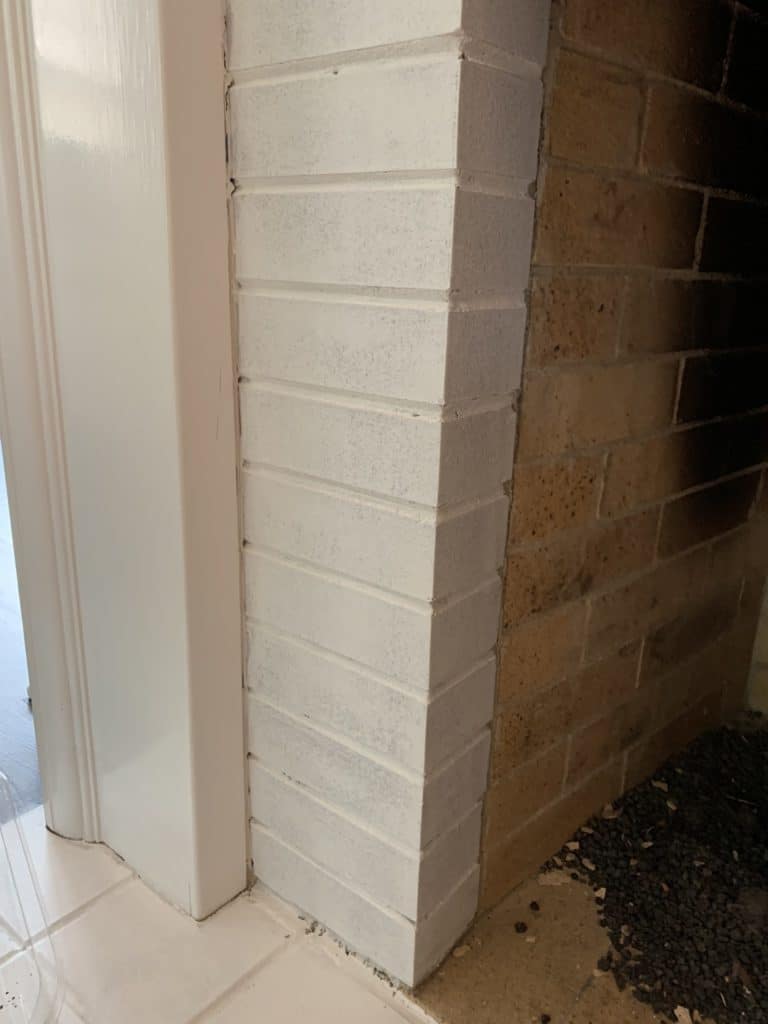
outdated bricks
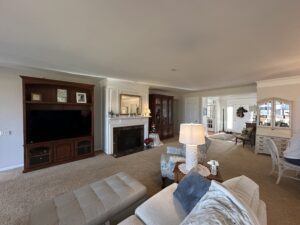
red brick fireplace
Where to start and how to paint bricks
Just like every other painting project you need to inspect what you are going to paint. You need to look for a few things:
- Are there any damaged bricks?
- When you look at the mortar between the bricks- is any of it falling apart?
- How dirty are the bricks you want to paint?
- Are you allowed to paint them- ie. renters- get permission!
- Do you want to paint them a solid color, limewash them, or paint them to look like a different style/color of brick?
Brick work in a home over all should be pretty sound and stable. You should not see or feel any loose bricks- if you do call a mason to look at it to make sure there are no issues with the brick or fireplace as a whole.
A wood burning fireplace can be pretty dirty with soot. (black carbon type powder on the brick surface) If you see any black dirt- you need to get all of that washed away. Once you have it cleaned, you will need to wait for it to completely dry 1 or 2 days.
Can they be painted? Some bricks are not real- they are fake or some are tile. Know what you have so you can use the right primers.
Finally you need to decide what you want to do with the bricks. Paint, limewash or faux finish bricks. We will give a basic on each one.
Lime washing bricks
One of the products we use is called Romabio limewash, available at most JC Licht stores in the Chicago area. This product can also be tinted several colors too!
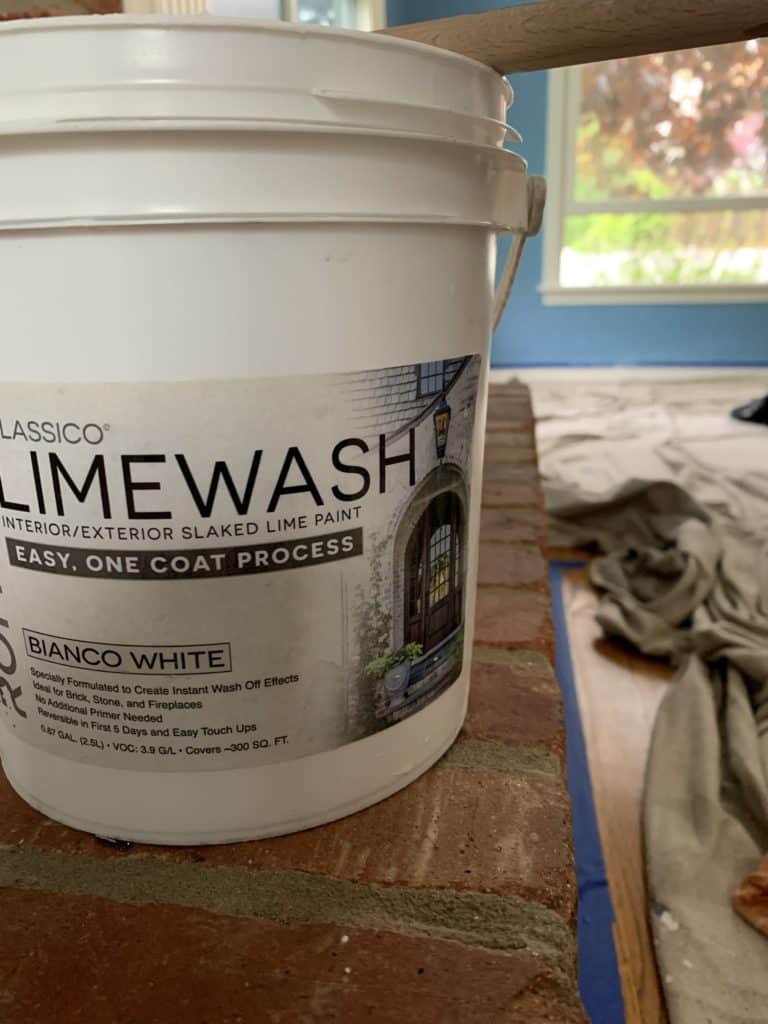
Romabio Limewash
After you have cleaned the brick and found your color, you need:
- Limewash
- Water in a bucket
- Several clean rags
- Brush and/or small roller
- Sponge- like they use for installing tile
- Rubber gloves
Mask off the area around the brick. Cover the floor- more than you think you need- this stuff can splatter! Make sure you tape off and cover the walls around the brick too- it can be a pain to wipe off the walls
Once you are masked- start small! You can wash this stuff off if you don’t like it, but you have to be fast to do so. It penetrates into the brick so it can be hard to get it off if you don’t like it. If you have a sample brick- try it there first.
As you get ready to apply -have your gloves on! Pick a corner so once start you can keep moving. Apply the limewash to ONE brick- use a rag and or sponge, you can remove the excess limewash material to get a color you want. You can keep part of the brick more white or remove almost all of it so they have a slight white hue to them. Have fun ! Be creative! You can’t do it wrong because it’s up to you and your imagination. (if in doubt you can always go to the manufacturer website)
limewash close up
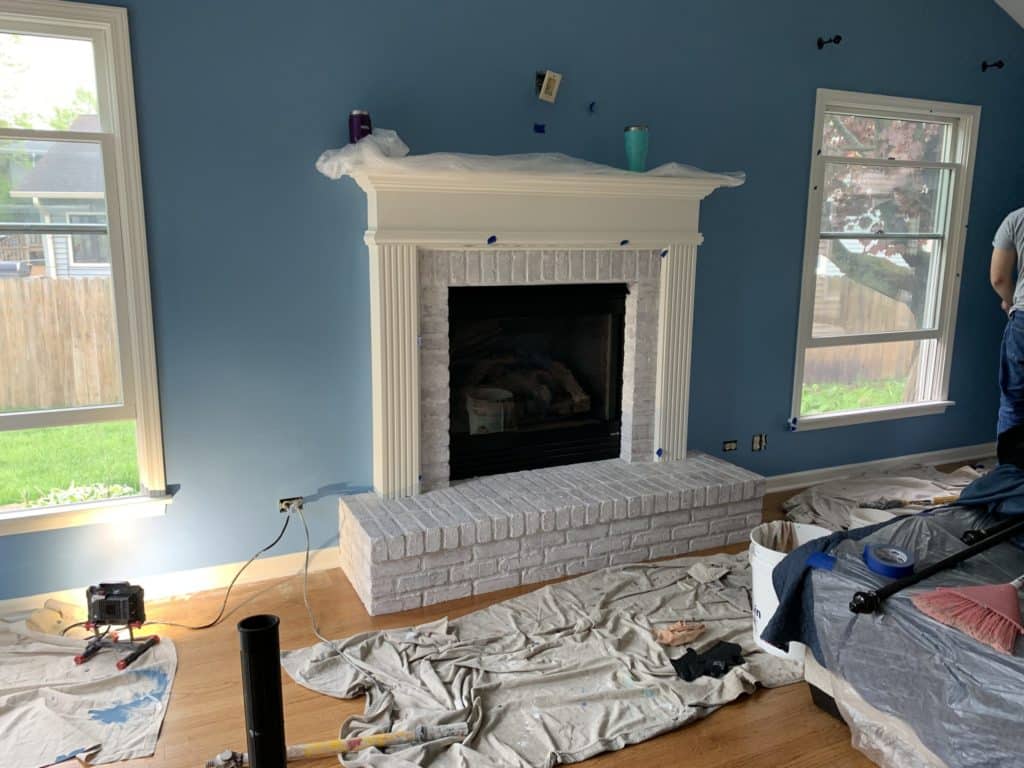
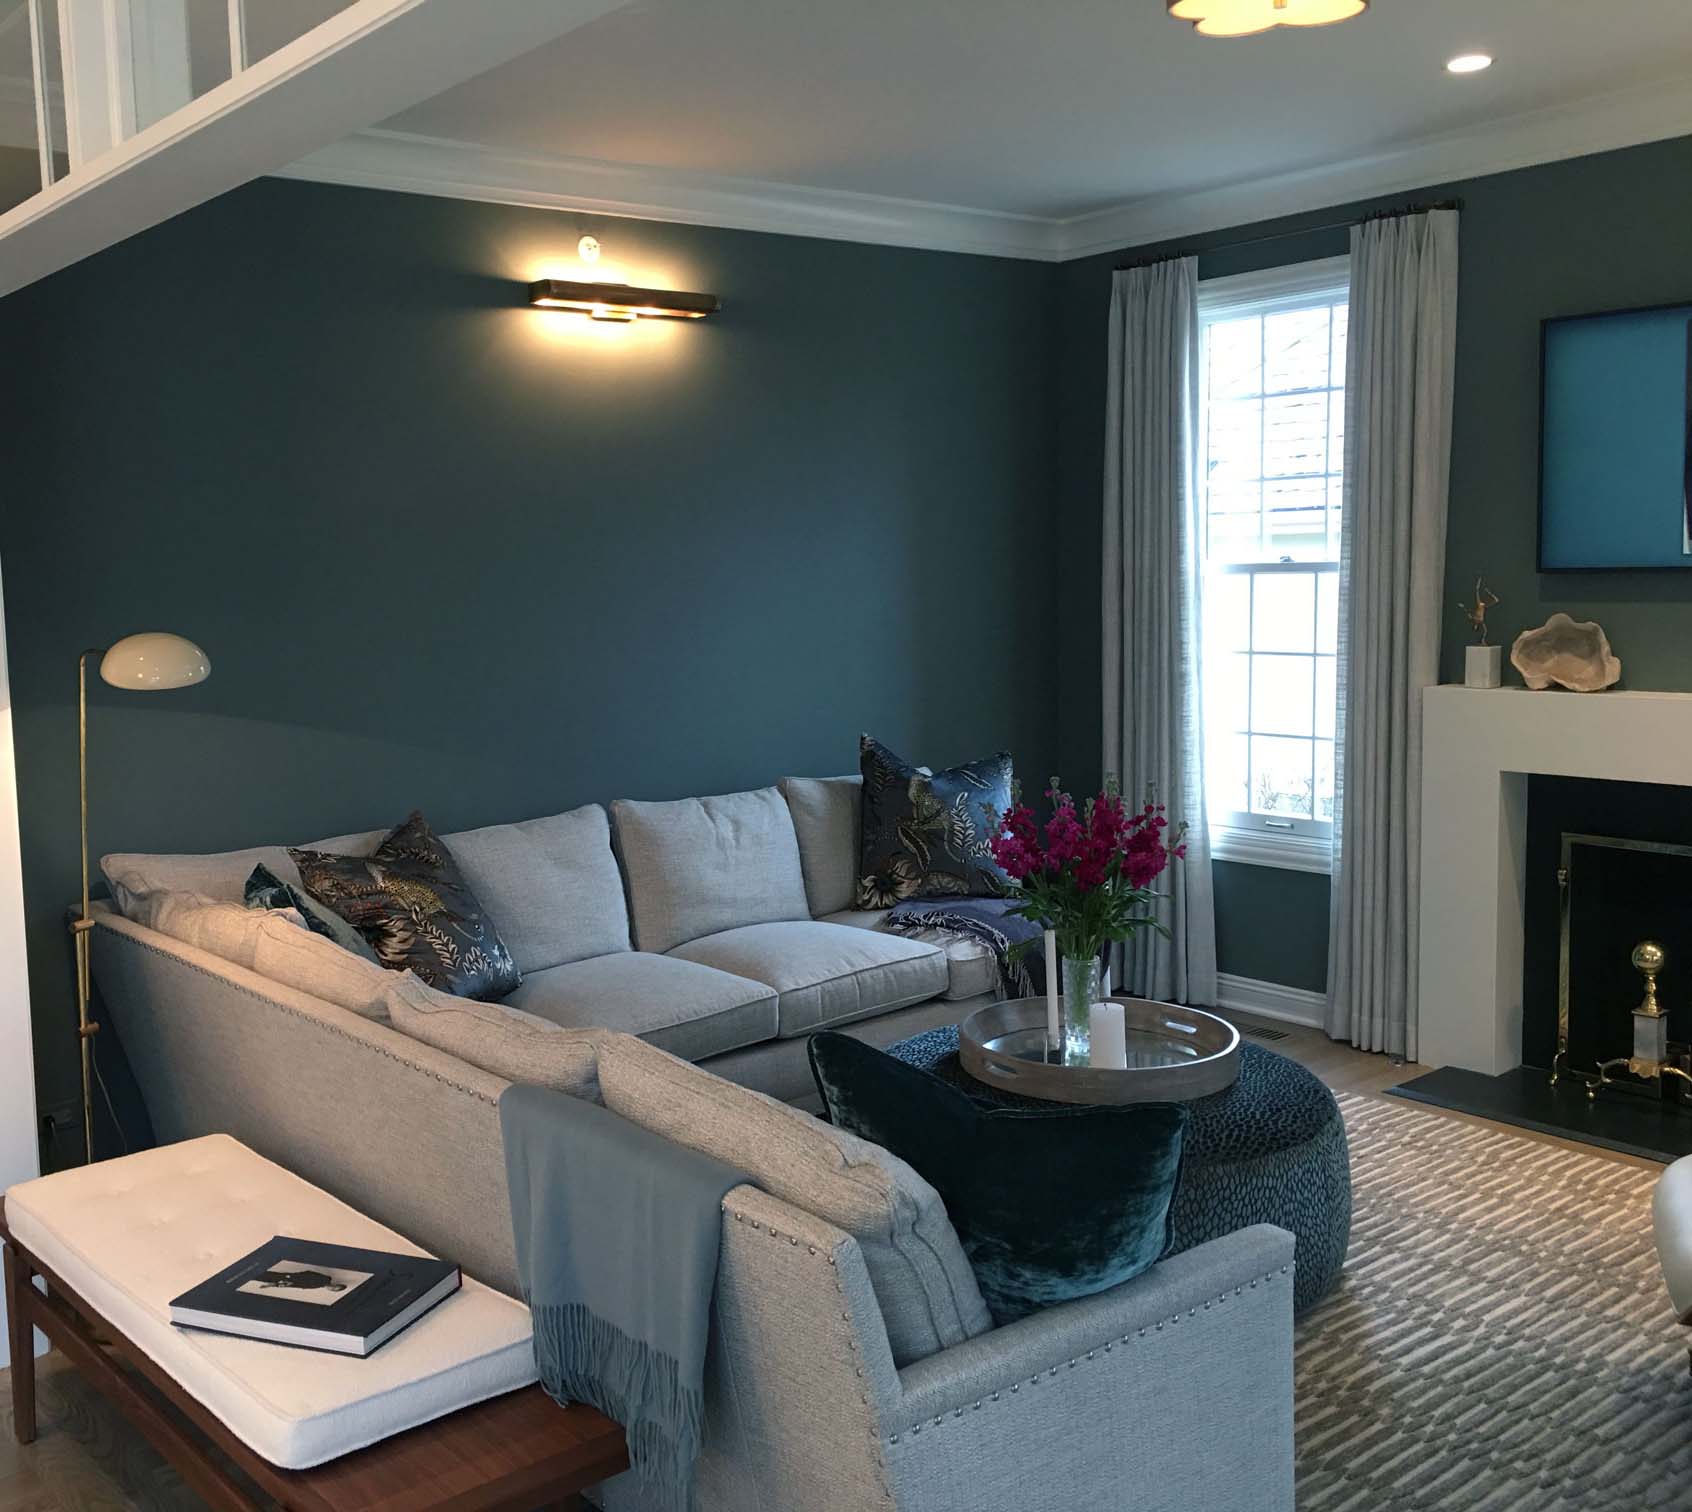
red brick fireplace limewashed white
How to paint bricks with paint
This one is pretty easy and so is this section. It comes down to following the same basics as limewash, then using paint instead of limewash.
- Clean the area you are painting
- Pick the color you want
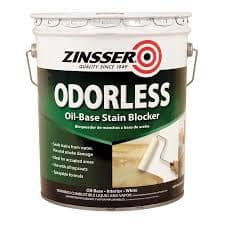
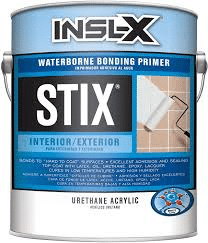
- Have the right primer (we use Stickz)
- Have enough paint, we use a semi-gloss for easy cleaning
- Make sure you have a brush and roller to make the job easy
- Rags to clean up
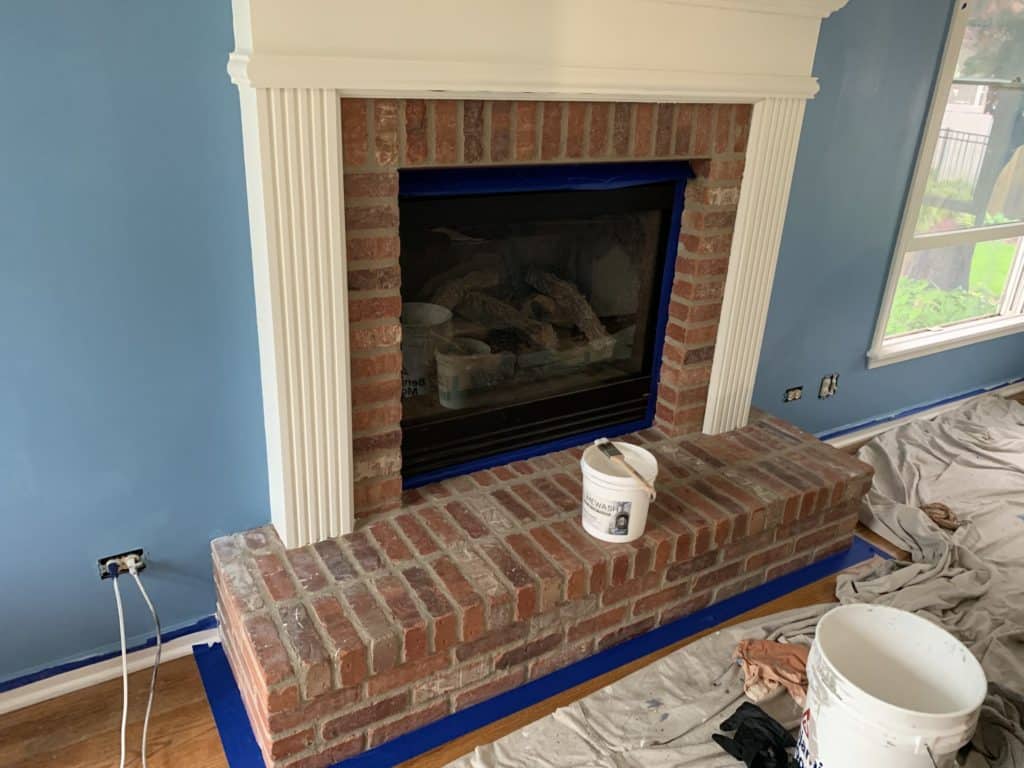
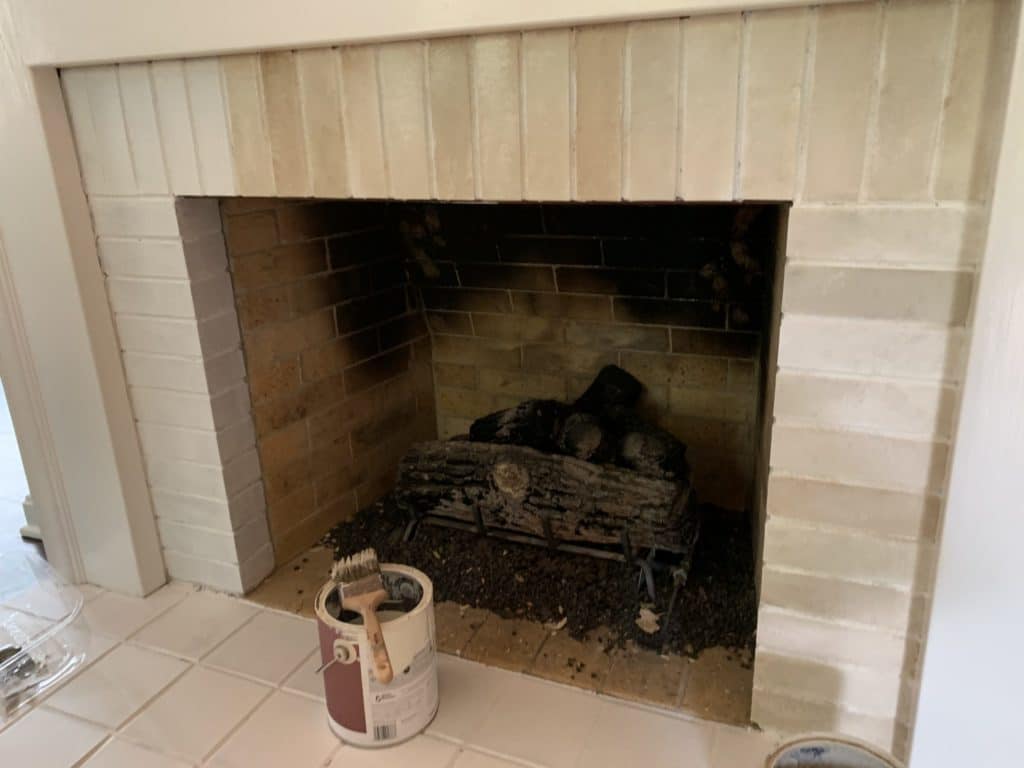
Painted stonework
Painted brick fireplace
Once the brick is clean- you prime it. After the primer is dry 12-24 hours, you paint it. Remove the tape, allow to dry 24 hours before you do anything with it. Enjoy!!
Faux Finishing Bricks
Now you are in the most fun- deciding everything about the brick. You get to select:
- Color
- Design
- Layout
- Hue of each brick
- Color of the grout
- Multi colored?
I can’t really go into a complete how to on this one here. This process is multi-step, multi-tool and multi-days. I can give a basic step how to faux finish brick.
There are several materials you need:
- Primer
- Multi paint colors and tints
- A brush for each color
- A blending brush
- Water
- Glaze
- Final clear coat
In faux finishing brick, it is built to look like brick with layers of colors. Sometimes you are adding color, sometimes you are taking it off. This process is definitely something you want to have a few spare bricks laying around to play with. No two should look the same!
primer over brick
First, apply primer and allow it to dry. You’ll also apply base coats to the bricks. You can apply several colors this way if you have a very light orange and dark brown- the tint you need to add to the bricks will be less, and faster to dry.
Faux Finishing brick
I use a mid tone color. Then add multiple layers of colors, several brushes, sponges, and rags to get different textures and looks so I can make each brick as random as possible. Take your time and have fun!
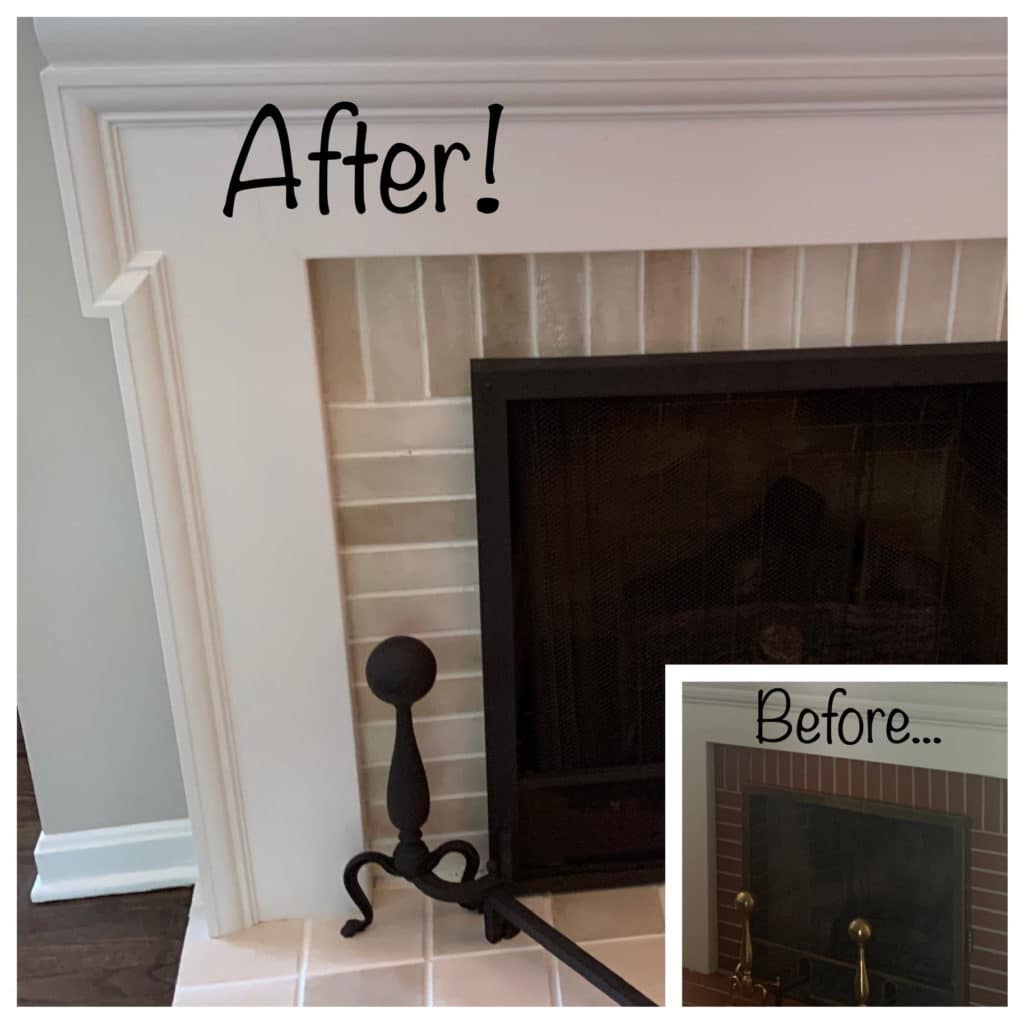
transformed fireplace
Once you have finished painting or faux finishing the bricks you need to apply a high end clear coat that can withstand the wear and tear of fireplace cleaning.
So what kind of bricks do you want?
It is up to you. You have now read a few ways how to paint bricks. I don’t have to tell you how many different painted brick photos you will find when you do a google search. So look, play and enjoy the fun this is all about. If you need help let us know how we can help you love the space you’re in!