Painting wood trim in your home
You have seen the makeovers on TV. They take a house with old or ugly trim and make it look AMAZING! As you look at your house, you are ready for the change- Painting wood trim in your home.
Getting ready to paint your wood trim can be an event for sure! Whether you’re in Bartlett, Elgin, Crystal Lake, or Algonquin, IL, making sure your wood trim is ready for painting is essential to achieve a smooth, professional-looking results.
If you are Tackling this project yourself or hiring a painter- this article can help you know what to do or what to expect. Let’s break down what you need, what to do, and some pro tips.
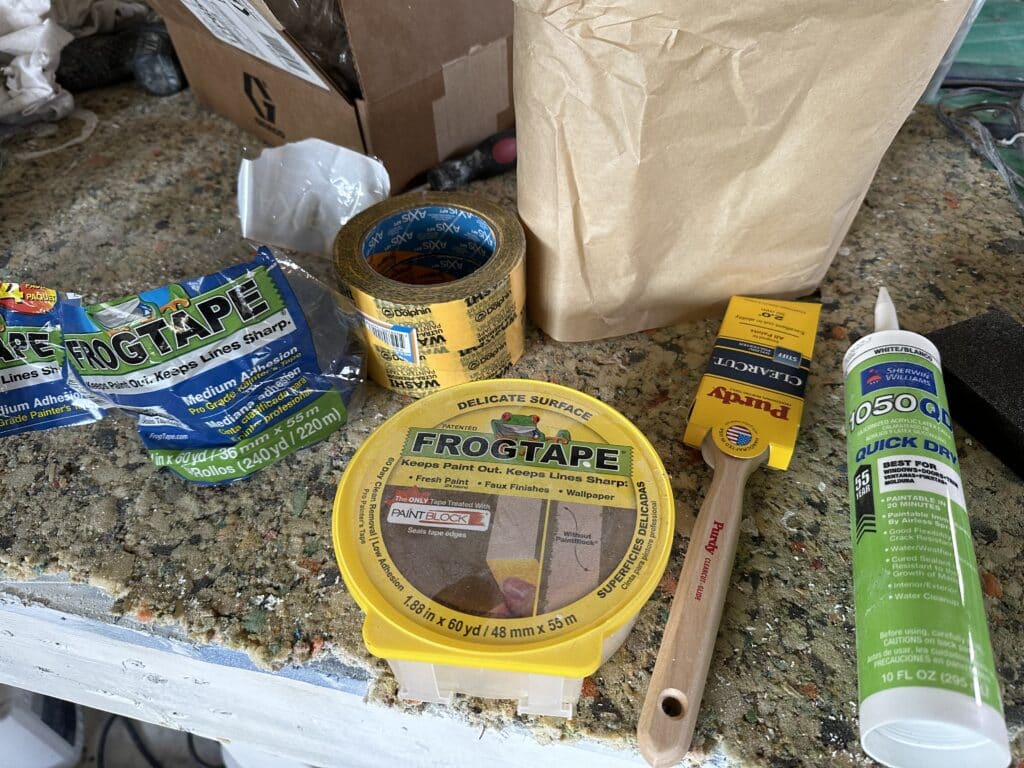
Materials You’ll Need to Paint trim in your home
Before you even pick up that paintbrush, make sure you have these essential materials:
- Wood filler or spackling paste for filling nail holes
- Caulk for sealing gaps and seams
- Sandpaper (220- 400 grit) for smoothing surfaces
- Tack cloth or a vacuum with a brush attachment for dust removal
- High-quality primer (if the trim isn’t pre-primed)
- Painter’s tape to protect adjacent surfaces
- Paintable caulk
- Paint (satin or semi-gloss are popular for trim)
- Drop Cloths!
- And some mood music…

Filling Nail Holes and Imperfections in Wood
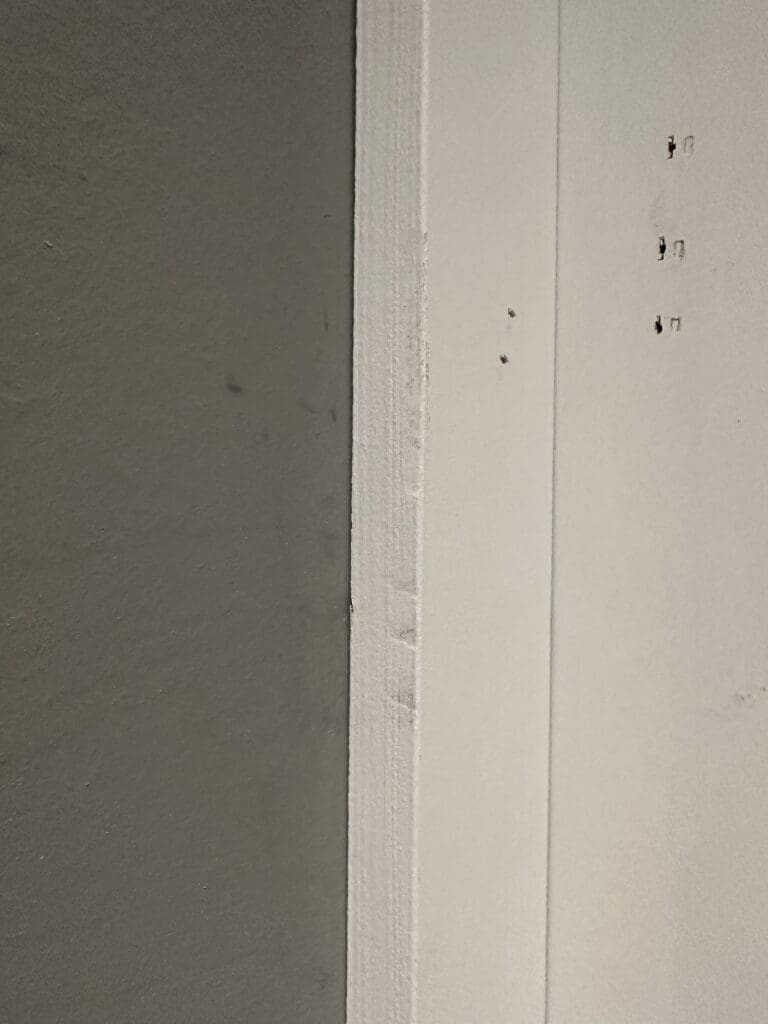
Nail holes, dents, and imperfections can stand out like a sore thumb once the paint goes on, so filling them properly is a must. Here’s how to do it:
- Apply wood filler or spackling paste: Use a small putty knife to apply the filler into each nail hole or dent. Smooth it out so it’s level with the surface.
- Drying time: Let it dry for at least 20-30 minutes (or according to the product instructions).
- Sand it smooth: Use 120-220 grit sandpaper to sand the area until it’s flush with the trim. A smooth surface helps paint adhere evenly and looks better.

Pro Tip: If you’re worried about getting an ultra-smooth surface, close your eyes, look away while you feel the surface with your fingers. If it feels rough, it will show when painted.
Caulking before Painting
Caulking might not seem like a big deal, but it’s a HUGE step you shouldn’t skip. Gaps between the trim and wall can let moisture in, making paint crack over time -Plus it looks bad. Here’s how to do it:
- Select paintable caulk: Look for a high-quality, paintable caulk. Siliconized acrylic caulk is a great choice for its flexibility and ease of painting over.
- Apply caulk to seams: Run a bead along the seams where the trim meets the wall or where two pieces of trim meet.
- Smooth the bead: Wet your finger slightly and run it along the caulk line to smooth it out. Let it dry per the instructions on the tube.
Homeowner Insight: If you’ve ever painted trim without caulking, you probably noticed it looks unfinished or, worse, cracks appear later. Taking this extra step pays off big time. You can read about caulking tim here
Sand Your Wood and Primed Trim
Even if your trim comes pre-primed, giving it a light sanding helps ensure the best adhesion for your paint:
- Sand lightly with 220-grit sandpaper to smooth out any factory primer texture or imperfections from filling and caulking.
- Wipe down with a tack cloth to remove all dust. This step prevents debris from mixing into the paint, which can ruin the finish.
Why it matters: A lightly sanded surface lets paint grip better and creates a smoother look. Neglecting this step can mean flaky paint down the line—nobody wants that.
Choosing the Right Primer for Raw Wood
If you’re dealing with raw wood, priming is a must! Like salt on tomatoes- you can’t do without it. It seals the wood and helps the paint adhere better. Here’s what to look for:
- Oil-based primer: Great for sealing in tannins found in wood that can bleed through paint (e.g., knots in pine).
- Stain-blocking primer: If you have any watermarks or stains on your trim, use a stain-blocking primer for best results.
Both Sherwin-Williams and Benjamin Moore offer high-quality primer products that professionals swear by.
Top Choices:
- Sherwin-Williams Multi-Purpose Latex Primer: A reliable option for general use.
- Benjamin Moore Fresh Start High-Hiding All Purpose Primer: Perfect for ensuring smooth and uniform topcoats.
Best Paints for Interior Wood Trim
Choosing the right paint sheen can feel like navigating a maze. Here’s what works best:
- Semi-gloss: Durable and easy to clean, making it perfect for high-traffic areas.
- Satin: Offers a softer finish but still holds up well to cleaning.
Top Paint Brands:
- Sherwin-Williams ProClassic Interior Waterbased Acrylic-Alkyd: A favorite for its smooth finish and durability.
- Benjamin Moore Advance Interior Paint: Known for leveling out well, almost like an oil-based paint but with water-based cleanup.
Final Steps Before Painting your trim
- Apply painter’s tape: Protect edges where the trim meets the wall or floor.
- Start with a brush: Use a high-quality brush to cut in along the edges.
- Layer your paint: Two thin coats are usually better than one thick coat for a smoother and more professional finish.
- Here is another article we did on painting trim
Do you have other Questions about painting trim?
Whether you live in Bartlett, Elgin, Crystal Lake, or Algonquin, IL, painting your wood trim can bring a fresh look to your home. And while it might seem daunting, a little prep work goes a long way. Filling nail holes, caulking, and sanding might feel like tedious steps, but they make all the difference between a job that looks DIY and one that looks pro-level.
Are you ready to start painting your trim, or would you rather leave it to the experts? Either way, now you know what to expect for a


