Reviving Old Furniture: How to Repurpose, Repaint, and Reimagine Solid Wood Pieces
Do you have cabients form the 90’s? Do you have some of your parents furniture? Ar eyou looling to have something of your own but dont want that cookie cutter Ikea crap furniture? Well maybe its time for Reviving Old Furniture!
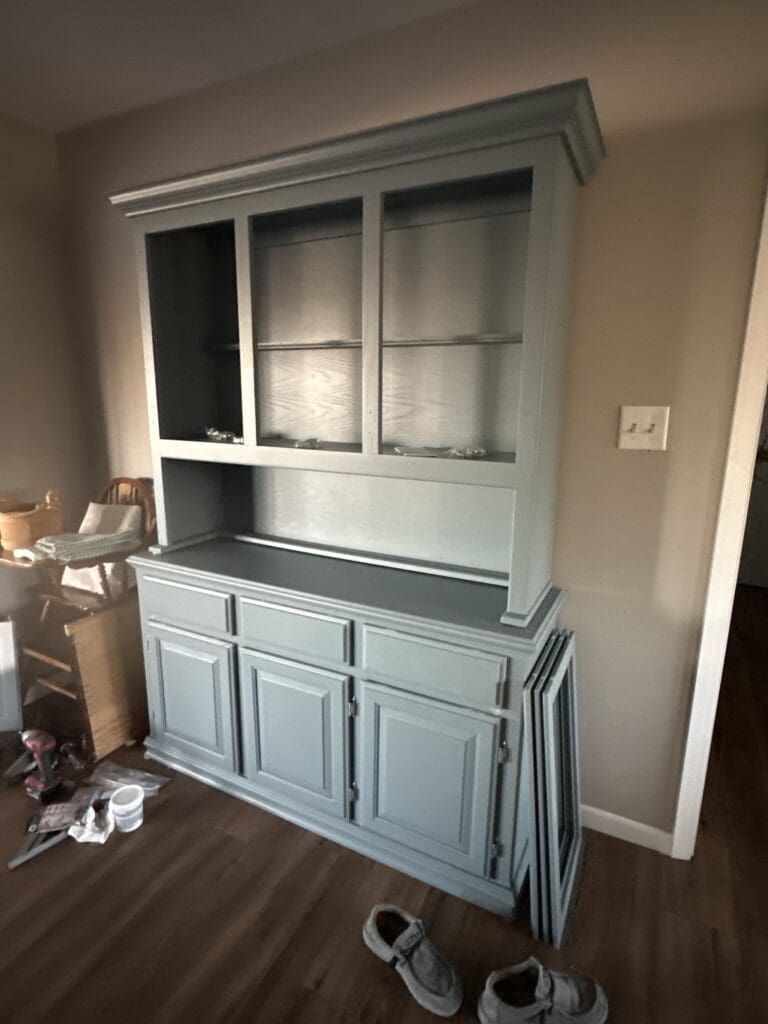
Have you ever walked into your living room and felt like you’ve time-traveled back to the 1980s, as if you’re caught in a scene straight out of Back to the Future? Maybe it’s the old oak china hutch inherited from Grandma or that heavy TV cabinet collecting dust in the corner. Instead of discarding these pieces, why not transform them into something fresh and functional?
In this blog, we’ll dive into how you can repurpose and repaint solid wood furniture, giving it a new lease on life (and saving you money in the process). If you’re searching for furniture painting in Barrington and other NW burbs of Chicgoland-you’ve come to the right place—especially if you want professional tips and insights to ensure a flawless finish.
Why Repurpose and Repaint Furniture?
Let’s start with the “why.” When Luke Skywalker first got his lightsaber, it took some practice to master it—furniture painting is a bit like that. Once you get into a groove, you’ll discover that transforming old, solid wood pieces can be incredibly rewarding. (and addicting) Here are some top reasons to consider repurposing your furniture instead of buying new:
- Cost Savings
- New furniture can be expensive, especially if you’re aiming for high-quality, real wood pieces. Repurposing an existing piece can cost a fraction of buying something brand new.
- Environmental Impact
- Landfills are full of discarded furniture that could have been salvaged. By repainting, you’re doing your part to reduce waste and keep our planet a little greener—just like the Avengers teaming up to save the world.
- Personalized Style
- Unlike mass-produced items, repurposed furniture can be uniquely yours. You get to pick the color, finish, hardware, and overall look. No two pieces are ever the same.
- Durability
- Solid wood furniture was built to last. By giving it a fresh coat of paint or new stain, you preserve its structural integrity for years to come.
- Sentimental Value
- If the piece has been in your family for a while, preserving it means keeping memories alive. A little paint can go a long way in making an old hutch or TV cabinet feel like new again.
- Personable!! you can make the furniture you very own! Check this one out!
Reviving Old Furniture: The Old TV Cabinet Turned Kitchen Island
Before we get into the nuts and bolts, let’s look at a real-life success story.
My Wife and I had an oversized TV cabinet—one of those classic, deep, and heavy ones that were all the rage in the ‘90s- and really expensive! The top section broke but the lower unit was in greta shape, solid wood, and great size for storage, so what do we do with it?
Then it hit me- mobile island for the kitcehn! We dont have a tone of counter space.. so what the heck? This is still a work in progress but you get the idea..
- Remove Unnecessary Parts: We took out the built-in shelves that were designed to hold VHS tapes (talk about a blast from the past!) and adjusted the interior space to fit storage baskets and cookware.
- Add Casters: By attaching wheels to the base, the cabinet could be rolled around the kitchen—perfect for entertaining or just adding extra workspace.
- Fresh Coat of Paint: A neutral, modern gray gave the piece an entirely new vibe, making it look like it was designed for the kitchen in the first place.
- We went to OLd World stone in Huntley and found a remnant pice to use as a counter top for bakin, cooking- oh- did I mention baking pies!! OH YEAH!!!!
- Install Hardware: We are deciding on handles as we speak.. Getting rid of wooden kobs for sleeker, brushed nickel ones.
The cost- a free cabinet, 2 hours to clean sand and prime,2 hours for 2 coats of paint, new caster wheels, new handles, and a counter top, (about 265.00 for materials) , but it also prevented the cabinet from ending up in a landfill. Talk about a win-win!
Tools You’ll Need for Painting Furniture
To undertake Reviving Old Furniture painting projects of your own, here’s a quick list of things you need:
- Screwdrivers & Drill: For removing old hardware, doors, and hinges.
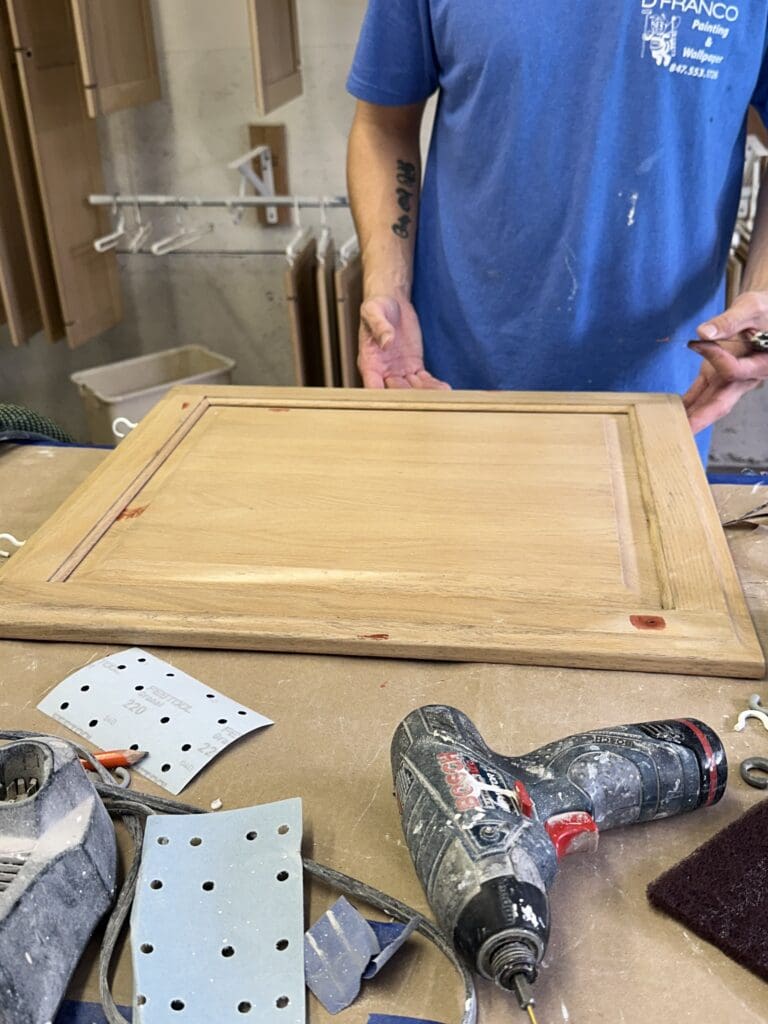
- Sandpaper (in various grits): Start with a medium grit (120–150) to remove old finishes and smooth surfaces, then finish with a fine grit (220+) for a smooth painting surface.
- Degreaser/Cleaner: Furniture can accumulate layers of grime over the years; a good cleaning is crucial.
- Primer: For real wood, a quality primer such as Sherwin-Williams Multi-Purpose Latex Primer or a specialty bonding primer Like Stix is essential.
- Paint: We recommend Sherwin-Williams Emerald Urethane Trim Enamel for its durability, smooth finish, and ease of cleaning.
- Paintbrushes & Rollers: High-quality synthetic brushes (angled if possible) and foam or microfiber rollers for a professional finish.
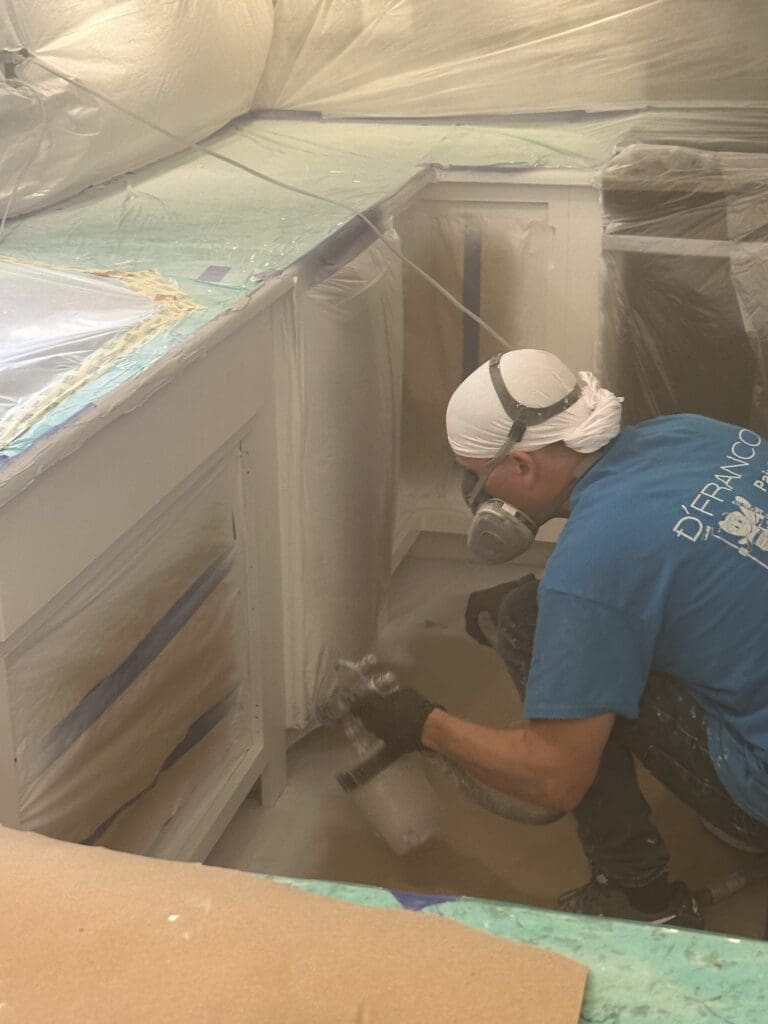
- Paint Sprayer (optional): Great if you want a factory-like finish, but not mandatory.
- Drop Cloths & Tape: Protect your floors and surfaces from paint splatter.
Prep Work: The Key to a Flawless Finish
Remember that iconic line from The Karate Kid, “Wax on, wax off”? That was all about teaching discipline and foundational skills. Likewise, prepping your furniture is the “wax on, wax off” of painting—time-consuming, yes, but absolutely critical to get that showroom-quality result.
- Clean the Surface
- Wipe down the entire piece with a degreaser or a mild soapy solution to remove dust, dirt, and oils. Old furniture can be deceptively grimy, so don’t skip this step.
- Remove Hardware & Hinges
- Take off all knobs, pulls, and hinges to avoid paint splatters on metal parts. This also makes painting edges and corners easier.
- Fill Holes & Sand
- If you’re changing hardware, fill any old holes with wood filler before sanding. Lightly sand the entire surface to help the primer adhere. For oak pieces with deep wood grain, consider using a grain filler or an extra coat of primer to smooth it out.
- Wipe Off Dust
- After sanding, vacuum and wipe surfaces thoroughly with a tack cloth or microfiber rag to ensure no dust remains.
Quick Tips: The Three Video Highlights
We plan to include three video snippets showcasing our latest furniture transformations:
- Video #1 – Spraying Primer
Watch how easily primer coats can be applied with a paint sprayer, creating a smooth, even base. Perfect for pieces with intricate details or carvings. - Video #2 – Brushing Primer to Fill Oak Grain
Oak has a pronounced grain that might show through your final coat. Brushing primer in a crisscross or circular motion helps fill those crevices. - Video #3 – Spraying the Top Coats
For that sleek, factory finish, we demonstrate how to apply Sherwin-Williams Emerald Urethane Trim Enamel in multiple light coats.
If you’re new to these tools, don’t worry—our videos provide some visuals to help you get comfortable, just like Tony Stark tinkering in his workshop to perfect his Iron Man suit.
Painting, Sealing & Reassembly
Now for the fun part: painting that furniture!


- Apply Your Primer
- Follow the manufacturer’s instructions and allow enough drying time between coats. (yes we do look at instructions- i just dont need directions! LOL) If the wood is particularly porous or the old finish is very dark, you might need two coats of primer.
- Paint Your Color
- Stir your paint thoroughly, then apply thin, even coats. Let each coat dry completely before adding another. Dry time depends on weather and tempuratures. Avoid rushing this step, or you’ll risk visible brush strokes and uneven coverage.
- Lightly Sand Between Coats
- A super-fine sanding (around 320 grit) between coats can help remove any dust nibs or imperfections, giving you a glass-like finish in the end.
- Sealing (Optional)
- Many modern paints, especially urethane-based ones like Sherwin-Williams Emerald Urethane, are quite durable on their own. However, if you want extra protection for a high-traffic piece (like a kitchen island), consider a clear sealer or polyurethane topcoat.
- Reattach Hardware & Doors
- Once everything is fully dry (check the paint can for cure times), install your new or freshly cleaned hardware. You’ll be amazed at how big a difference updated pulls and knobs can make.
Common Concerns on Reviving Old Furniture: A Quick Problem-Solution Guide
- Problem: Paint Keeps Peeling
- Solution: It’s likely a prep issue. Ensure surfaces are thoroughly cleaned and sanded. Use a bonding primer on slick finishes.
- Problem: Visible Brush Strokes
- Solution: Thin your paint slightly (check with the product instructions) or use a paint conditioner. A high-quality brush and light sanding between coats also help.
- Problem: Grainy or Rough Texture
- Solution: Sand more thoroughly and consider using grain filler if your wood has deep pores. Spraying can also help achieve a smoother surface.
- Problem: Dark Stains Bleeding Through
- Solution: Use a shellac-based or stain-blocking primer. Dark or red-toned woods (like mahogany or cherry) sometimes need a specialized primer to keep tannins from seeping into the paint.
Call to Action: Let Us Help You with Your Next Painting Project
Feeling inspired but also overwhelmed? Maybe you’re juggling soccer practice, work, and everything else life throws at you—like a scene straight out of Home Alone, but minus the clever booby traps. If you don’t have the time, tools, or desire to tackle a furniture makeover yourself, our team is here to help.
- Kitchen Cabinet Painting: Breathe new life into your outdated cabinets without the cost of a full remodel.
- Vanities & Bookcases: Turn that worn-out bathroom vanity or living room bookshelf into a fresh statement piece.
- Furniture Makeovers & More: Whether it’s a dresser, hutch, or that old TV stand begging to become something new, we’ve got your back.
If you’re searching for furniture painting in the greater Chicago suburbs, (from St. Charles, Geneva, Algonquin, Bartlett, Huntley and Hampshire- as well as other surrounding areas) consider us your go-to partner in paint! As a experienced paint contractor, we can handle almost any type of painting project you have in mind.
As a faith-based company, we take pride in serving our community with integrity, professionalism, and a passion for craftsmanship. Plus, every project we take on helps us support a meaningful cause through our nonprofit efforts—so you can feel extra good about your transformation.
What do you think? Not sure if you can do it?
Before you ride off into the sunset (with your newly painted furniture in tow), remember: a little patience and the right tools can turn a dusty relic into a conversation starter. Still not ready to pick up that paintbrush? No worries—just give us a call, and we’ll take it from there!
Ready to start painting, repurposing or Reviving Old Furniture? Contact us today for a free consultation. Whether you’re in Barrington, IL, or the surrounding communities, we’ll help you turn that dated piece into a functional, stylish, and long-lasting centerpiece. Let’s create something beautiful together!


