


It happens to almost every house in the United States -Water Damage!
If you have a house, you have water in it. Water is being introduced to your house from rain, snow, water pipes, and water from showers, sinks and toilets. It is not a question of if you are going to have water damage, it is a matter of where and when. From our position as painters, that water damage most likely will come in the form of water damage ceilings.
For this post we will focus on water damage ceilings, mainly water spots or stains.
“Our bathtub overflowed and water came through the ceiling in the kitchen, can you fix that?”
Yes, we can. Once the water has dried there will be water stains on your ceiling as seen in the image below.
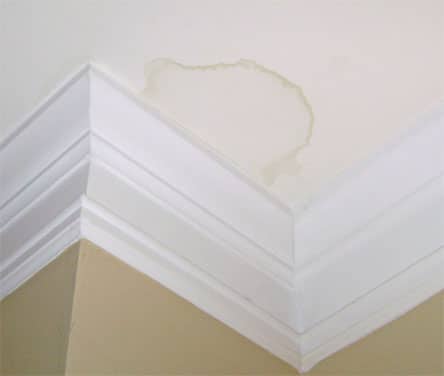
When you see this, and when we arrive to look at the problem area, there are few things we need to ask:
- Is the area still wet?
- If the area is still wet you may need a plumber, or roofer depending on the location of the leak. They will determine if there is still a problem that needs to be addressed.
- Do you know where the water came from?
- This will tie into the above question, it may have been a small one time issue- kids spilled, leaking faucet now fixed etc.
- Are we going to have a mold issue?
- If the area is closed off, there can be issues of mold between two floors or between inside and outside walls.
- When was the last time it was wet and how long has it been dry?
- If this happened a year ago and it is still dry we know that a quick repair is what we will do.
Each of these questions is meant to get to the problem and help us make sure it is fixed the right way. In the image above we don’t have to worry about the drywall seams being damaged so it makes our job easy…well, easier.
So the water stain is old and dry – what is next?
As we get ready to repaint the ceiling, we have to make sure we have our checklist of materials needed:
- Masking tape
- Plastic to cover the walls/trim from not getting paint splatter on these areas
- Drop cloths to cover the floors
- Roller handle and roller sleeve
- Paint brush
- Paint tray
- extension pole used to reach the ceiling while painting
- Ceiling paint
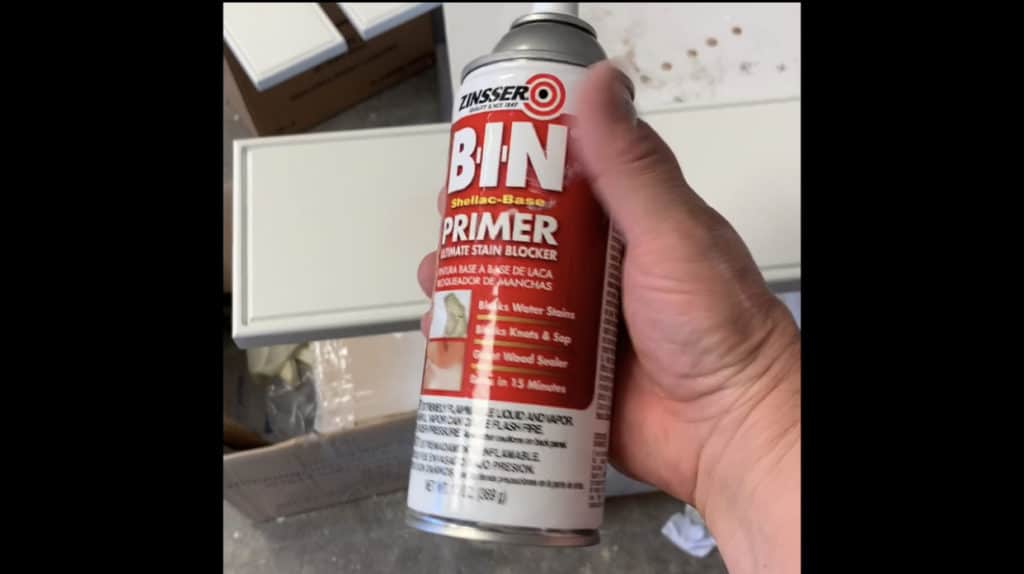
- Spray can of oil-based primer such as Kilz or Bin
Once all the materials are in hand, prep work! masking the walls and trim, moving furniture or covering it with plastic, and covering the floors with drop cloths.
Now that your ready to get into paint, get out the spray can of primer and shake well! (2-3 min) Spray the water stained area with the primer and allow to dry. It could be 30 minutes- it could be 2 hours. Once the 1st cost of primer is dry, the stain may come through, but usually it means the stain has bonded to the primer and become part of the primer, and usually it is now encapsulated so it cannot bleed through. However, I don’t like to take the risk, so we recommend a second coat of primer.
Wait for the primer to dry!
This may seem pretty simple and easy. However, most people paint too fast and don’t allow the primer to dry. Oil primers have to wait for the oils to actually dry out, it is a chemical process. You cannot mechanically force oil paint or primer to dry any faster than it was designed to dry. Water based primers however, get a fan or hair dryer and dry it!
Paint that ceiling.
Your primer is dry. The walls and floors are masked. You have paint ready to apply. So now it is just time to get to it. Cut in the edges with your brush, if you have a fan blowing, you could actually apply the 2nd coat of primer by the time you get to where you are starting and have two coats of primer done right away. Then clean the brush! Roll out the ceiling paint, inspect to make sure you didn’t miss a spot. If it all looks good throw away or wash the roller sleeve, tape and plastic. Pick up drop cloths, move your furniture back and enjoy a spot free ceiling!
Let us know if you have any water damage that needs fixing. We may be able to help you.