Top 5 issues with Drywall repairs
You’re looking at your walls and see more craters than the moon. No? maybe you just have some small cracks and nail pops. Either way, some drywall repairs might seem straightforward, but they can turn into a nightmare or eyesore if not done properly. Whether you’re dealing with small cracks or large holes, the process of fixing drywall issues often come with a unique set of challenges that homeowners frequently search for online. Finding a great painting contractor can help, but it wont stop people from asking what are the Top 5 issues with Drywall repairs
Let’s break down the top issues people face with drywall repairs and how to handle them. If you’re more of a “just make it go away” person, hiring a professional might be your best bet. You can read a article we wrote about hidden costs of drywall repairs here .
However you want to go- we’ve got you covered.
Why Is My Drywall Tape Bubbling or Peeling?
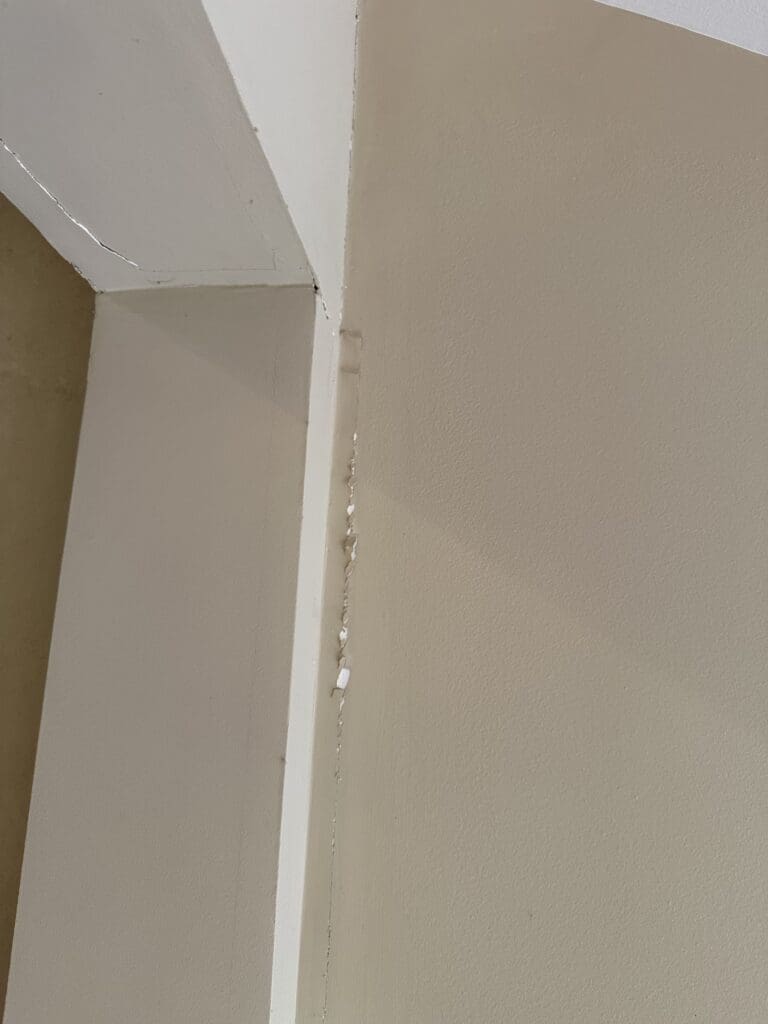
Bubbling or peeling drywall tape is one of the most common complaints about walls. It is usually caused by poor installation. We were working on a home in St. Charles last week, and saw a drywall company not even using primer! Gurantee that wall is going to bubble and peel.
When the drywall tape isn’t embedded properly into the joint compound, it can lift over time, leaving unsightly bulges. ( ilike getting the tape wet before installing- seems to work great)
Fix It Like a Pro:
- Remove the bubbling tape by cutting it out with a utility knife.
- Sand the area lightly to remove loose compound.
- Apply a fresh layer of joint compound, embed new tape, and smooth it out.
- Allow it to dry completely before sanding and painting.
Some people like to use mesh tape for easier application, I’m more of a fan of traditional paper tape.
2. “Why Does My Drywall Patch Look Lumpy or Uneven?”
Ever patched a hole only to find your wall looks worse than before?
Uneven patches are often the result of improper sanding, mismatched drywall used in the repair or using too much joint compound. While woring in Elgin last month, we woere at ahouse that had a mix of plaster and drywall- those walls look like asphault! Those type of walls, usually require a adjusted expectation of final appearance.
Fix It Like a Pro:
- sand the area smooth as possible
- Feather the edges of your patch by gradually tapering the compound outward- a larger drywall knife helps!
- Sand between layers using a meduim-grit sandpaper (120-150 grit) for a smooth finish.
- Always work in thin layers—multiple light coats are better than one heavy coat.
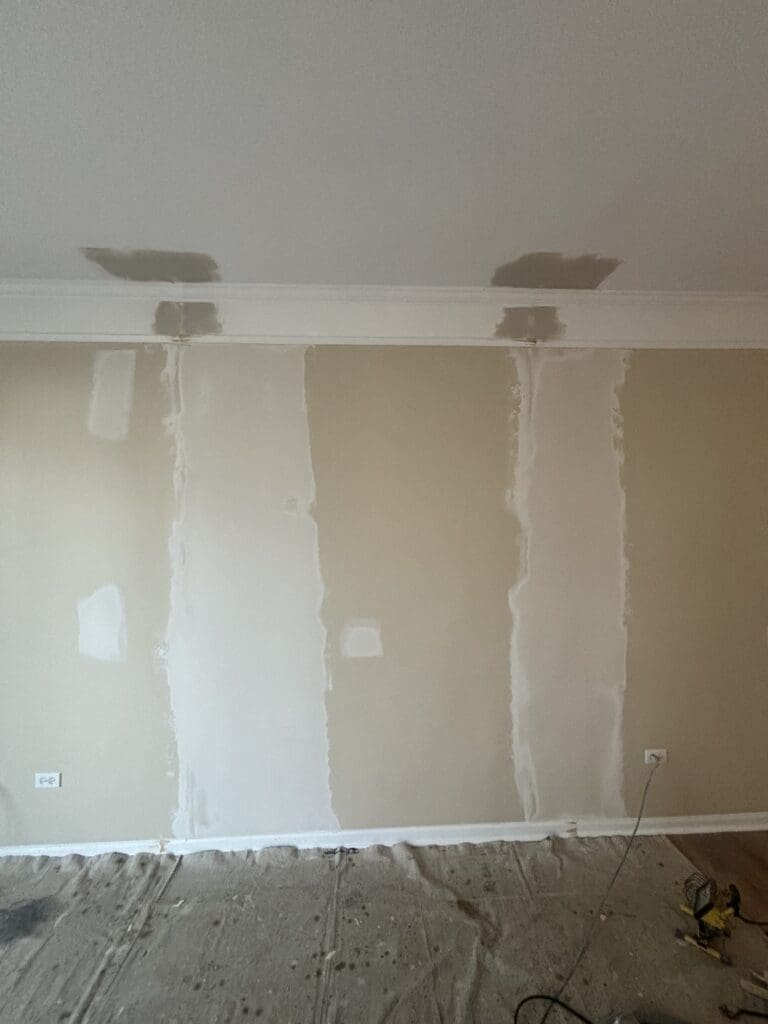
Think of it like icing a cake—except this time, it’s your wall that needs to be flawless. Don’t rush, or you’ll end up in a drywall version of The Great British Baking Show’s “soggy bottom” moment.
3. “How Do I Prevent Cracks from Coming Back?”
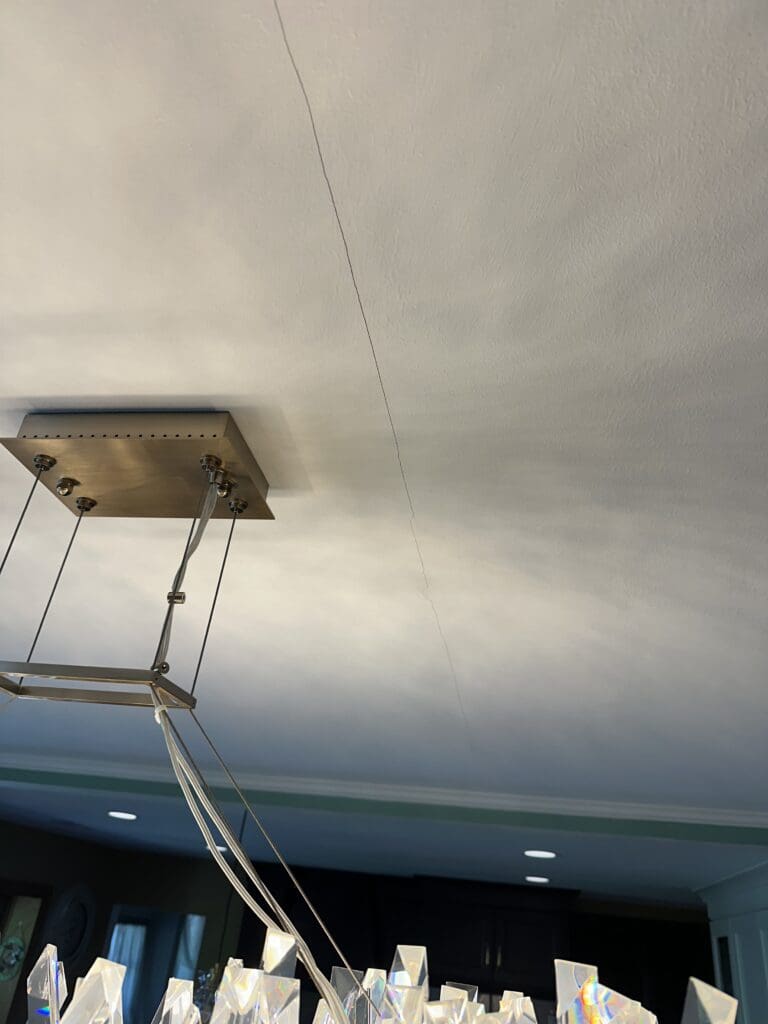
Repaired cracks that reappear a few months later are a frequent frustration. This often happens when the underlying issue—like structural movement or moisture—isn’t addressed. This Image was from a home in Mt. Prospect, new drywall and 5 days later- crack! I will say the crack was because people and ites were stored after dryall was instaled- so the stress cracked the drywall.
Fix It Like a Pro:
- You may need to use screws to secure the drywall to the wall
- Use flexible joint compounds or caulk in areas prone to movement.
- For large cracks, reinforce the repair with fiberglass mesh tape.
- Ensure your home’s humidity levels are controlled to prevent drywall expansion and contraction.
If you live in Western Suburbs of Chicago like Elgin or Bartlett, where seasonal temperature swings are the norm, secured drywall and humidity control is key to avoiding recurring cracks.
4. “Why Does My Drywall Repair Still Show Through the Paint?”
After spending hours patching and painting, the last thing you want is a repair that’s still visible under a fresh coat of paint. This is usually due to not sanding the walls, not checking the repairs, poor priming or improper blending of the patch with the surrounding wall.
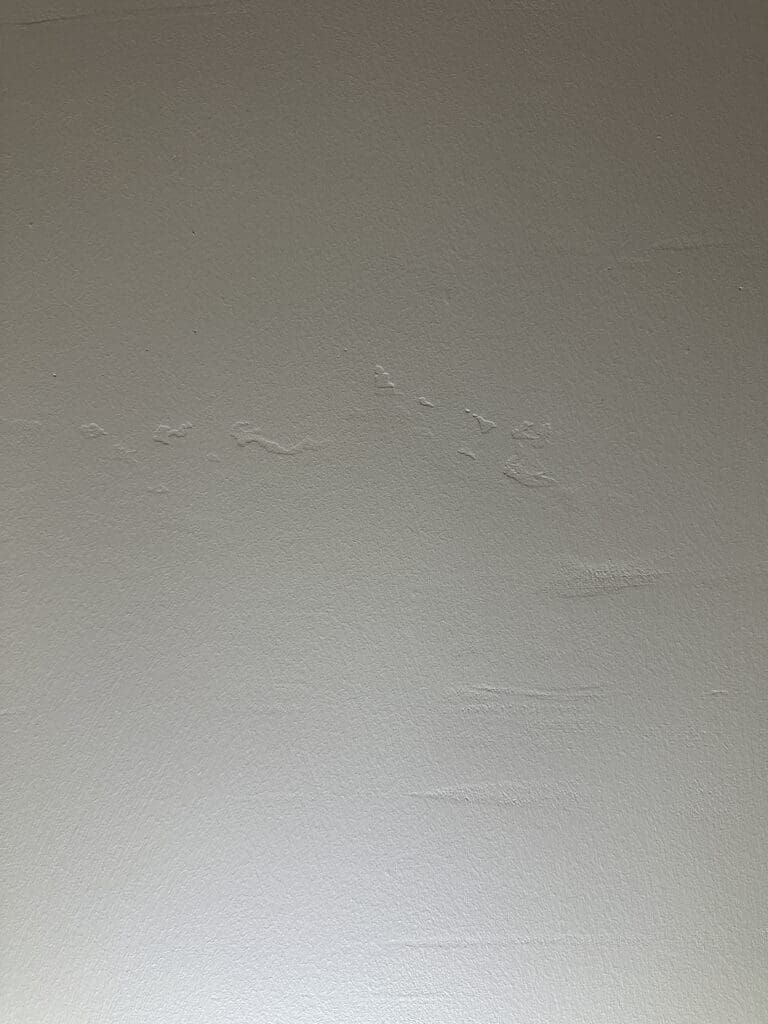
poor repair job…
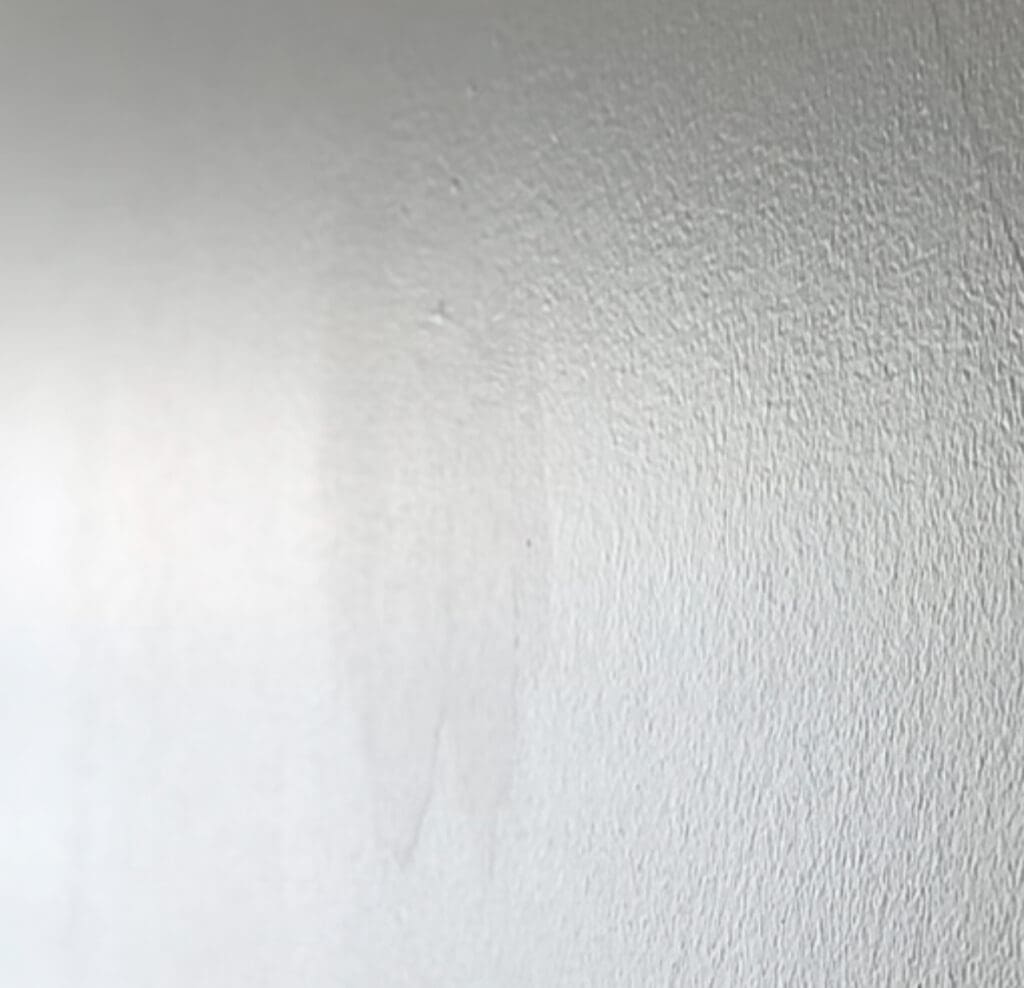
repaired walls not primed
Fix It Like a Pro:
- Always prime drywall repairs before painting. This prevents the patch from absorbing paint differently than the surrounding wall.
- Use a roller to blend the texture of the patch with the rest of the wall.
- If the texture looks off, consider using a texture spray to match the existing finish.
Test your primer and paint in a small area before committing to the entire wall. You can read more about interior primers for your project here.
5. “What’s the Best Way to Fix Large Holes in Drywall?”
Small nail holes are manageable, but larger holes—say from a doorknob slam—are another story. Many homeowners are unsure about the best method to tackle these bigger repairs.
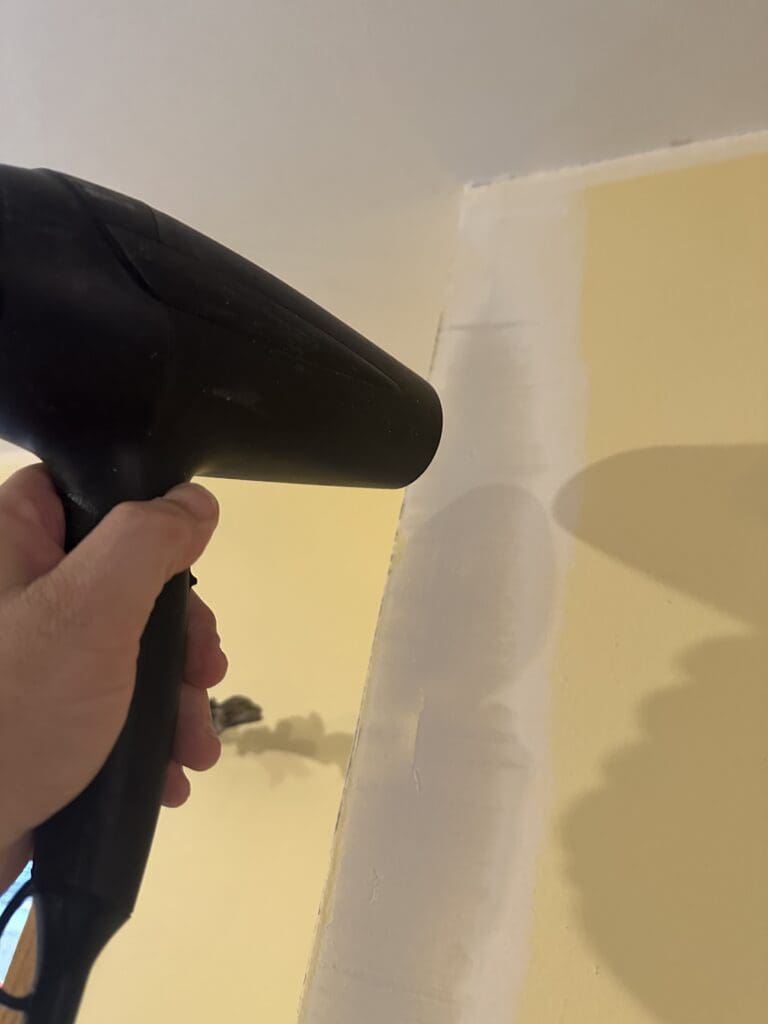
Fix It Like a Pro:
- For medium-sized holes (1-6 inches): Use a drywall patch kit with adhesive mesh.
- For larger holes: Cut out the damaged section, attach a wood backing, and screw in a new piece of drywall. Tape and mud as usual.
- Sand, prime, and paint once the patch is dry and smooth.
If the hole is near a high-traffic area (like behind doors), consider installing a doorstop or wall protector to prevent future damage. As they say in Groundhog Day, “Don’t make the same mistake twice!”
When to Call the Experts
If you’ve tried everything and your drywall repair still looks like a DIY disaster, it might be time to call in the pros. Problems like extensive water damage, recurring cracks, or an entire wall needing replacement are best handled by experienced contractors.
When We are looking at wall repairs, we are limited as well. Replacing multiple whole sheets of drywall is something that is above our typical experience as well.
Do you have Drywall Drama?
Drywall repairs can be challenging, but with the right tools and techniques, you can tackle most issues yourself. If it feels overwhelming, don’t hesitate to reach out to a professional. After all, your home should look like a dream—not a set from Nightmare on Elm Street.
For more tips, tricks, and advice on home improvement projects in Elgin, St. Charles, Bartlett, and Algonquin, check out our Learning Center (blog) or contact us for help with your next project.


