🧼 Top 7 DIY Cabinet Painting Problems (and How to Fix Them Before It’s Too Late!)
Are you moving into a home that has painted cabients? Are you tired of looking at a hprroble cabient painting jopb you inherited from somone? Struggling with how to fix a bad cabinet paint job? Are your doors peeling, sticky, or just plain ugly up close? Well Today is for you- Here are the Top 7 DIY Cabinet Painting Problems– what to look for, Here’s what’s really going on—and what to do next to fix them.
Problem: You see a bumpy, orange peel-like texture on your cabinets. Why it happens: Using the wrong roller (or brushing without leveling additives). Fix: Professional sanding and spraying will restore a smooth, glass-like finish.
🛠 Pro Tip: We use Emerald Urethane or Benjamin Moore Advance for best results—sprayed flat for a flawless finish.
#2 – Fuzzies, Hair, and Surface Contaminants
Problem: Trapped hairs and fuzzy fibers are frozen into the paint like fossils. Why it happens: Dirty workspace, cheap rollers, or skipping tack cloths. Fix: Sand it all back down. Then vacuum, wipe, and start with a clean surface.
#3 – Poor Bonding & Peeling Paint
Problem: Paint comes off with the hardware—or flakes off at the corners. Why it happens: No sanding or bonding primer was used (or the wrong primer). 🎯 What We Look For:
Peeling around knobs
Paint rubbing off with a fingernail
Primer that won’t grip Fix: Strip or sand to bare wood, then use GARDZ or a shellac primer like BIN for max adhesion.
#4 – Low-Quality DIY Paints & Finishes
Problem: Rubber-like texture, sticky feel, or overly flat finish. Why it happens: Cheap or mismatched paints—like Rustoleum kits or latex wall paint. How to Identify It:
Feels like plastic
Smudges or marks easily
Sheen is blotchy or dull Fix: Strip or sand down, prime properly, and spray with pro-grade cabinet enamel.
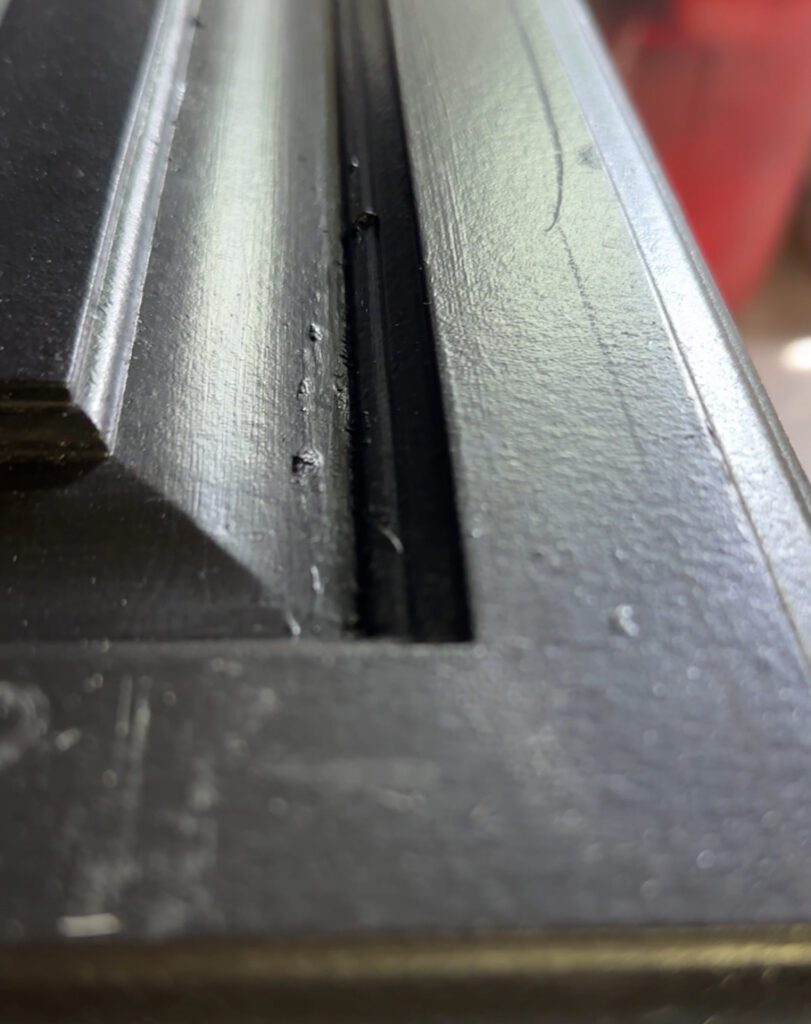
#5 – Paint Drips, Runs, and Uncontrolled Sheen
Problem: Uneven gloss levels and visible roller/brush patterns in the final coat. Why it happens: Thick coats, poor lighting, or rushing the process. Fix: Sand down runs and use a sprayer with even pressure for consistency. Spray flat when possible.
#6 – Unremoved Grease and Old Residue
Problem: Paint is peeling or greasy to the touch. Why it happens: Cabinets weren’t degreased before painting (yep, it matters). How You Know:
Feels slick or oily
Primer bubbles up or flakes off
Sandpaper clogs fast Fix: Scrub with TSP or a degreaser, then prime with a bonding sealer. We test adhesion before we even pick up a sprayer.
#7 – The True Cost: Sanding Time and Repair Work
Problem: It takes HOURS just to sand one door clean. Why it happens: Multiple coats of bad paint trap every mistake underneath. 👎 We’ve spent up to 1 hour per door fixing bad paint jobs—vs. 15–20 minutes on clean, well-prepped doors. Fix: If the prep work exceeds 50% of the job, you’re better off starting from scratch.
🎯 Takeaways & What to Do If You’re Stuck
Here’s the bottom line… We have listed the Top 7 DIY Cabinet Painting Problems- that we have seen. There are other issues that happen, we have made plenty of mistakes ourselves! How they get fixed is important as anything else.
**DIY cabinet painting can work—**but only if you nail the prep, materials, and technique. If you’re seeing these problems pop up, you’re not alone. We fix them every week.