How to prep wood trim before painting
If you are having wood trim installed in your home or business, then knowing how to prepare that wood for painting is a must for you. Knowing How to prep wood trim before painting will get you ready for the tools, materials, and mess that is coming!
If you hire a paint contractor to paint your trim or if you decide to tackle painting trim yourself you will want to make sure the basics are done so you have a great looking finish.
What kind of trim do you have?
Knowing the type of trim you have installed matters! How to prep wood trim before painting varies depending on the trim you have installed.
If you have platic or vinyl trim being insatlled the prep work to get that ready for paint is pretty basic, caulk it!

Unprimed wood trim means you have to sand, seal, fill , prime, sand, caulk, then paint! HUGE undertaking.
Pre-primed wood trim is nice- or it should be, as the cracks should be filled by carpenters, the good carpenters will fill nail holes, leaving you to caulk, lightly sand, and then paint!
How much sanding does it take before painting wood trim
If you are having pre primed wood trim installed, the wood itself should be prety much ready for paint.
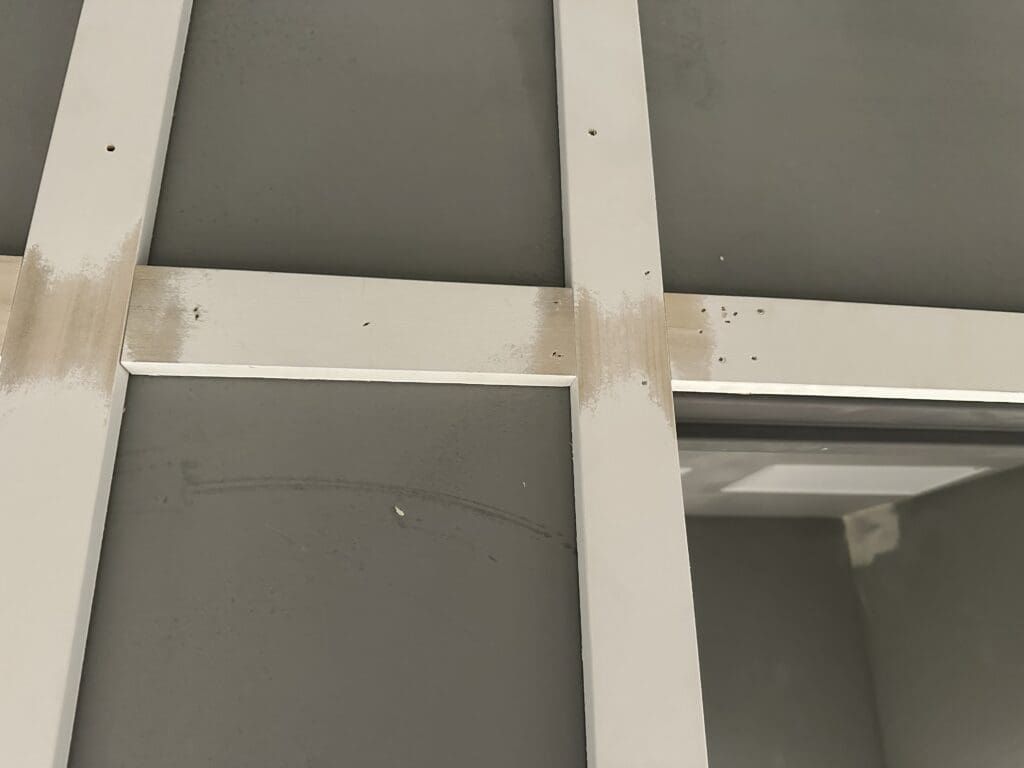
However, there are always exceptions. The job we are painting for right now in Barrington had wood trim that was primed, but it was very rough finished, almost like 150-grit sandpaper.

That meant we had to sand it all smooth before we could fill holes and caulk it. Extra work, means extra time, Extra time means more money.
Typically, we sand the wood trim with 220-grit sandpaper before painting. It should be able to get done with a quick run over no power tools etc.
Caulk wood before painting
When you have filled all the nail holes, all the cracks are filled, and the sanding is done- you are almost ready to paint your trim! (Here is an article we wrote about caulking trim)
Before you do any caulking – make sure to clean the dust!
Using a vacuum is the best way to make sure the areas stay clean
Once you stat caulking, make sure you have a clean rag, that is damp, and enough caulk to finish. Apply that bead of caulk nice and smooth, use the rag to wipe it clean- then allow to dry! (dont rewipe or re caulk- it will make things look worse!)
Paint that trim!
Once all the holes are filled in the trim the caulk is applied the surface has been sanded and the area is cleaned- you my friend are ready to paint!
Get out the brush and paint, or roller or sprayer.. whatever floats your boat..and get to painting!! (here is a article on paint sheens)
If yu have questions on paint rim.. you can read more here.,,,
Questions on trim painting?
This is a high overlooking view of painting trim in your home, we have done some videos that you can see on our youtube channel , but if there are some details we miss.. LET US KNOW! We want to be able to help you in painting things yourself, hiring a painter, and just being informed about the process so whomever is giving you an estimate has the right information.


