In the world of home improvement, there exists an often underestimated hero and villian: the oak trim. Oak trim, with its classic charm and timeless appeal, has the power to elevate the aesthetics of any living space or make it look outdated or old. Transforming this type of wood into a modernn and updated look requires the right knowledge, patience, the right tools and materials.
Lets take a look at understanding why it costs so much to Paint Oak Trim, the step-by-step process, the best materials to use, potential issues, and what you can expect to pay for this service in the Huntley, Pingree Grove, Elgin area.
The Cost to Paint Oak Trim
The journey begins with a question that often puzzles homeowners: Why does it cost so much to paint oak trim? The answer lies in the inherent challenges of working with oak. Oak is a dense and porous wood, which makes it absorbent and resistant to paint. Achieving a smooth, even finish requires expertise, time, and the right producs to get that amazing finish our customers are looking for.
How to Paint Oak trim – the Step-by-Step Process
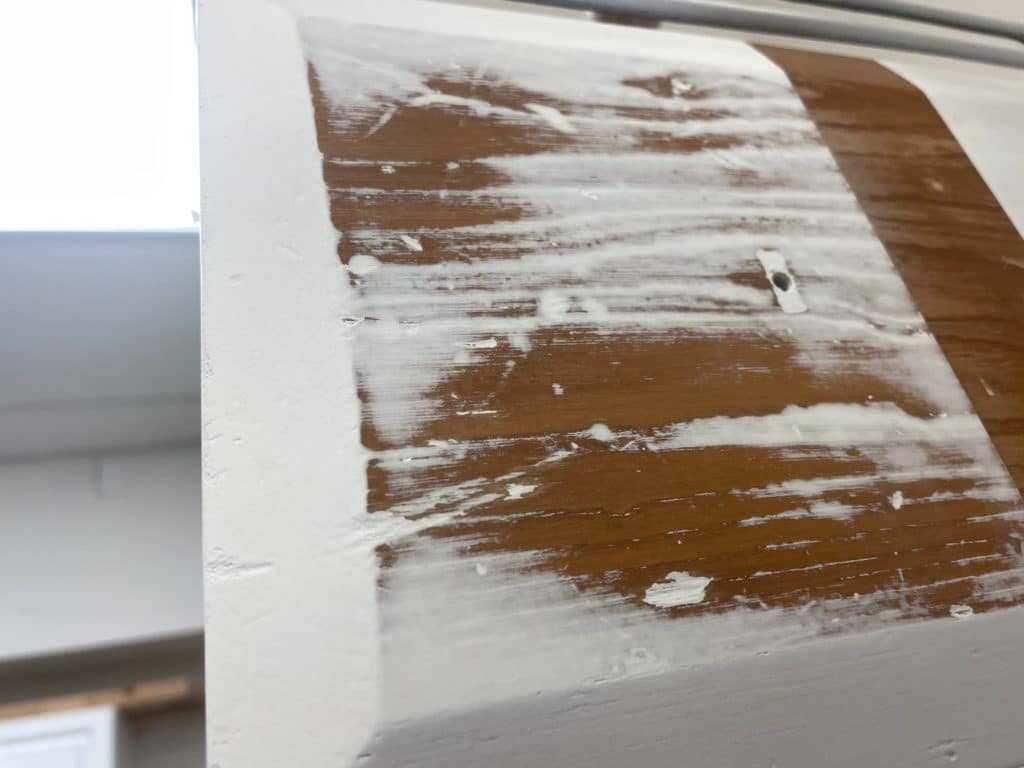
- Preparation: Our old Scout Master used. to say “Proper preparation prevents piss poor results”. So this starts with a plan. Where will you start? How much time do you have to get it done? Like it or not preparation includes cleaning the trim, sanding it to remove any imperfections, and filling in gaps or holes. This step sets the stage for a flawless finish
- Masking! you are going to need to mask the floor and walls (of your not painting the walls) so the caulk, nail hole filler and primer/paint do not get on the surrounding areas.
- Filling and caulking! When you have wood or oak trim, odds are no one caulked anything or filled nal holes. hat means you have to do it. Caulking will be the easier step. Filling the nail holes is another matter. This is usually a 2 stap rpcess and snading between coats as well as after the 2nd coat of filler has been applied.
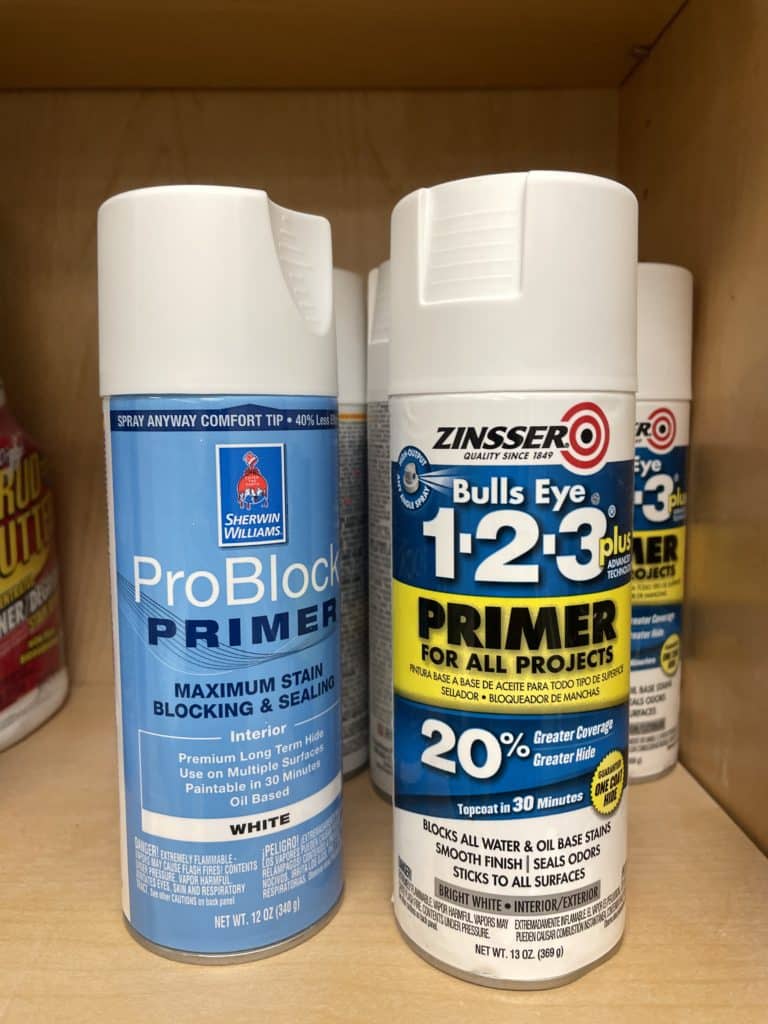
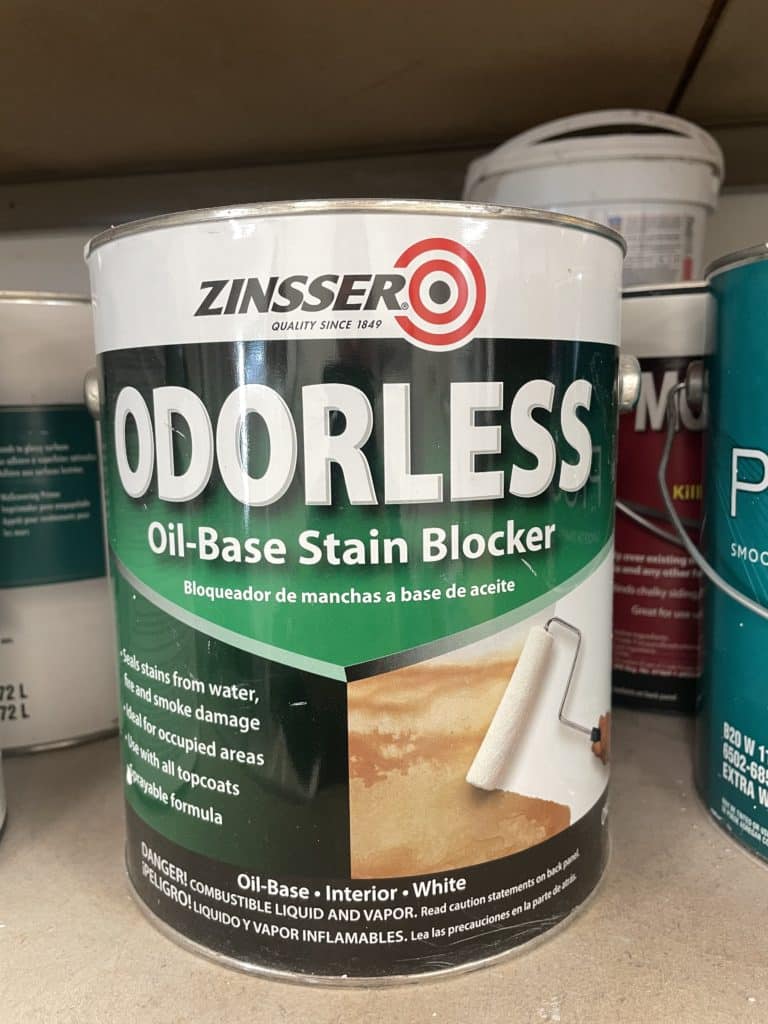
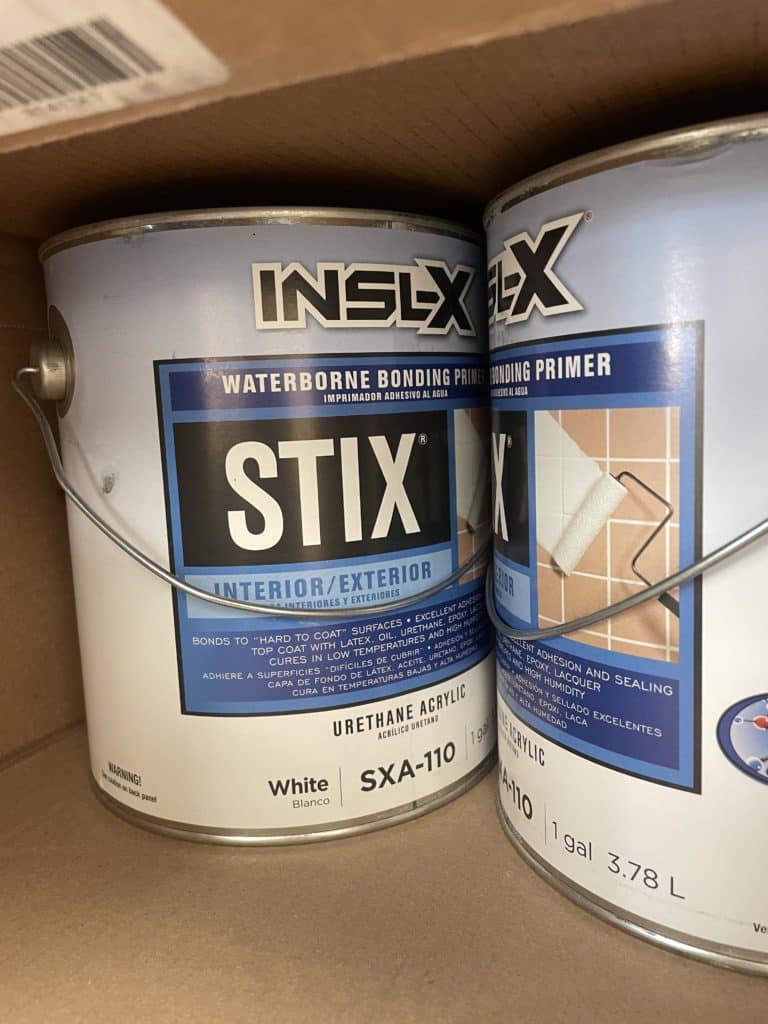
- Priming: Now apply a high-quality primer. Oak has alot of grain in it- so you are going to need to either fill that grain or not stress about seeing verby single vein in that wood. ( we hate the veining) When you prime with a sprayer- you will see these lines. If using a brush and roller you can fill in these lines to hise some of the graining. Primer is a crucial step as it will seal the wood, prevents tannin bleed (common in oak), and ensures better adhesion for the paint.
- Painting: Armed with brushes or sprayers, you can start to paint. Thin, even coats are essential to prevent drips and achieve a professional look. Two or more coats may be needed for complete coverage.
- Drying: Patience is required as the hero waits for each coat to dry. Rushing this step can lead to imperfections. Primer alone can take 4-12 hours to fully cure- dont rush it!
- Finishing: Once the paint is dry, a clear topcoat can be applied for added durability and a glossy finish.
The Best Paint for Painting Oak Trim
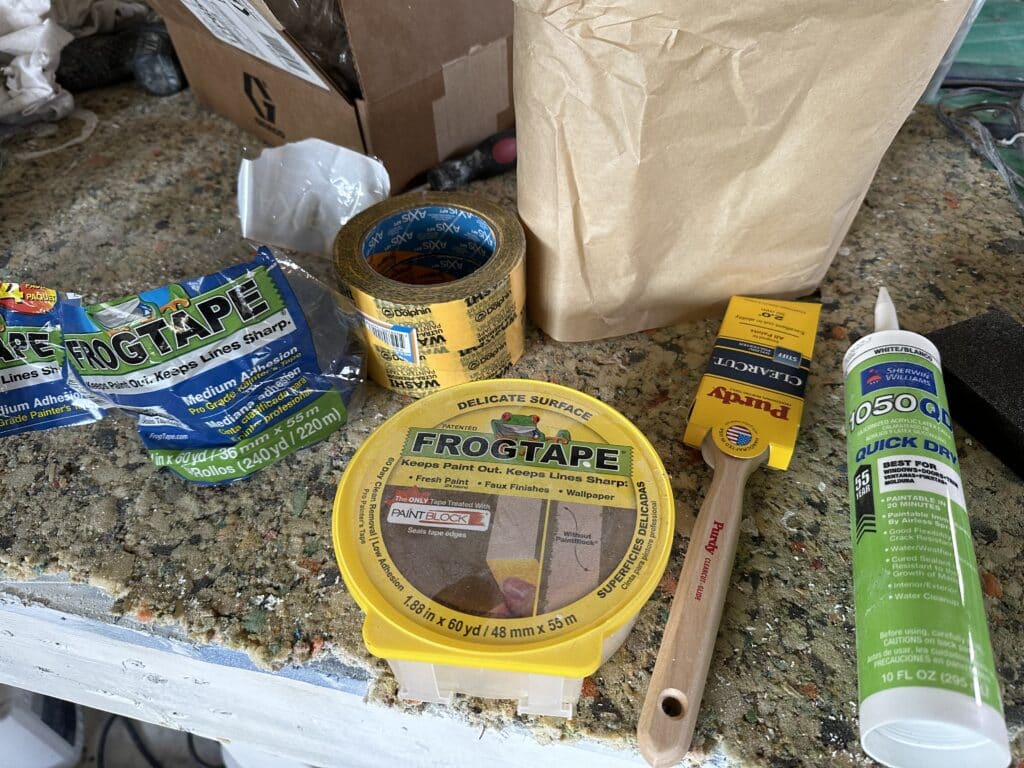
To successfully conquer this project, it’s essential to have the right tools and materials. Here are some recommendations:
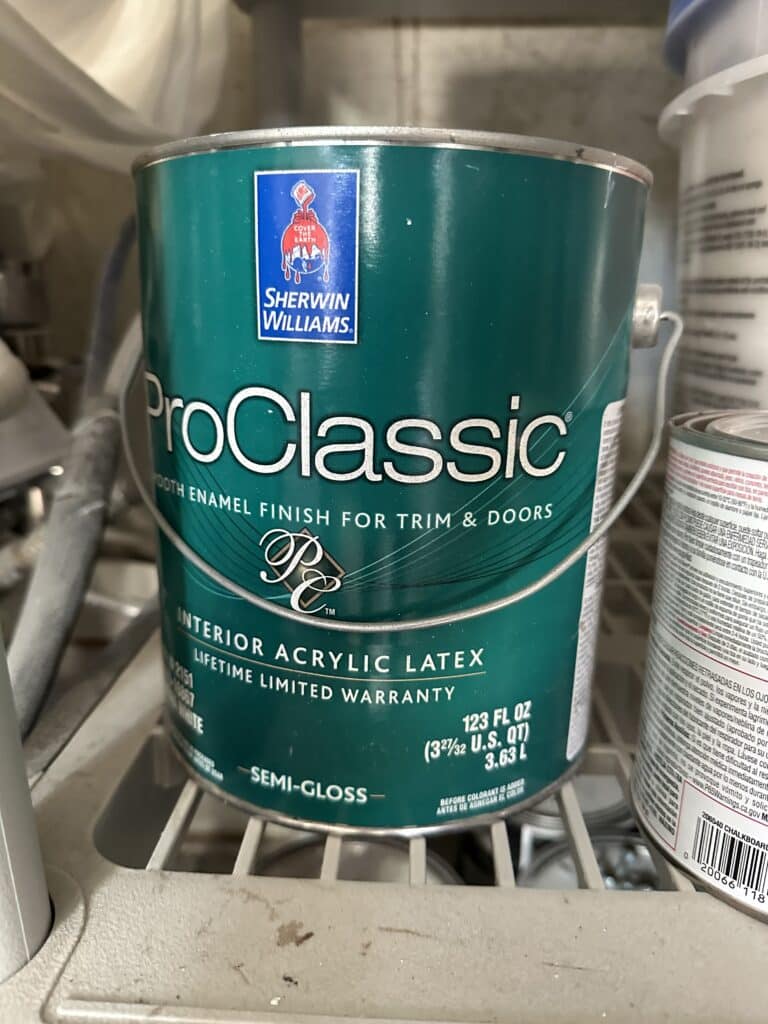
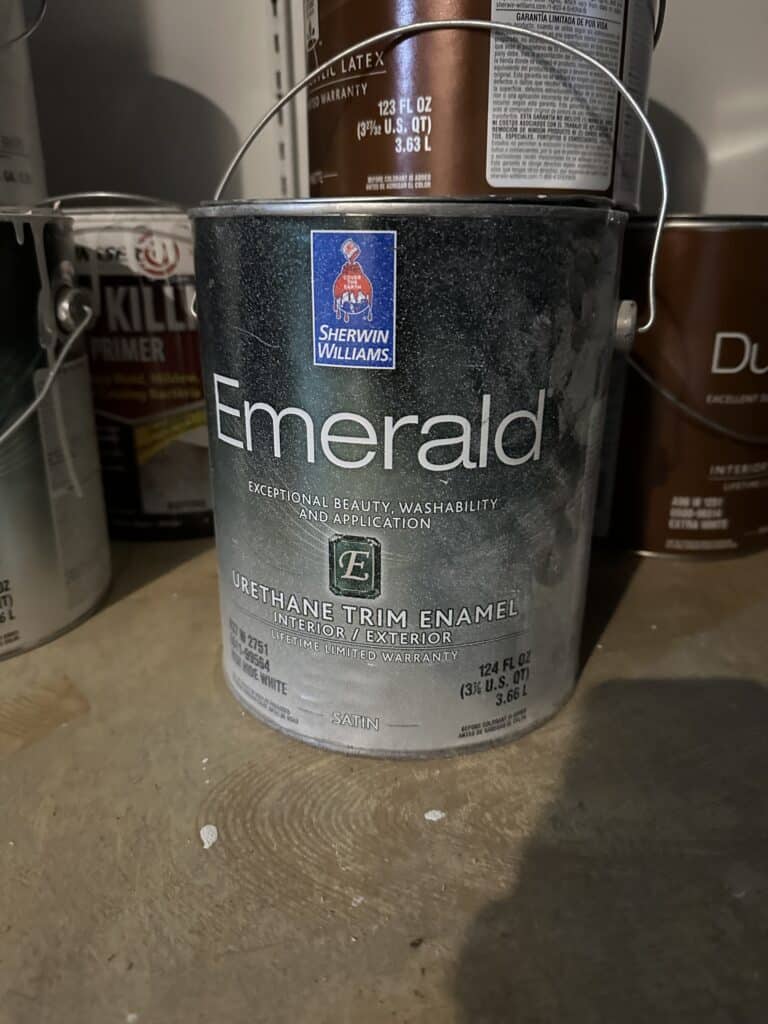
- Quality Paint: Invest in premium paint that’s suitable for trim, such as a semi-gloss or high-gloss finish. We are a huge fan of Sherwin Williams Pro classic, it drues fast and looks great. Other paints are Emerald Urathanne trim paint. Uratahnes are avalable from other companies such as Benjamin Moore- BUT- they tae a long time to dry and cure- plus I think they smell more.
- Primer: Choose a high-quality primer specifically designed for oak or other hardwoods.
- Brushes and Rollers: Quality brushes and rollers ensure a smooth application.
- Sandpaper: Various grits of sandpaper for sanding the wood and achieving a smooth surface.
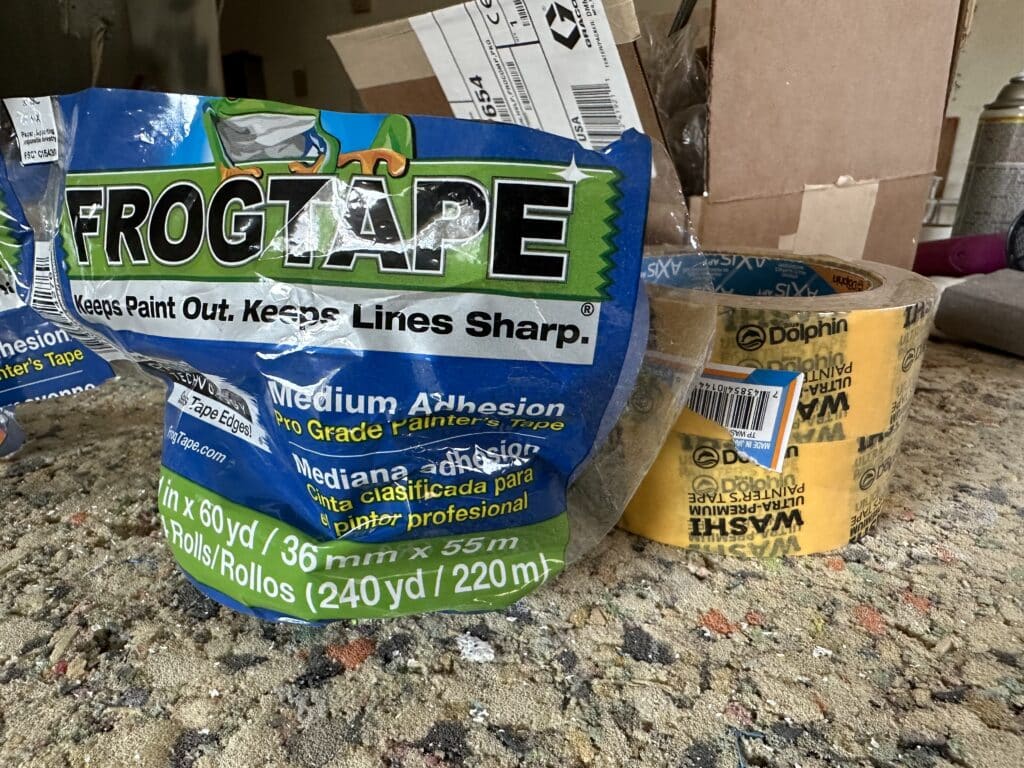
- Drop Cloths and Painter’s Tape: Protect your surroundings from paint splatter.
Challenges Along the Way: Issues with Painting Oak Trim
Oak trim presents its fair share of challenges, including:
- Tannin Bleed: As mentioned earlier, oak is prone to tannin bleed, which can cause discoloration. Proper priming is key to preventing this issue.
- Wood Grain: The distinct grain pattern of oak can be challenging to cover entirely, even with multiple coats of paint.
- Cracking and Peeling: If the wood wasn’t properly prepared, the paint may crack or peel over time.
- Time-Consuming: The hero’s journey of painting oak trim demands time and patience. Rushing can lead to unsatisfactory results.
The Reward: What to Expect to Pay in Chicagoland
In the Chicagoland area, the cost of painting oak trim can vary depending on several factors, including the size of the project, the condition of the trim, and the quality of materials used. On average, you can expect to pay between $2 to $5 per linear foot for professional painting services. This cost typically includes labor, materials, and preparation.
Remember that investing in professional services ensures a high-quality finish and saves you from potential DIY pitfalls.
Painting Oak is like other endeavors of home improvement- it take your longer than you exocet and costs you more than you think it will. While it may cost more than you initially expect, the transformation of your space and the timeless beauty of painted oak trim make it a worthwhile adventure. Equip yourself with the right tools, materials, and experts, and your journey will lead to a home that radiates charm and elegance for years to come.
If you have questions- let s know, we ar ehere to help or here to take this project off your hands so you can do something else you may enjoy more!