

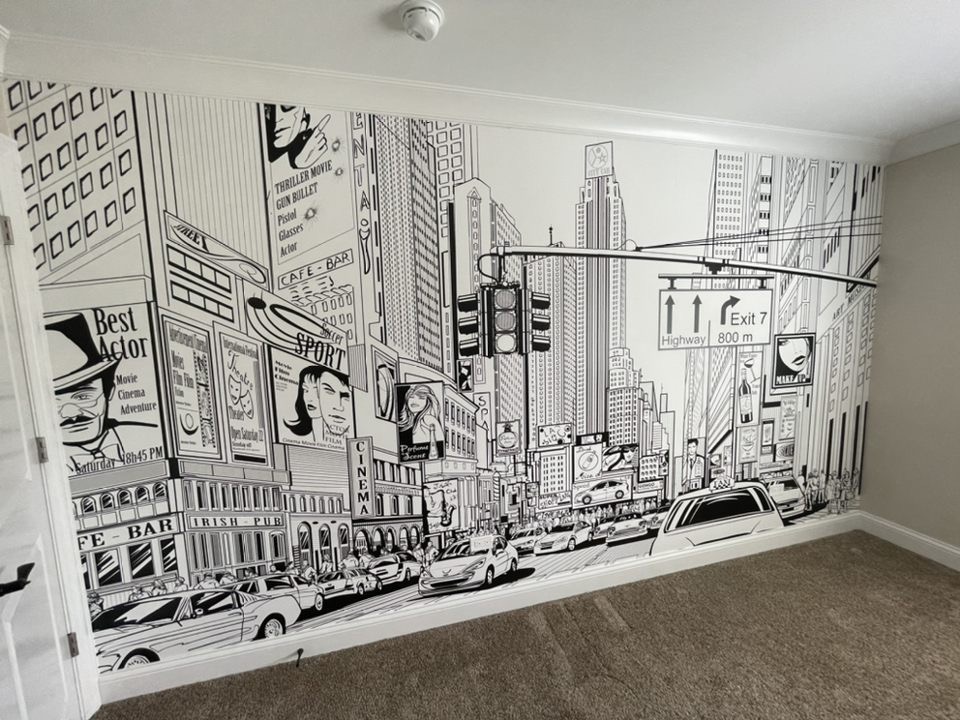


What do the walls at your office look like? Most likely you have paint. Boring! How about installing a wallpaper mural for your office?
The best part about wallpaper murals is that you can have them designed for almost any location you want. You can design wallpaper murals from photographs, clip art, custom designs, or word art, or pick one from thousands of pre-designed websites like www.muralsyourway.com.
Installing a wallpaper mural, however, is a whole different subject. So, let’s explore how to install a wallpaper mural for your office.
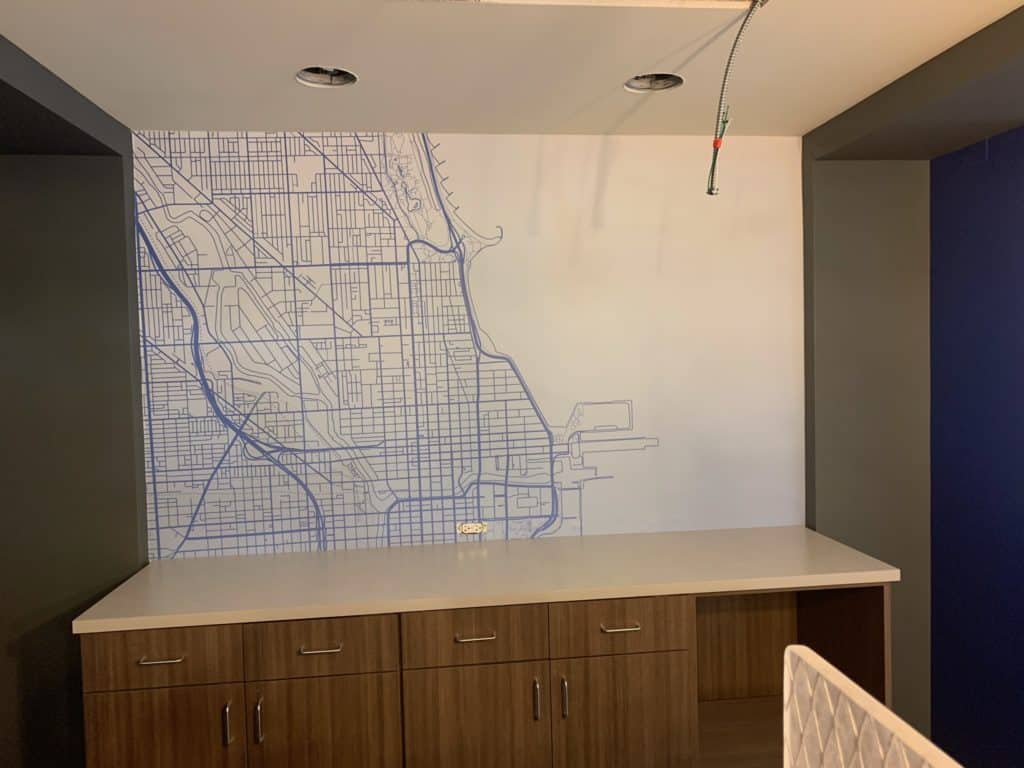
Here is a wallpaper map mural.
Where can you find a wallpaper mural installer?
This should be the 2nd decision you make! The 1st is where you want it, or what you want to be installed. Once you decide on the what, the who is almost more important. Wallpaper installers are booked for 2-4 weeks! There is a shortage of wallpaper installers nationwide (A great opportunity if you are looking for a career. We are always looking for wallpaper installers!).
Some of the websites that sell wallpaper murals will have a list of installers by way of the Locate an Installer section of the Wallcovering Installers Association.
Your local paint stores and paint contractors will usually have a list of people they can also refer you to. DO NOT wait until you have the wallpaper before you start looking for someone to hire to install the wallpaper.
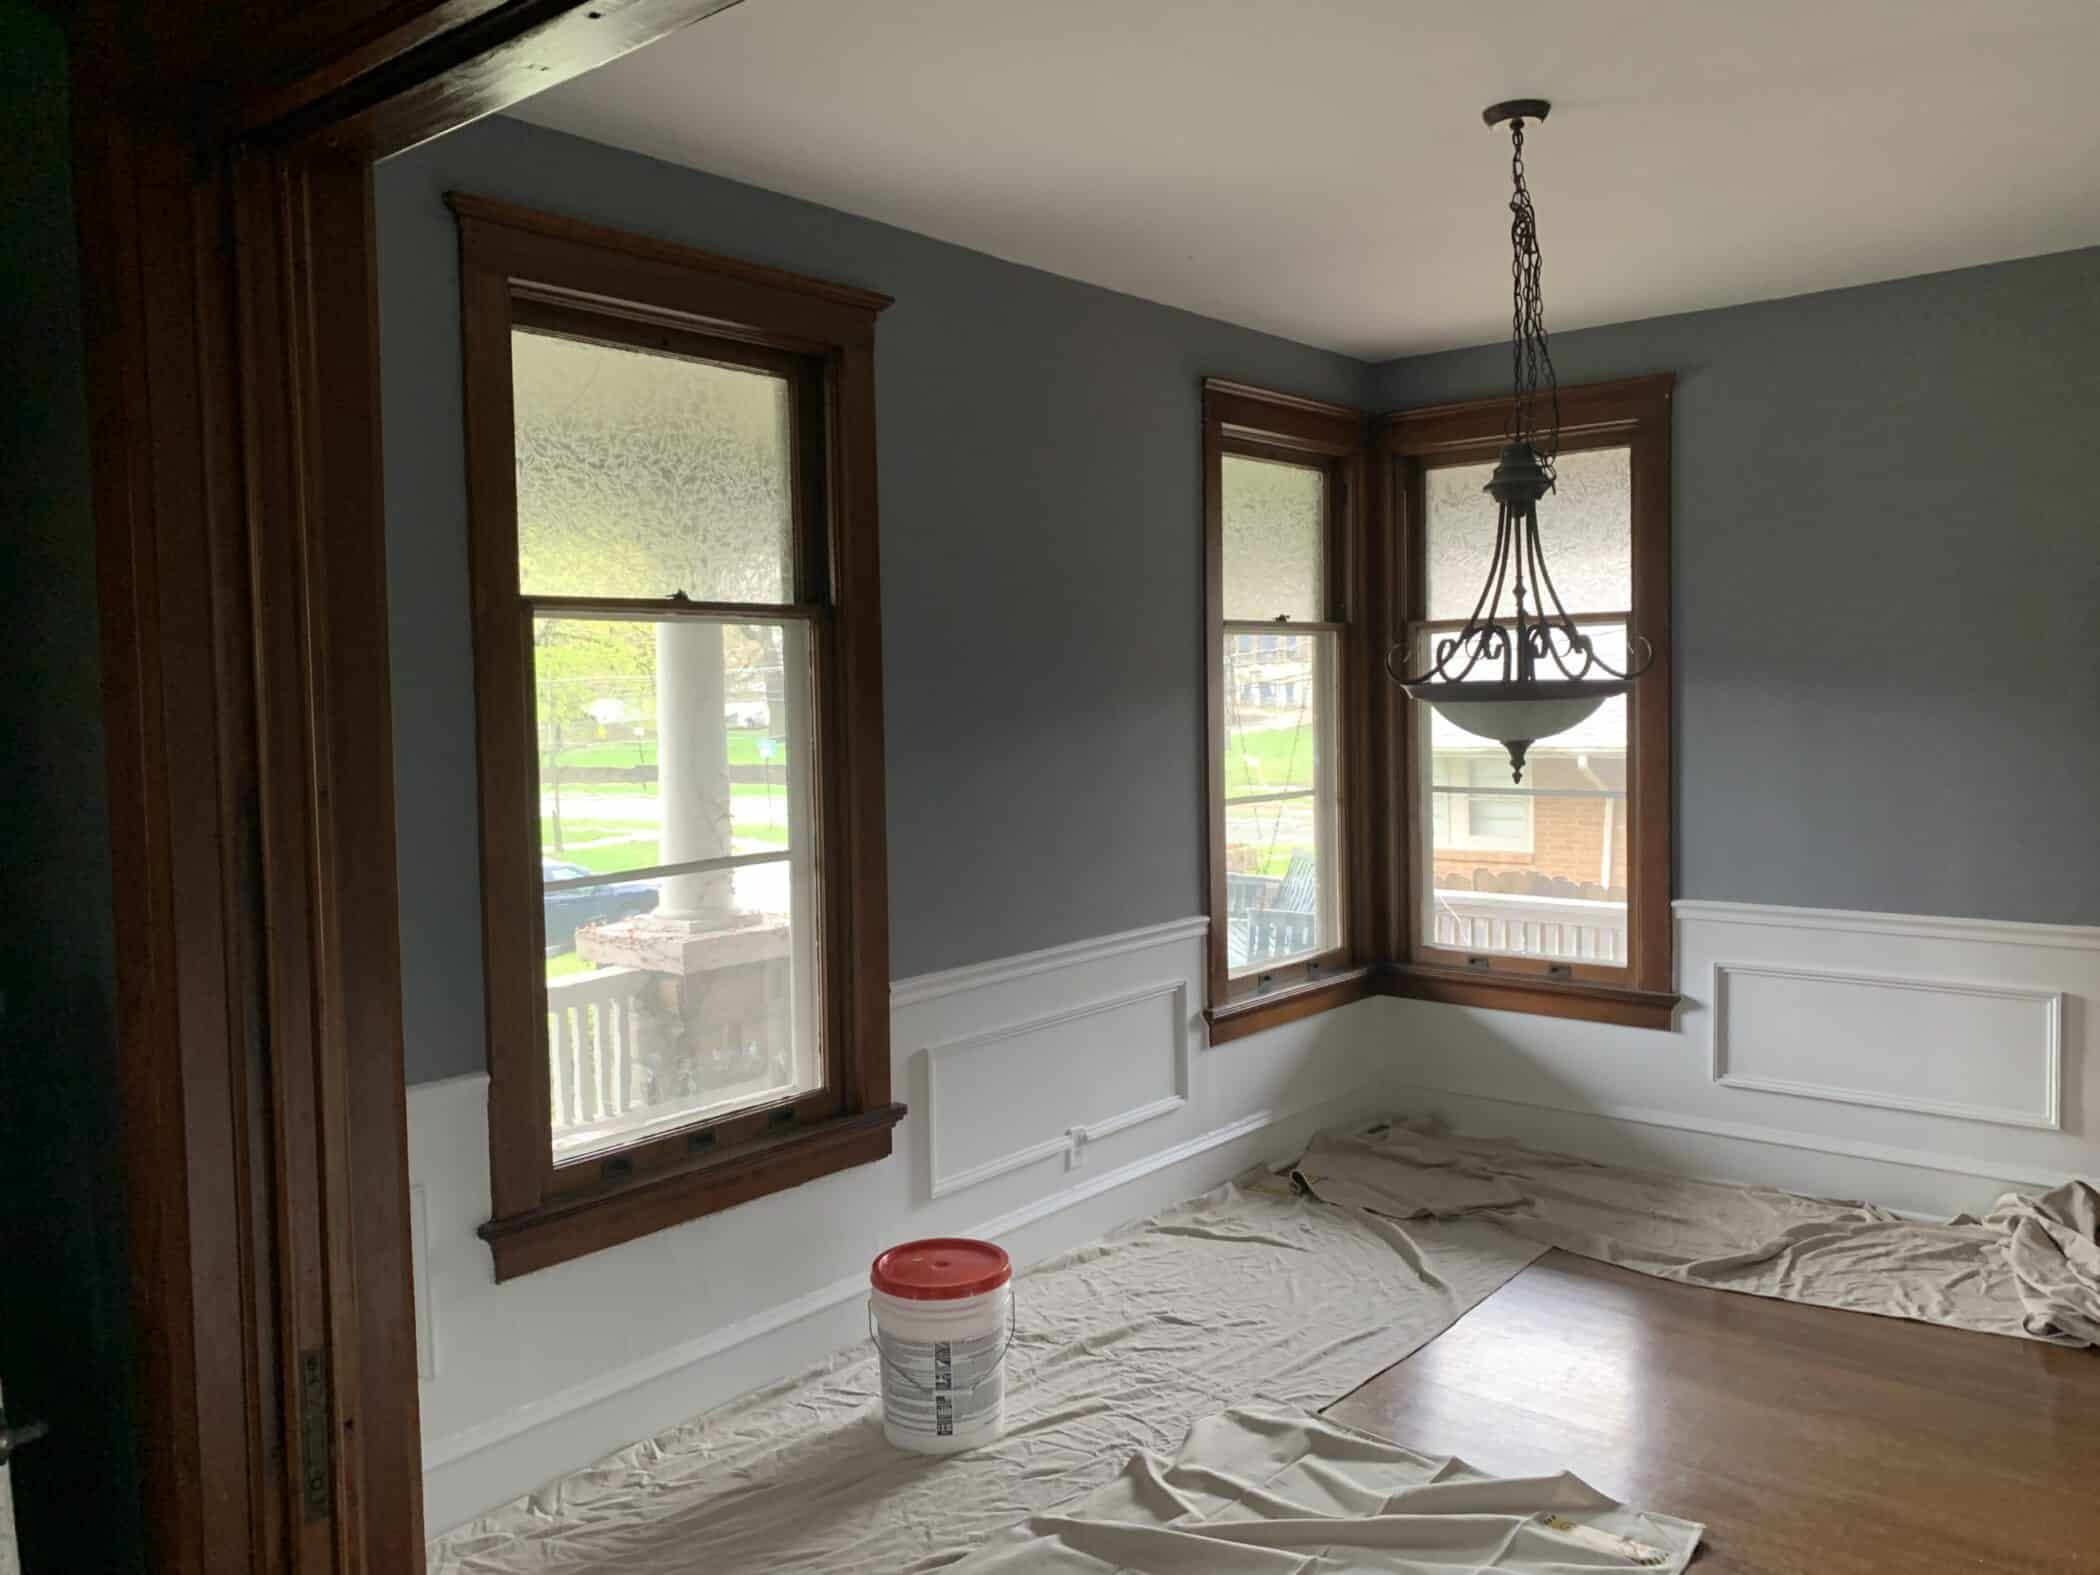
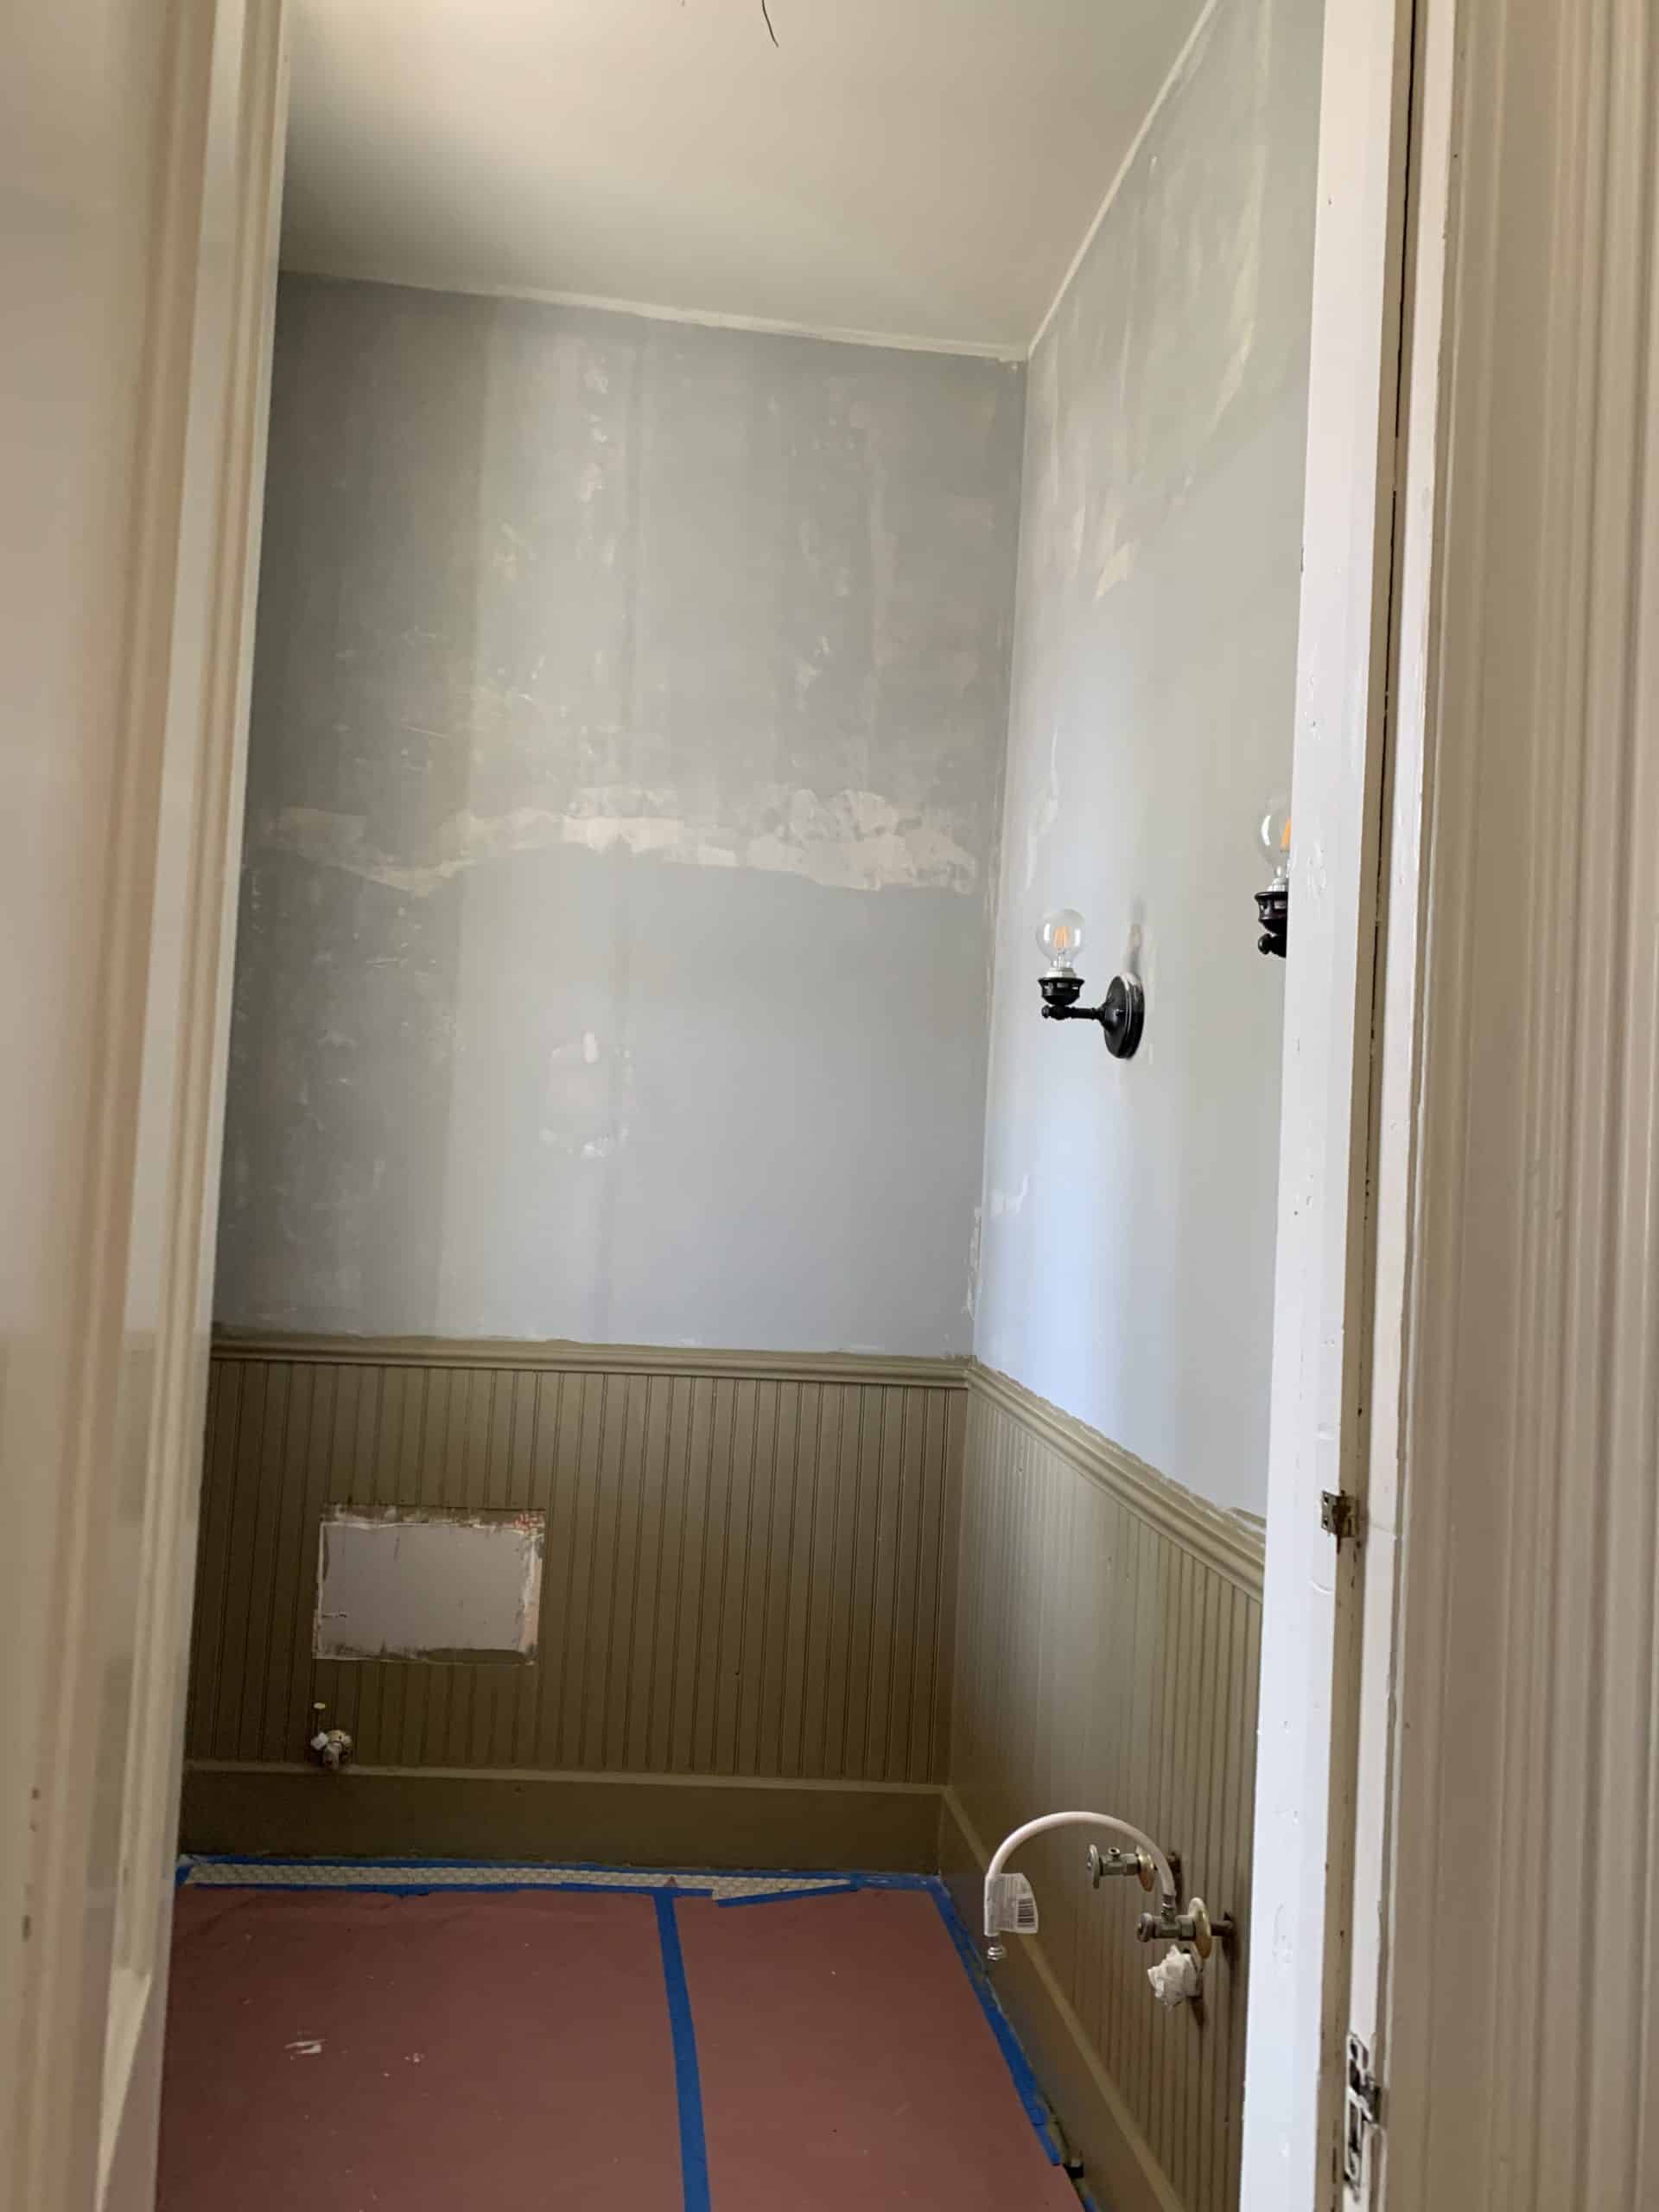
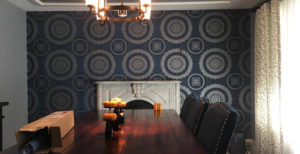
Inspecting your wallpaper mural before you begin to install it on your walls
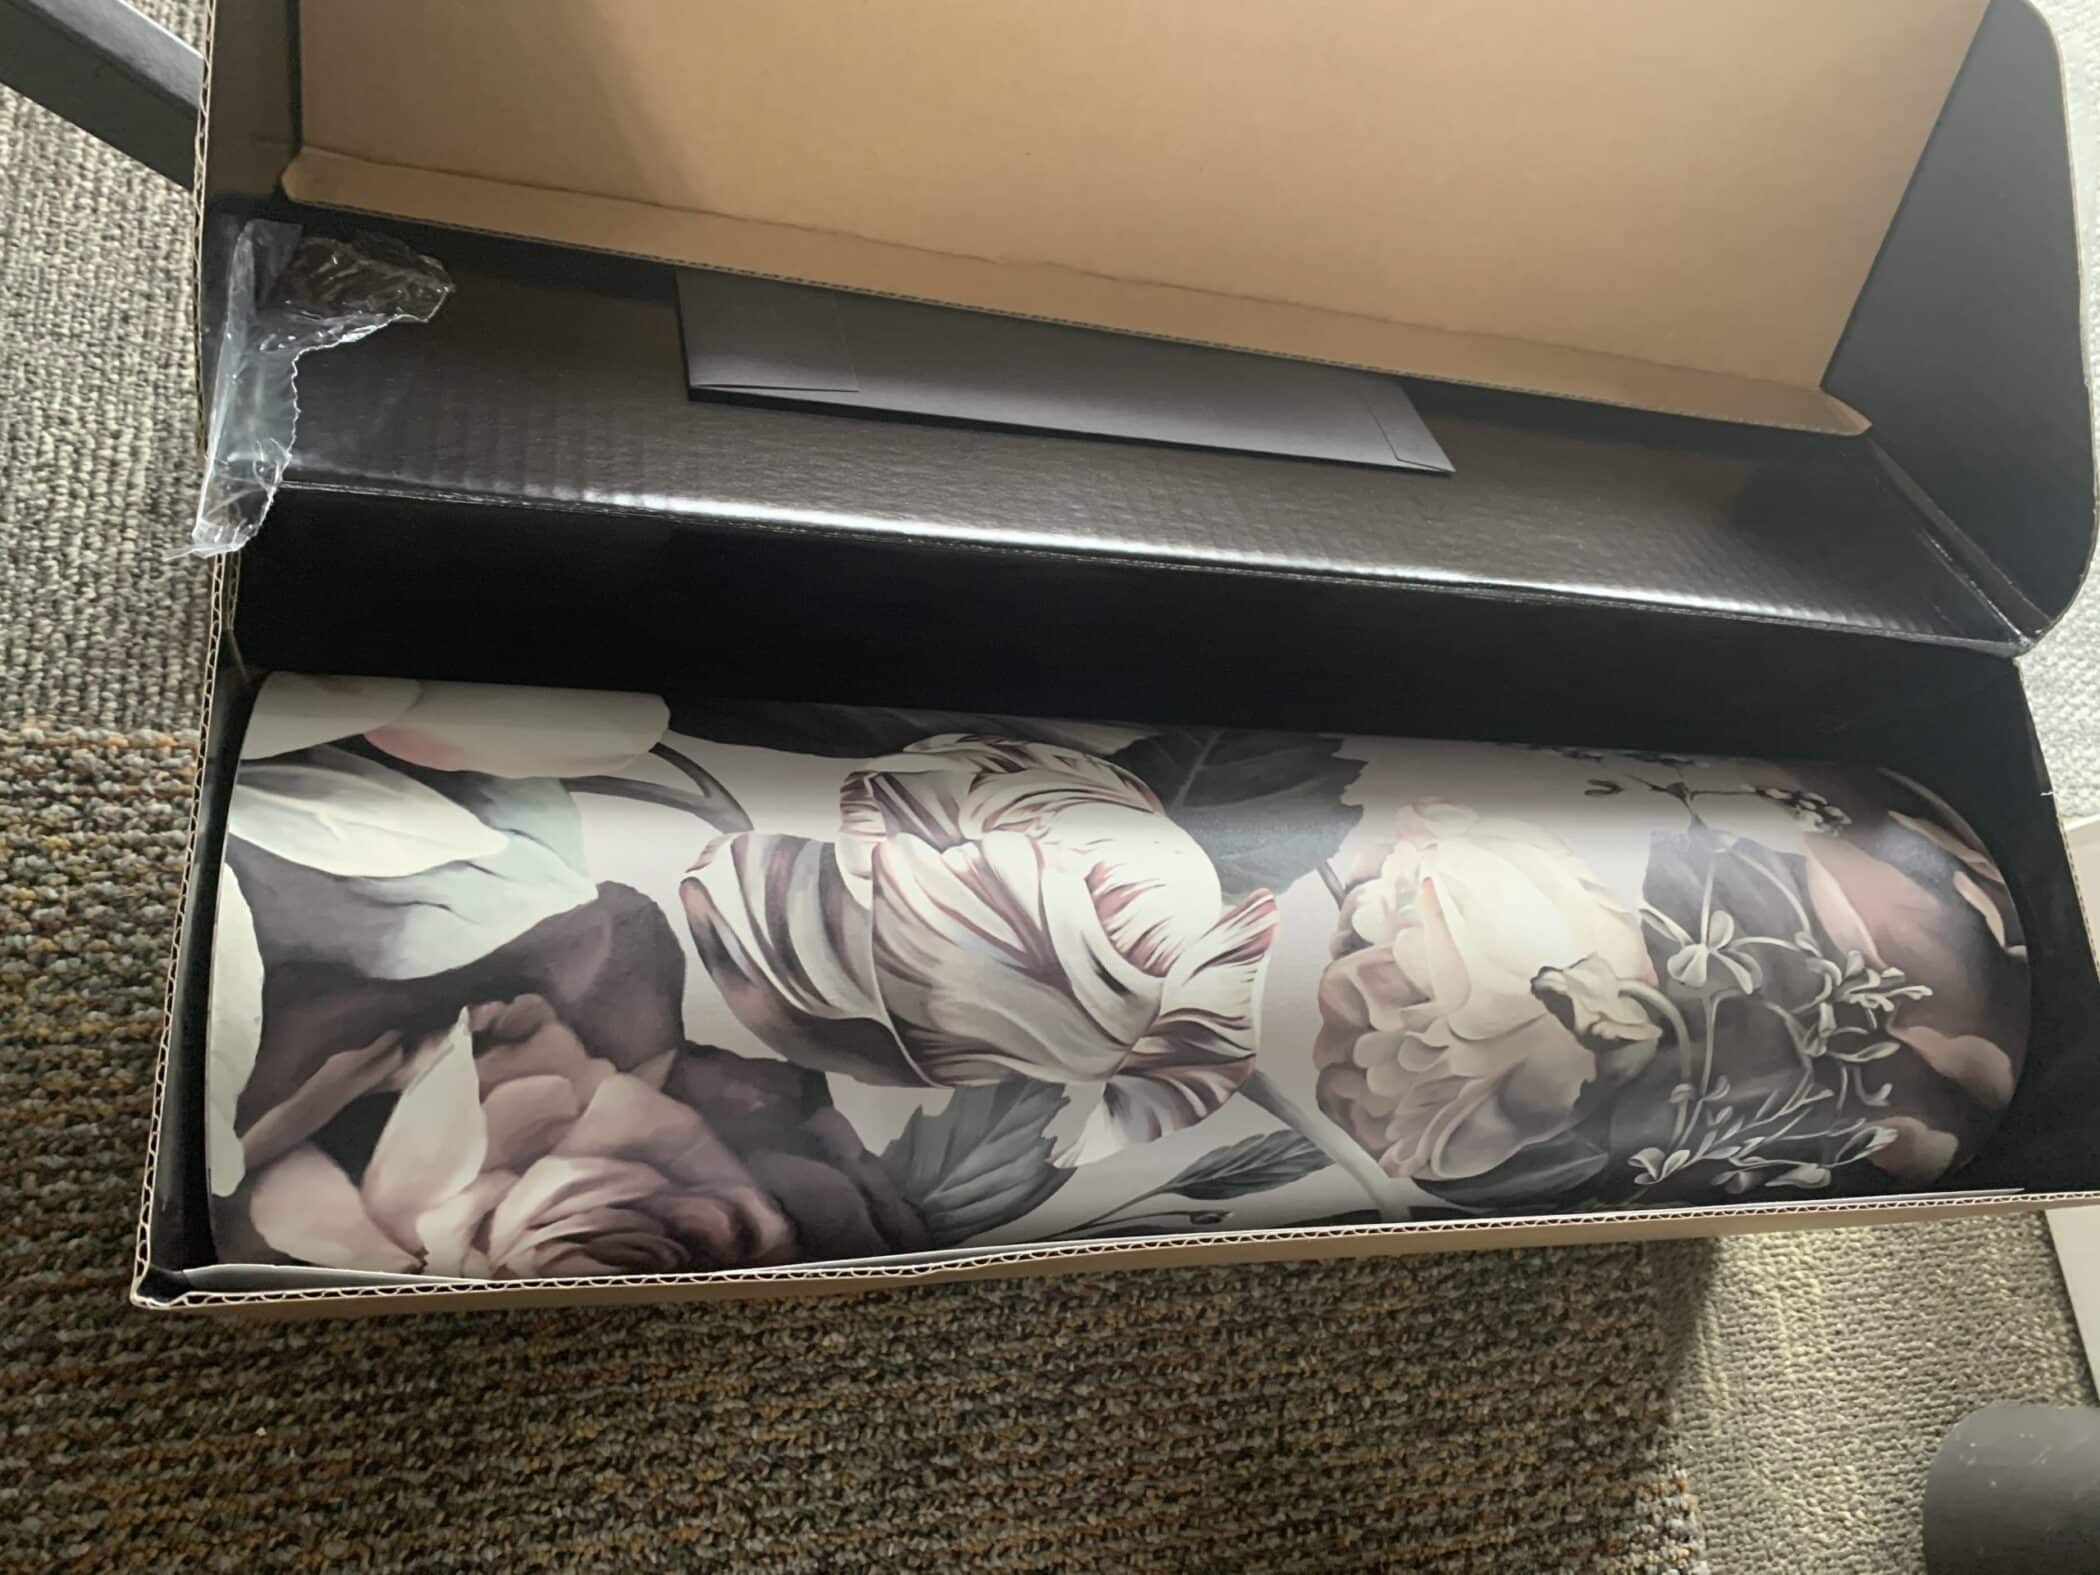
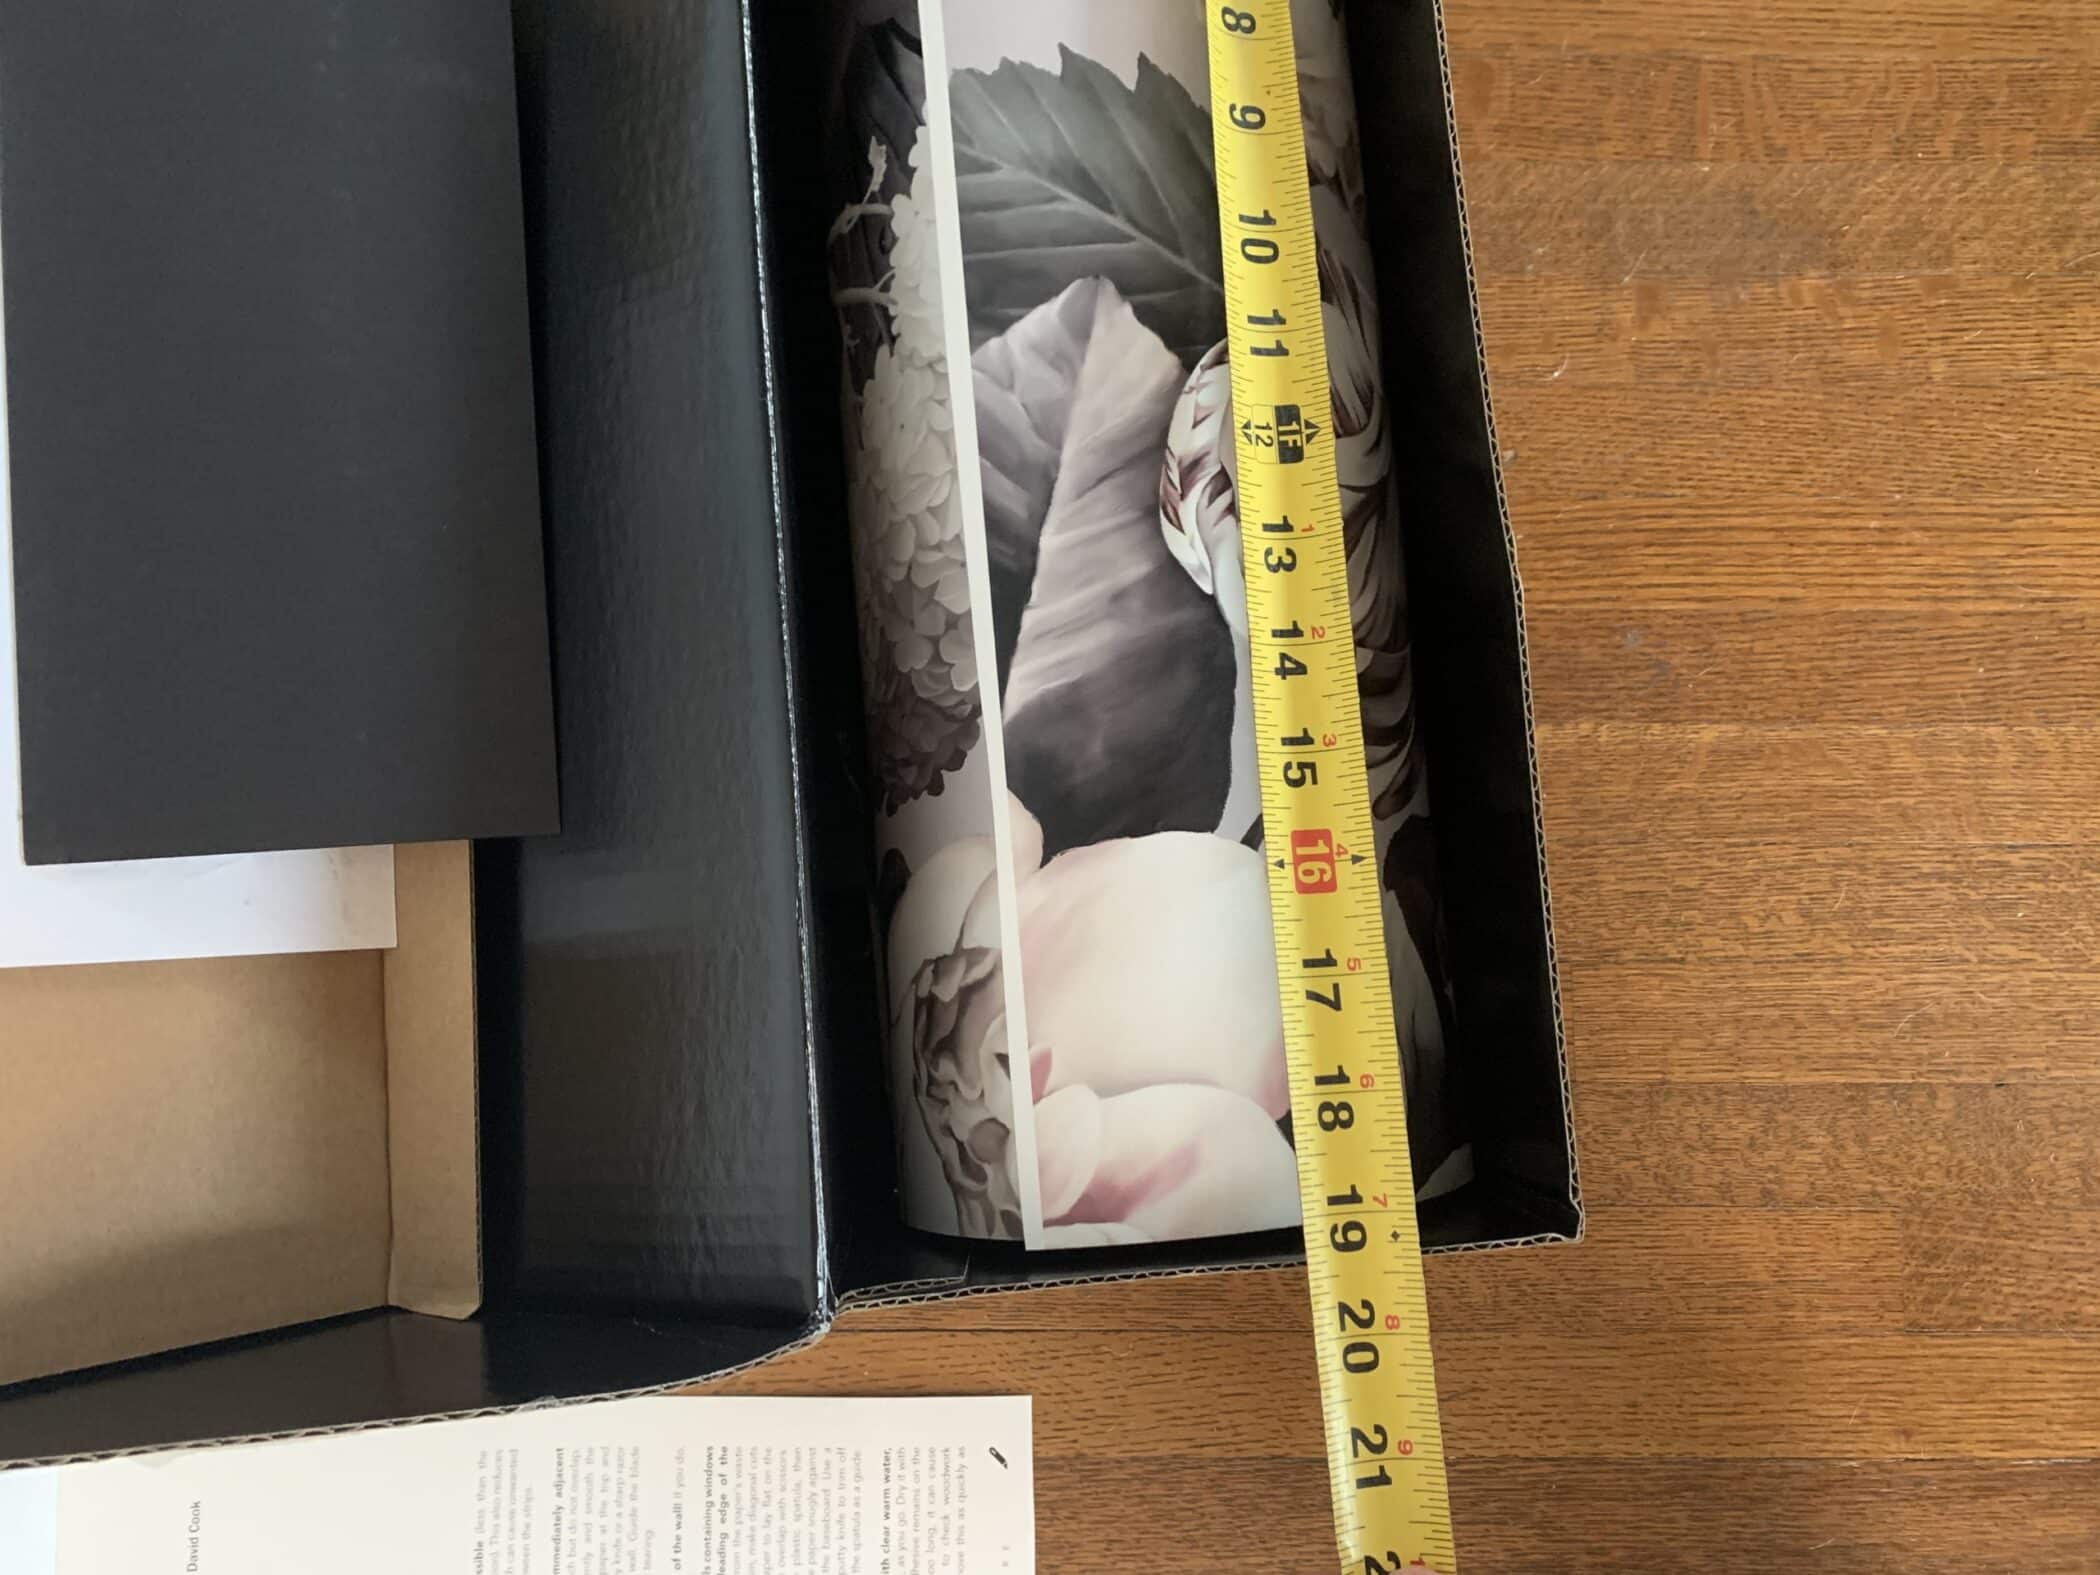
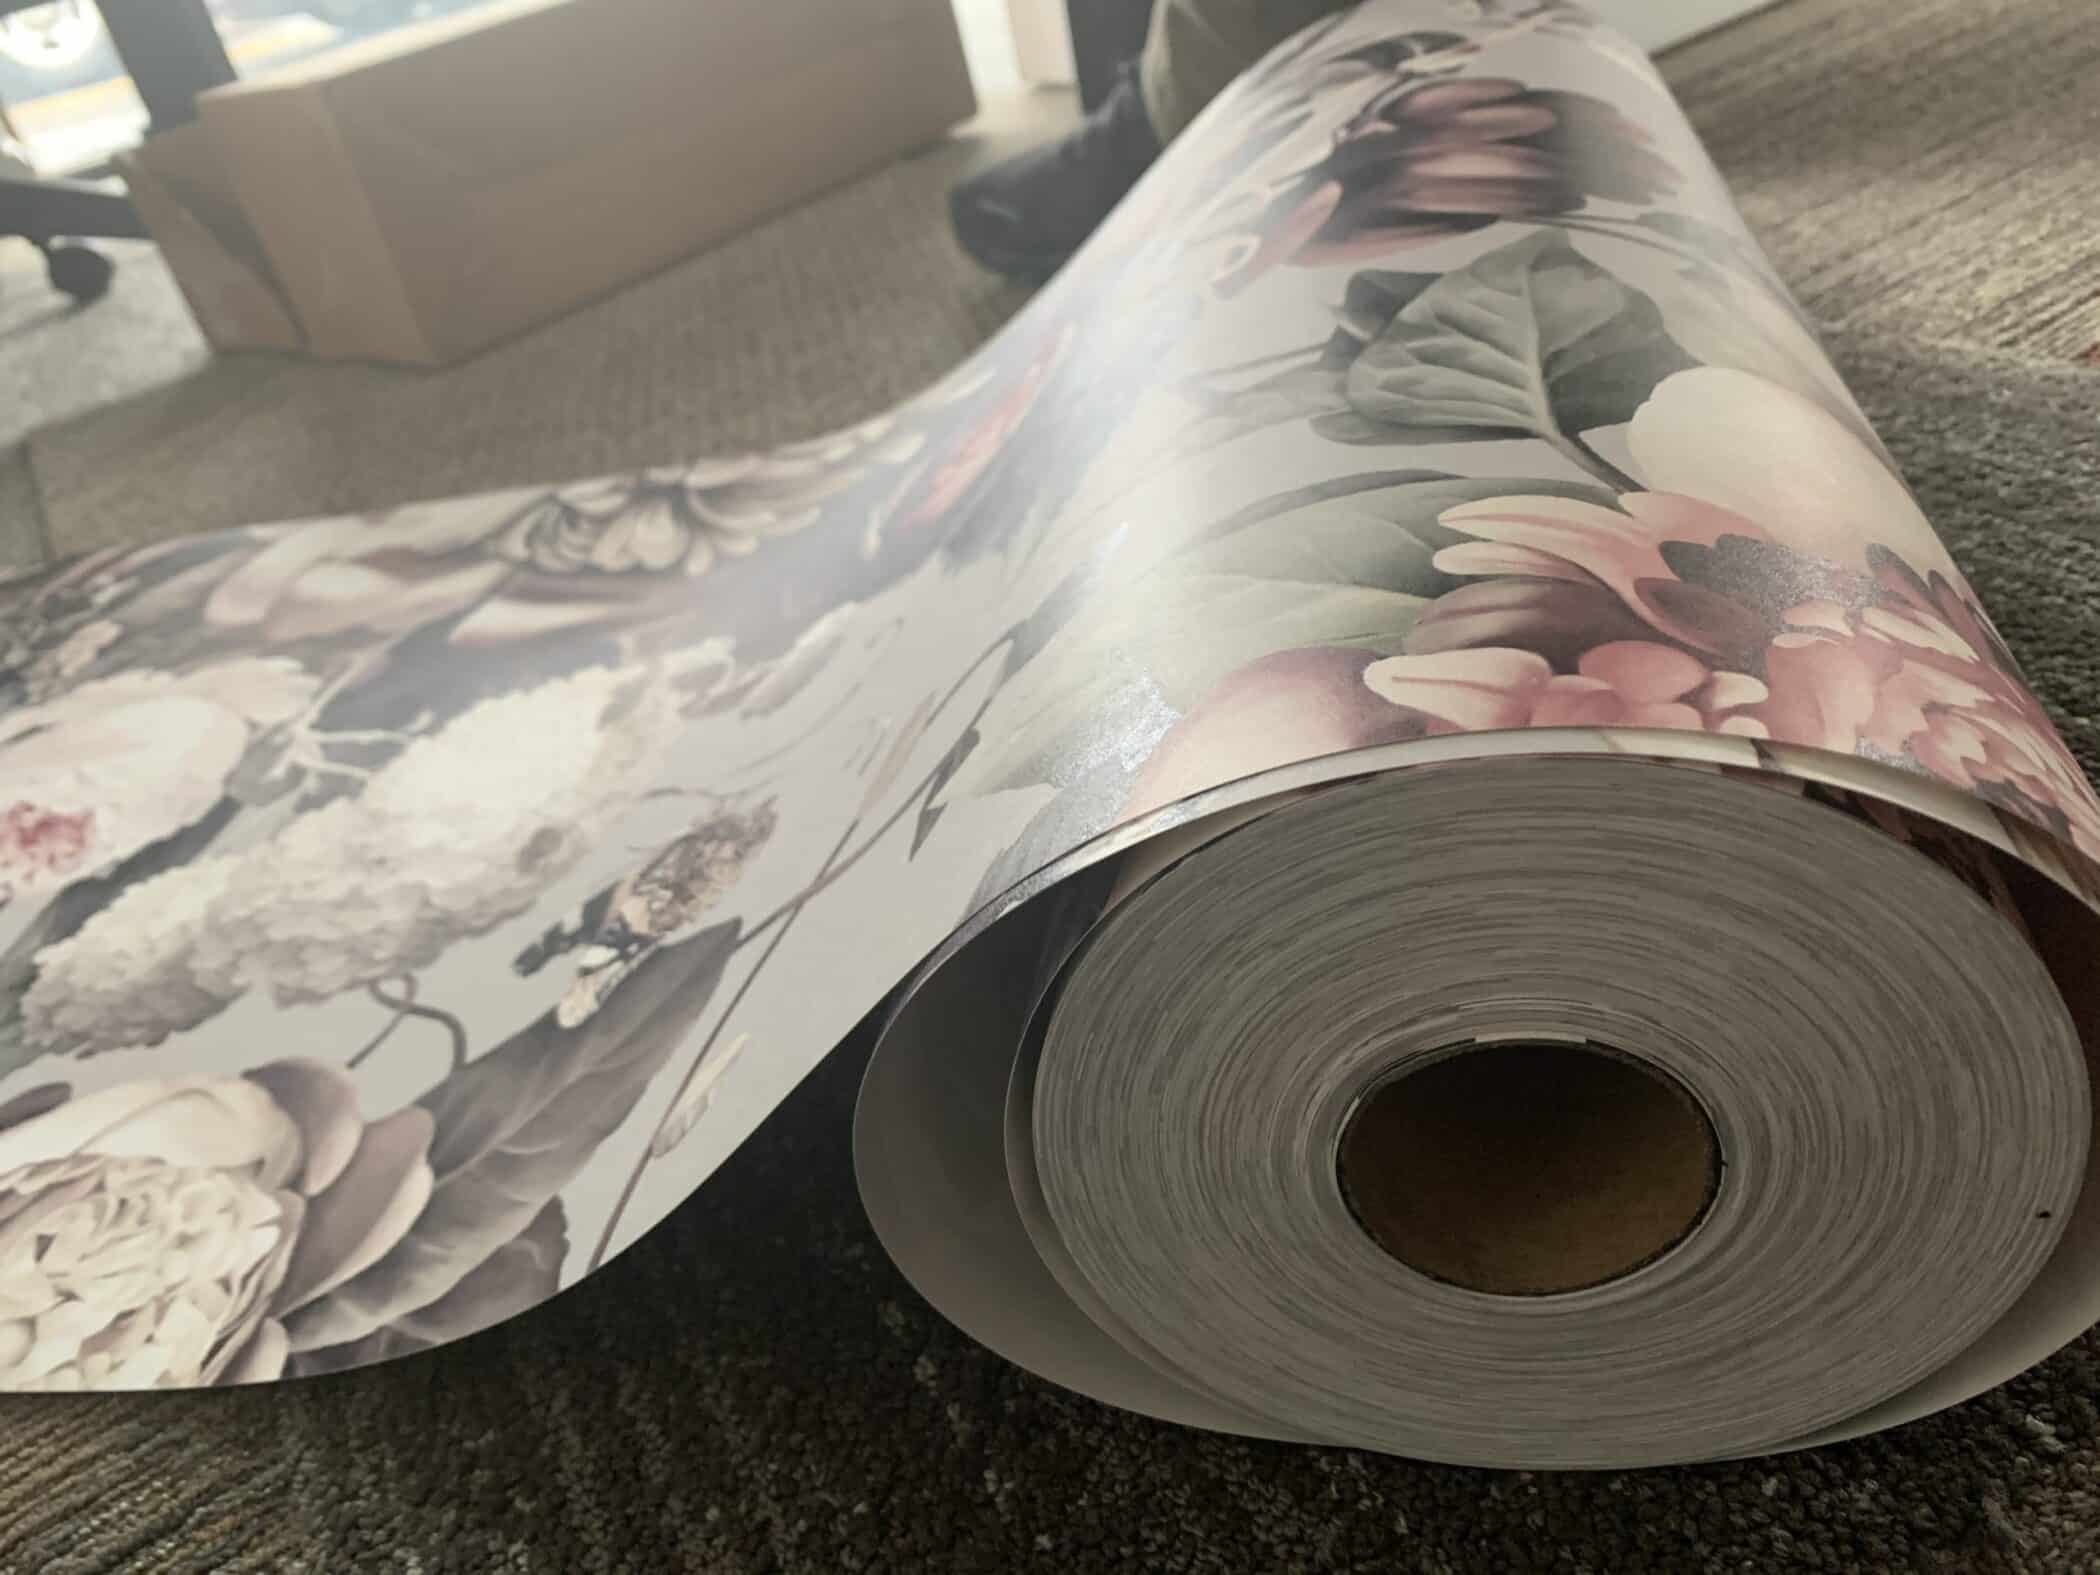
This may seem straightforward enough, but it happens more often than it should: a mural is unpackaged and put on a wall only to find it doesn’t fit or is defective.
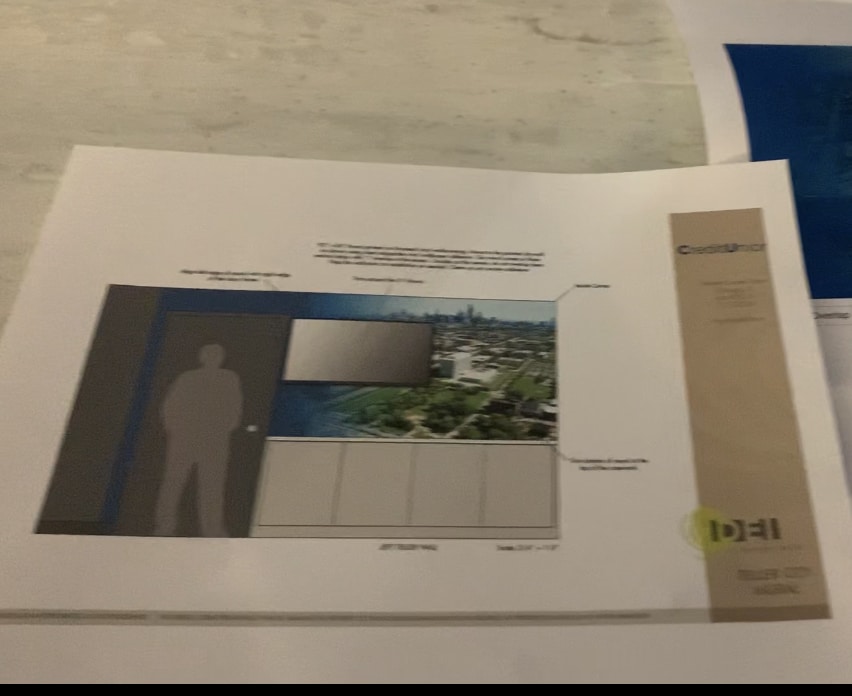
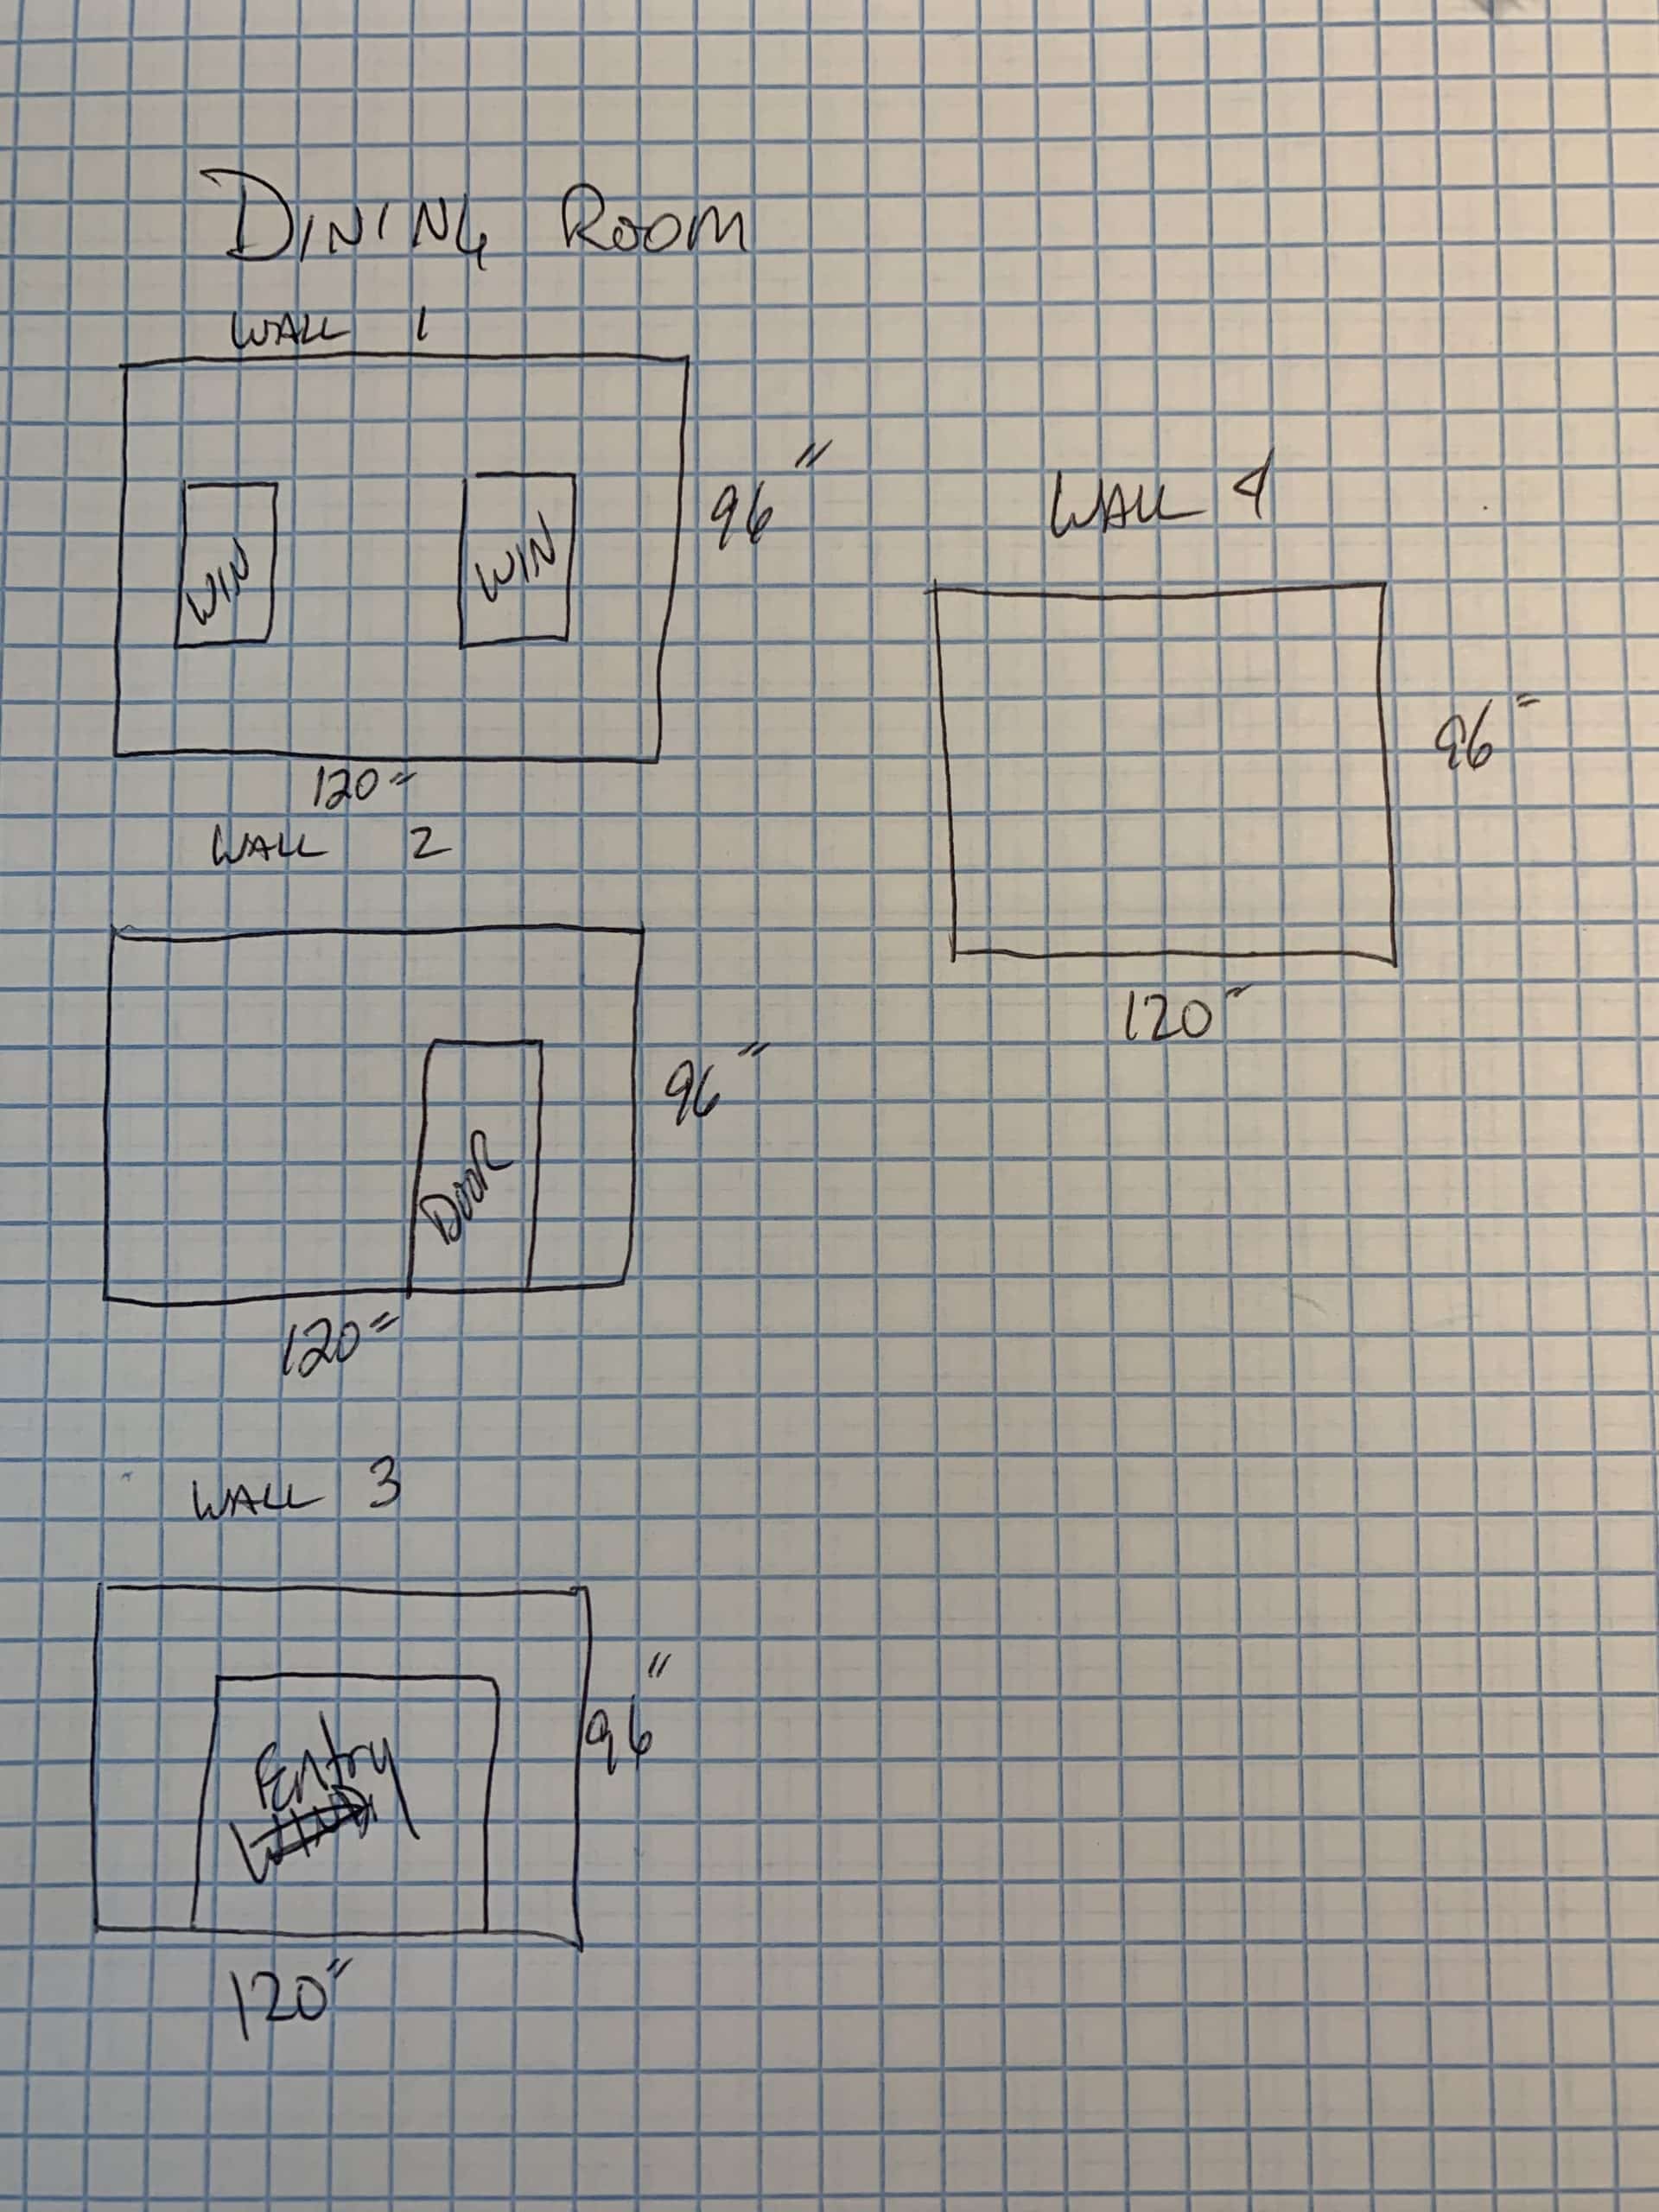
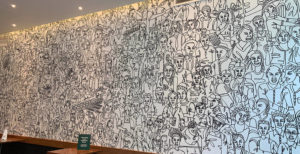
Here is an image of the wallpaper layout.
Here is a quick video on our last install on a few things we looked for and had to call the designer to clarify before we installed.
For a quick punch list…
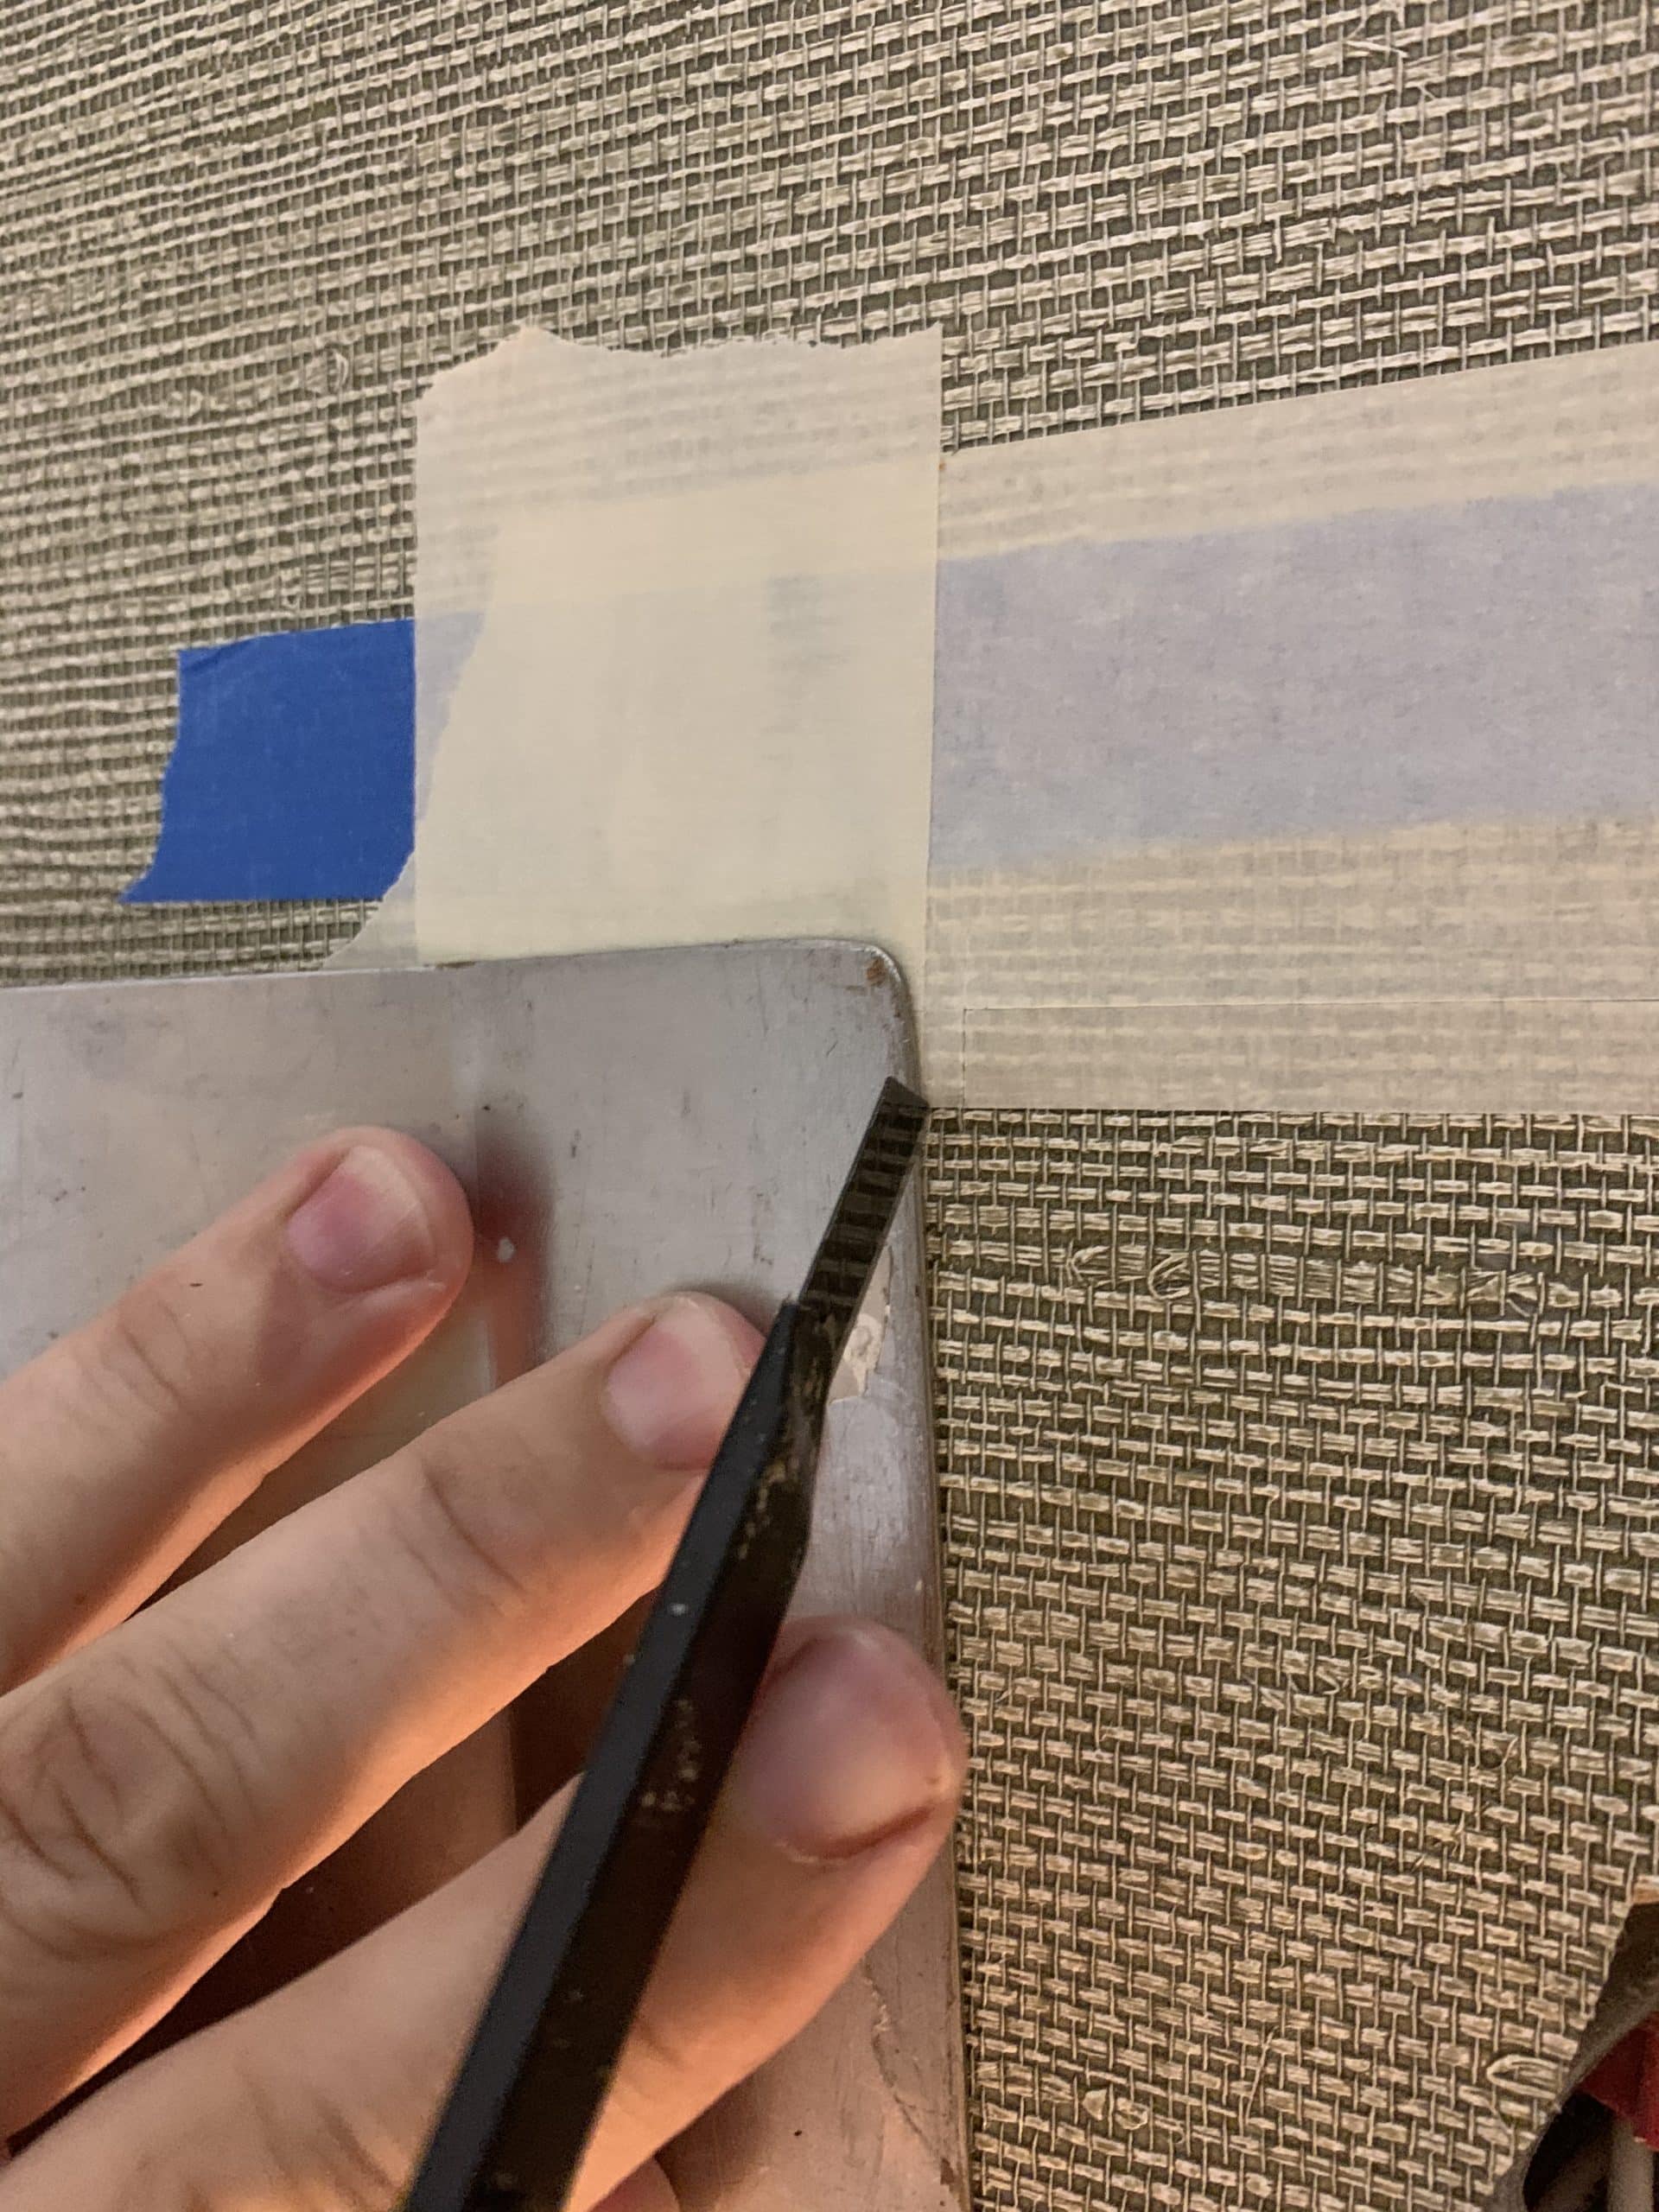
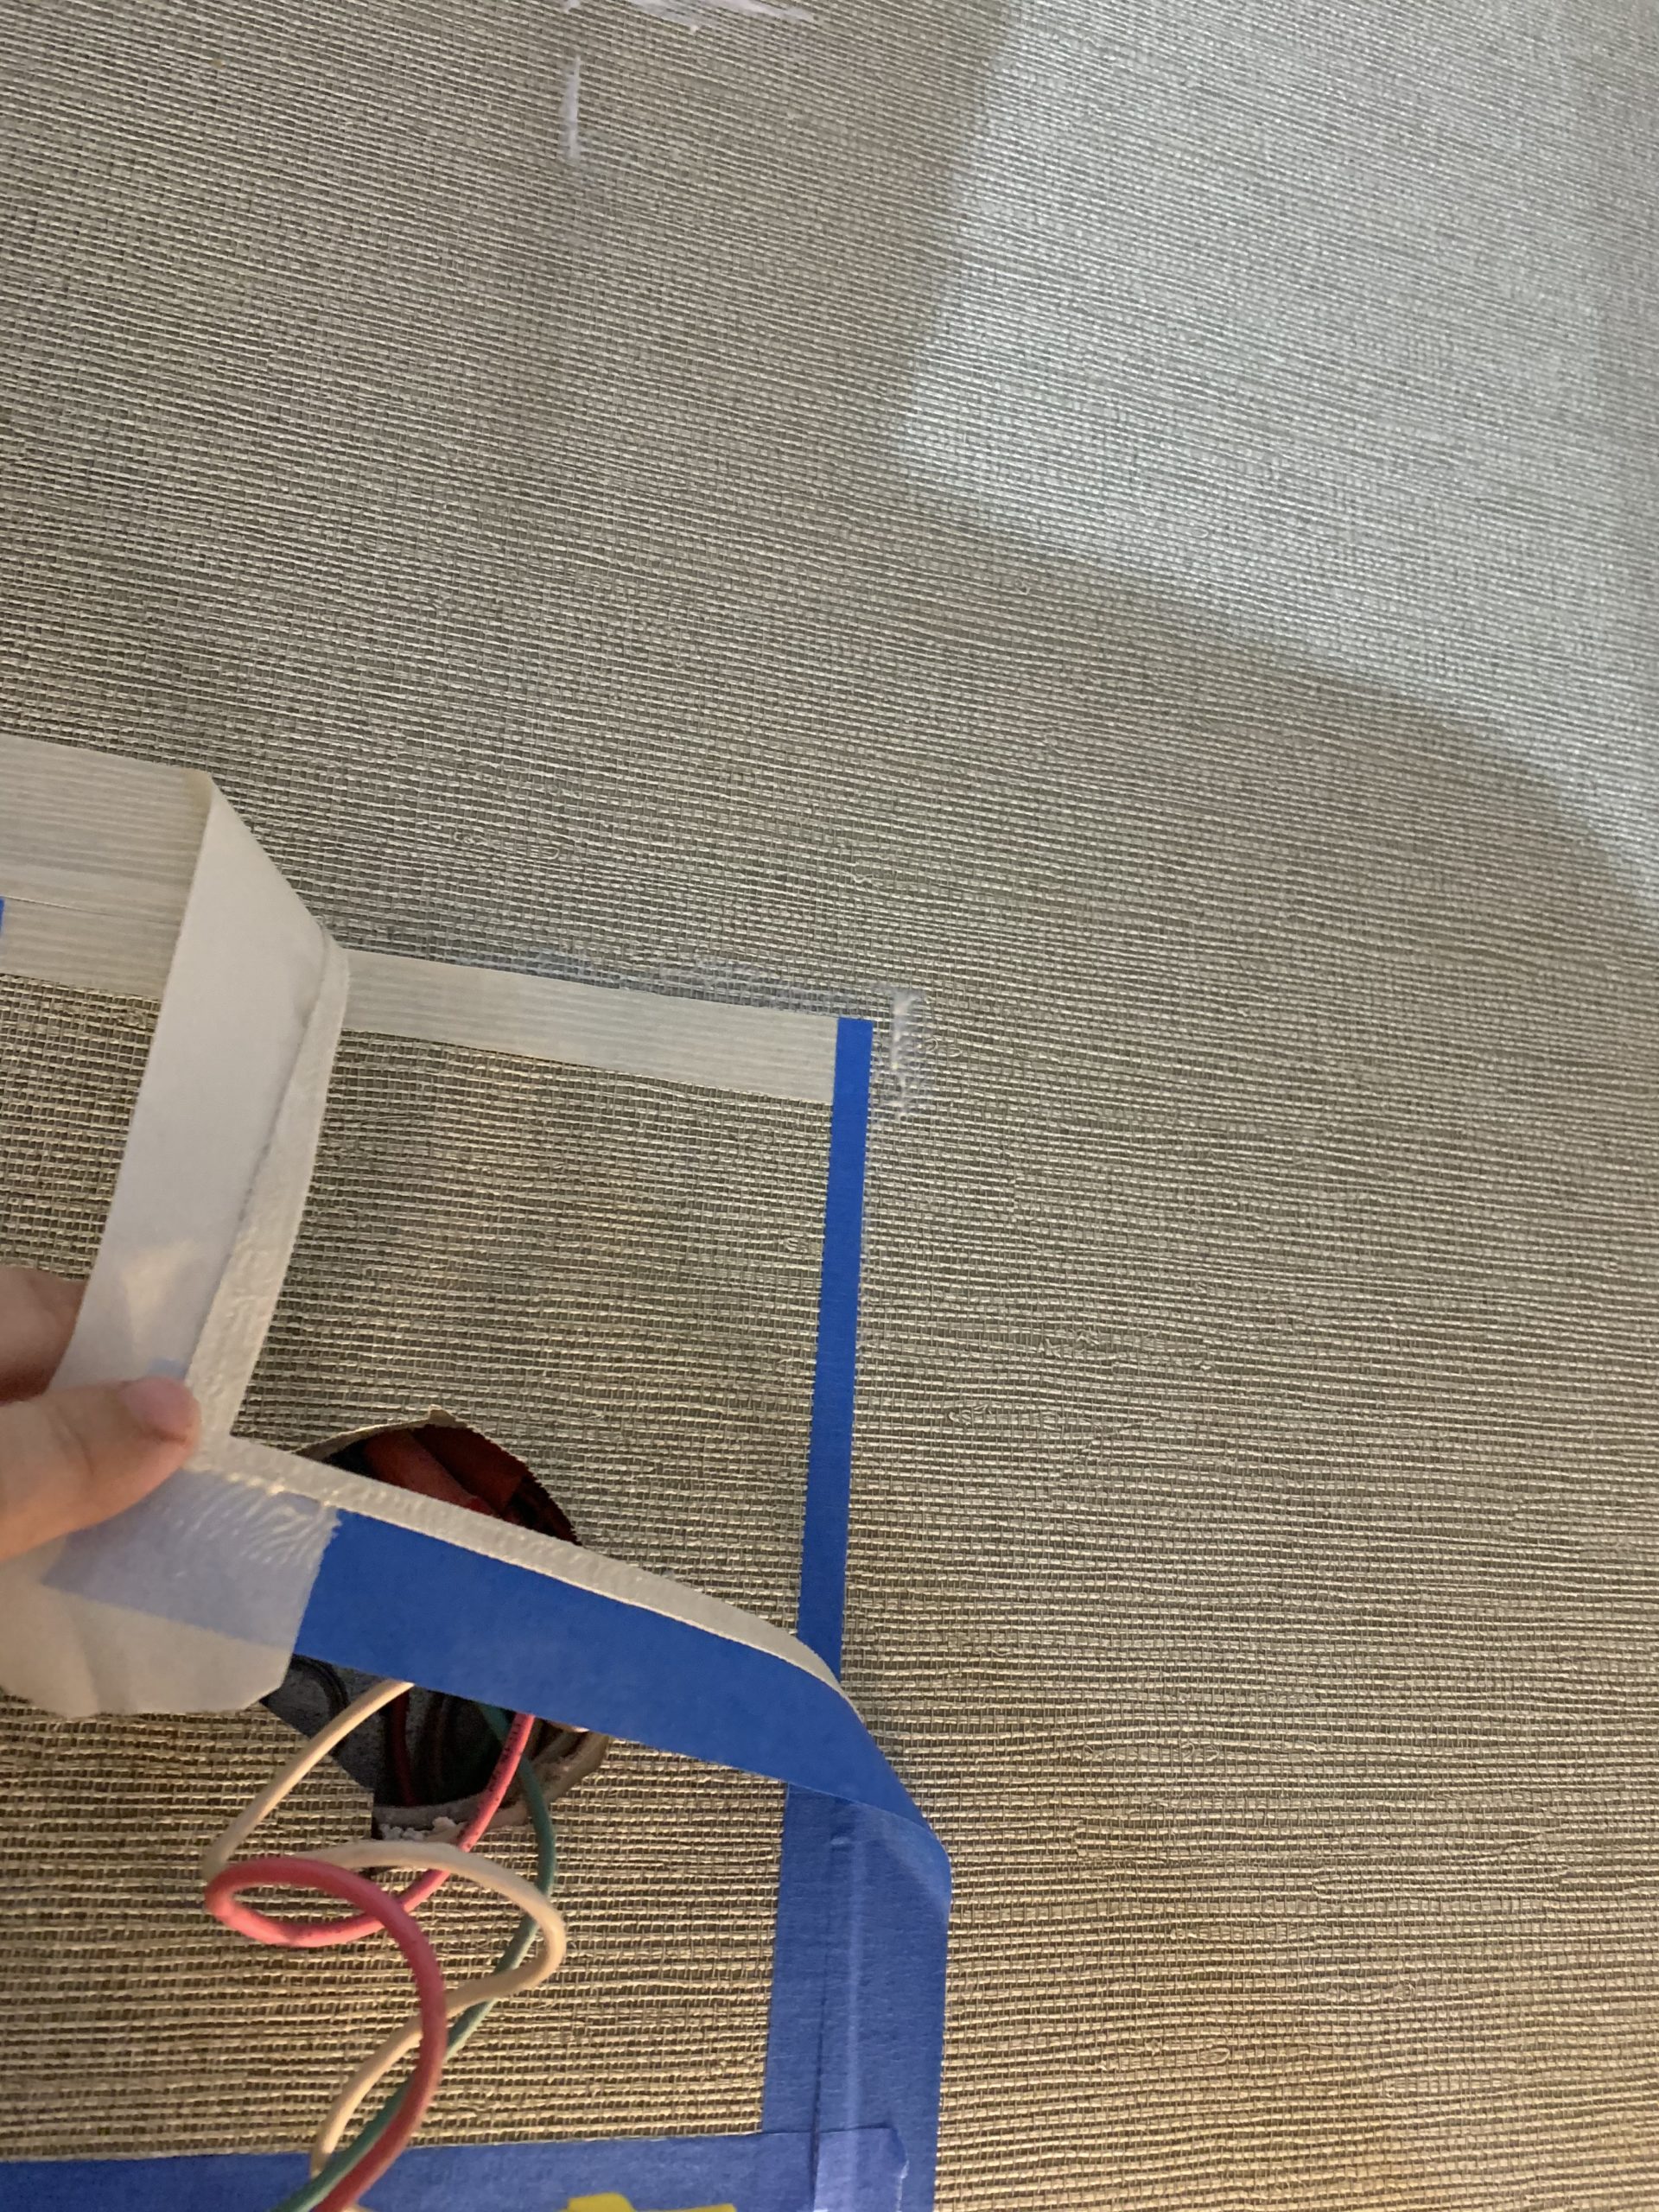
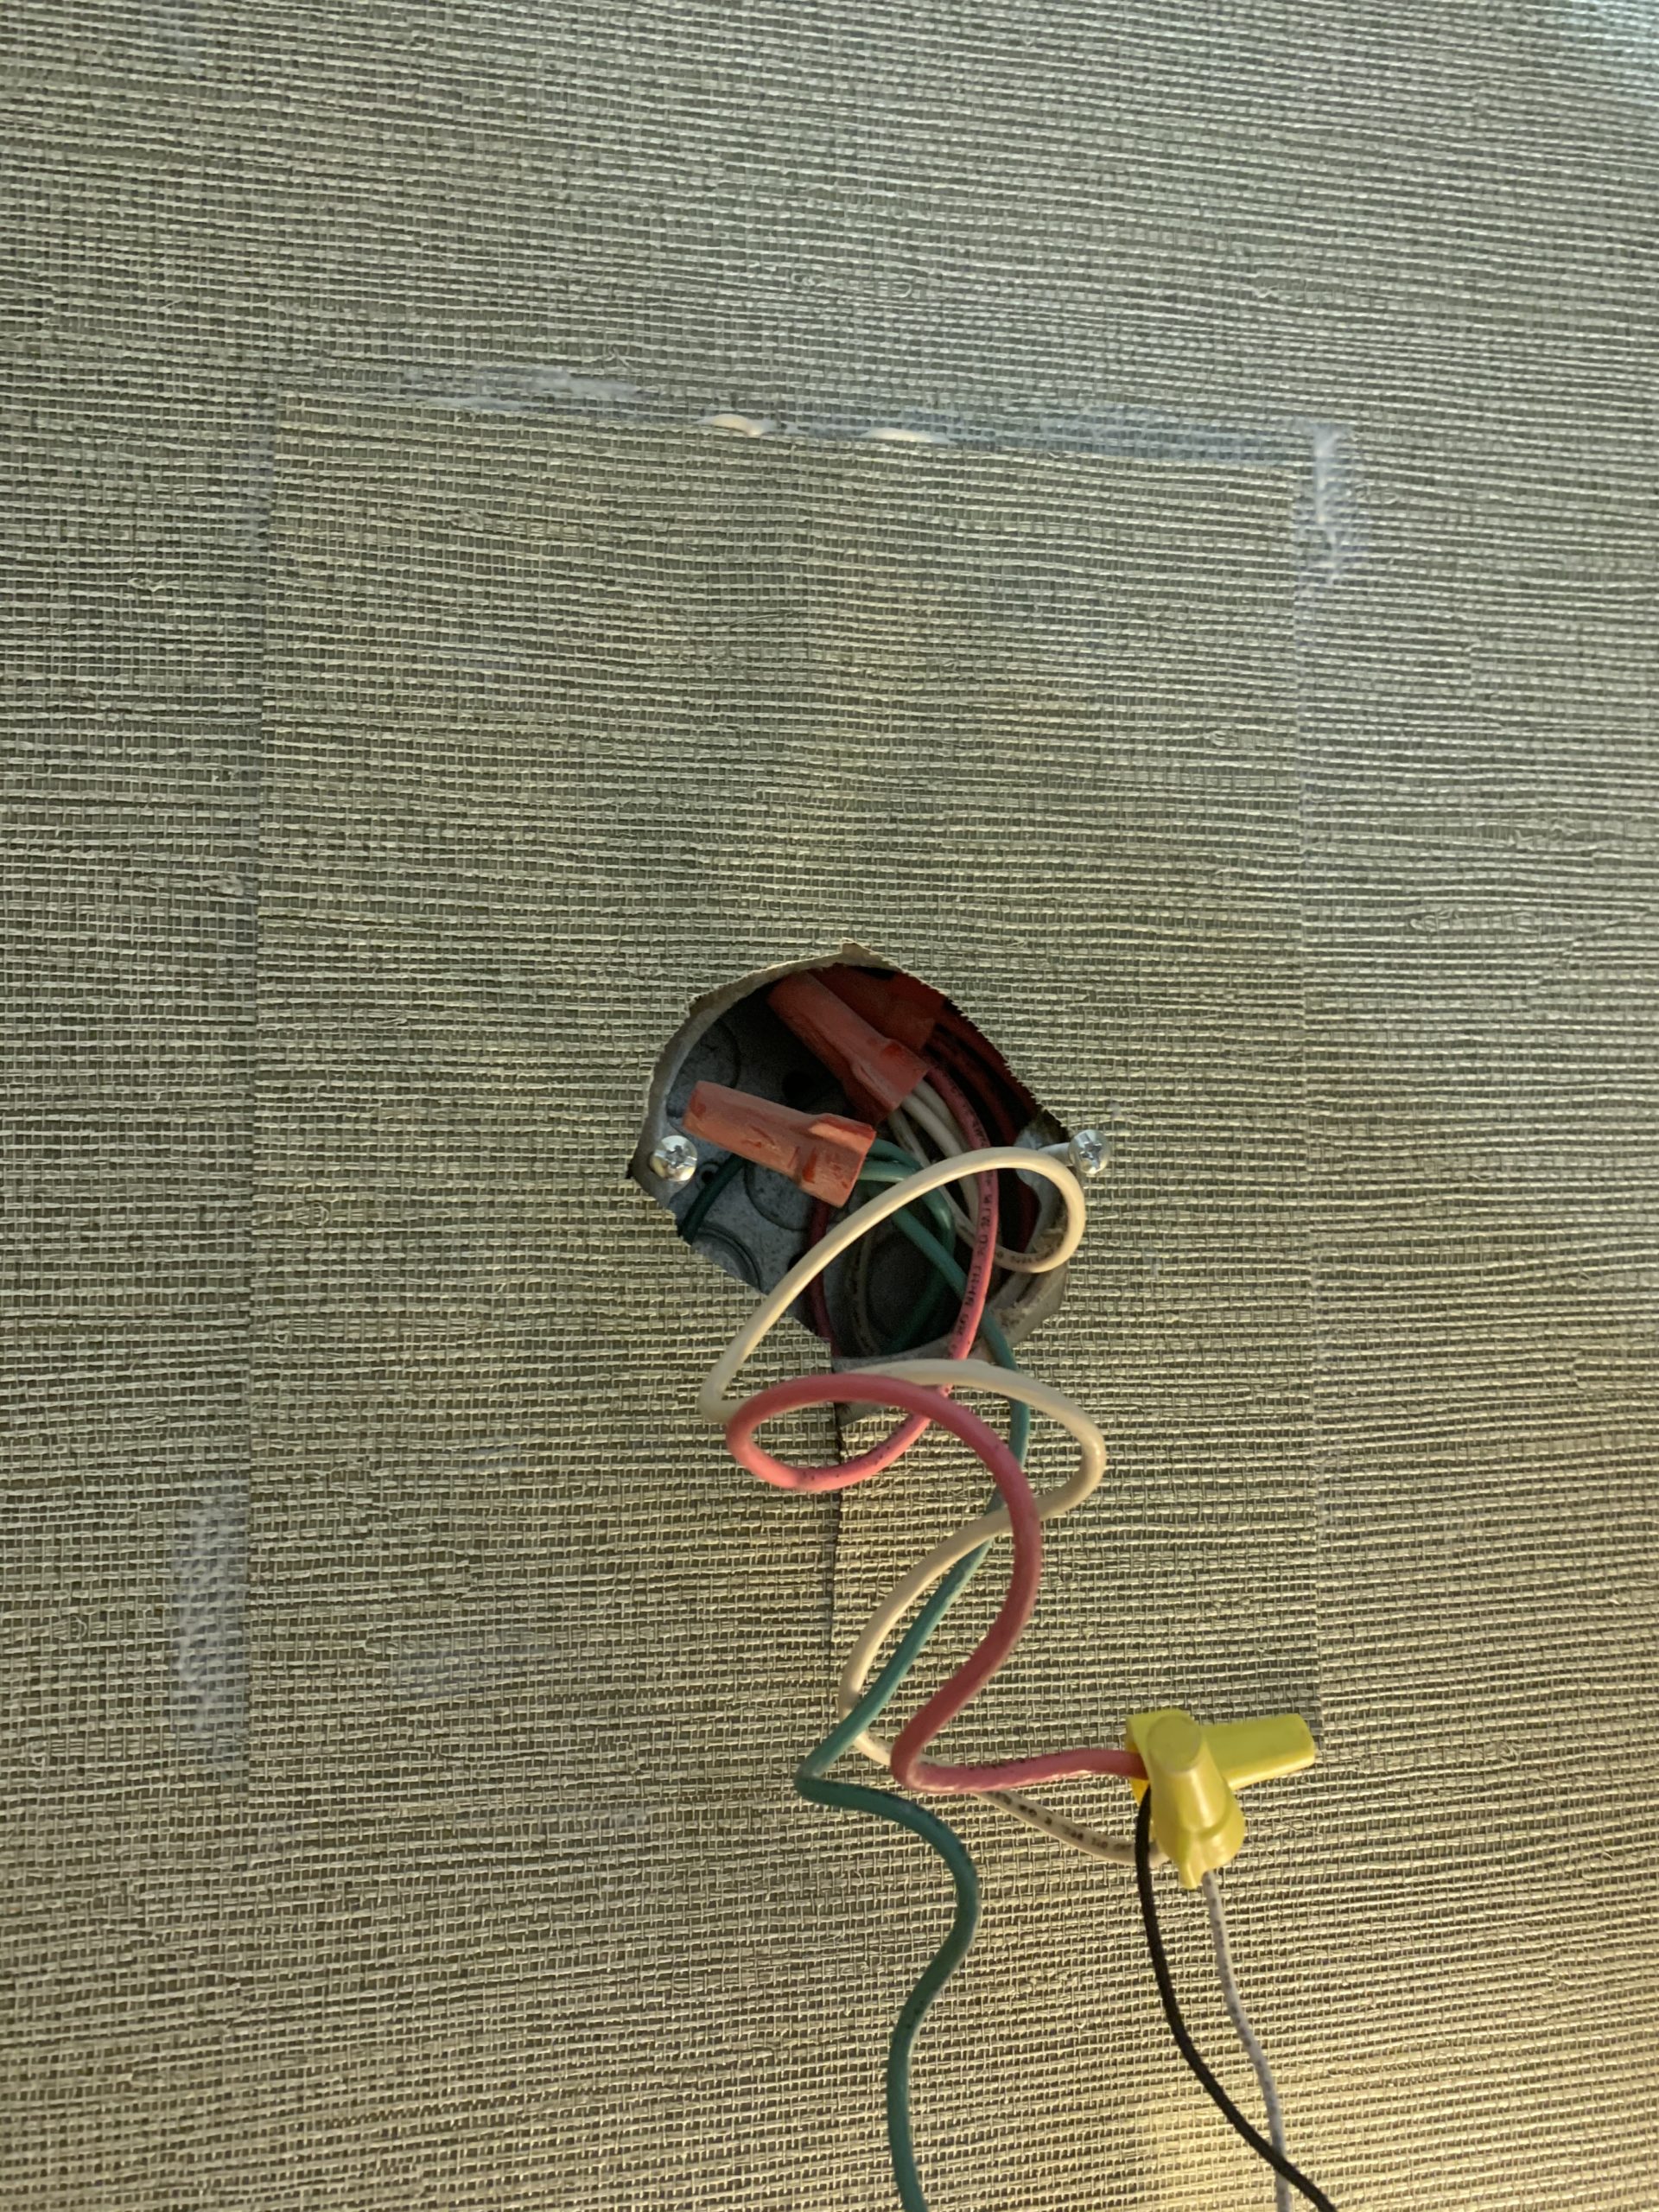
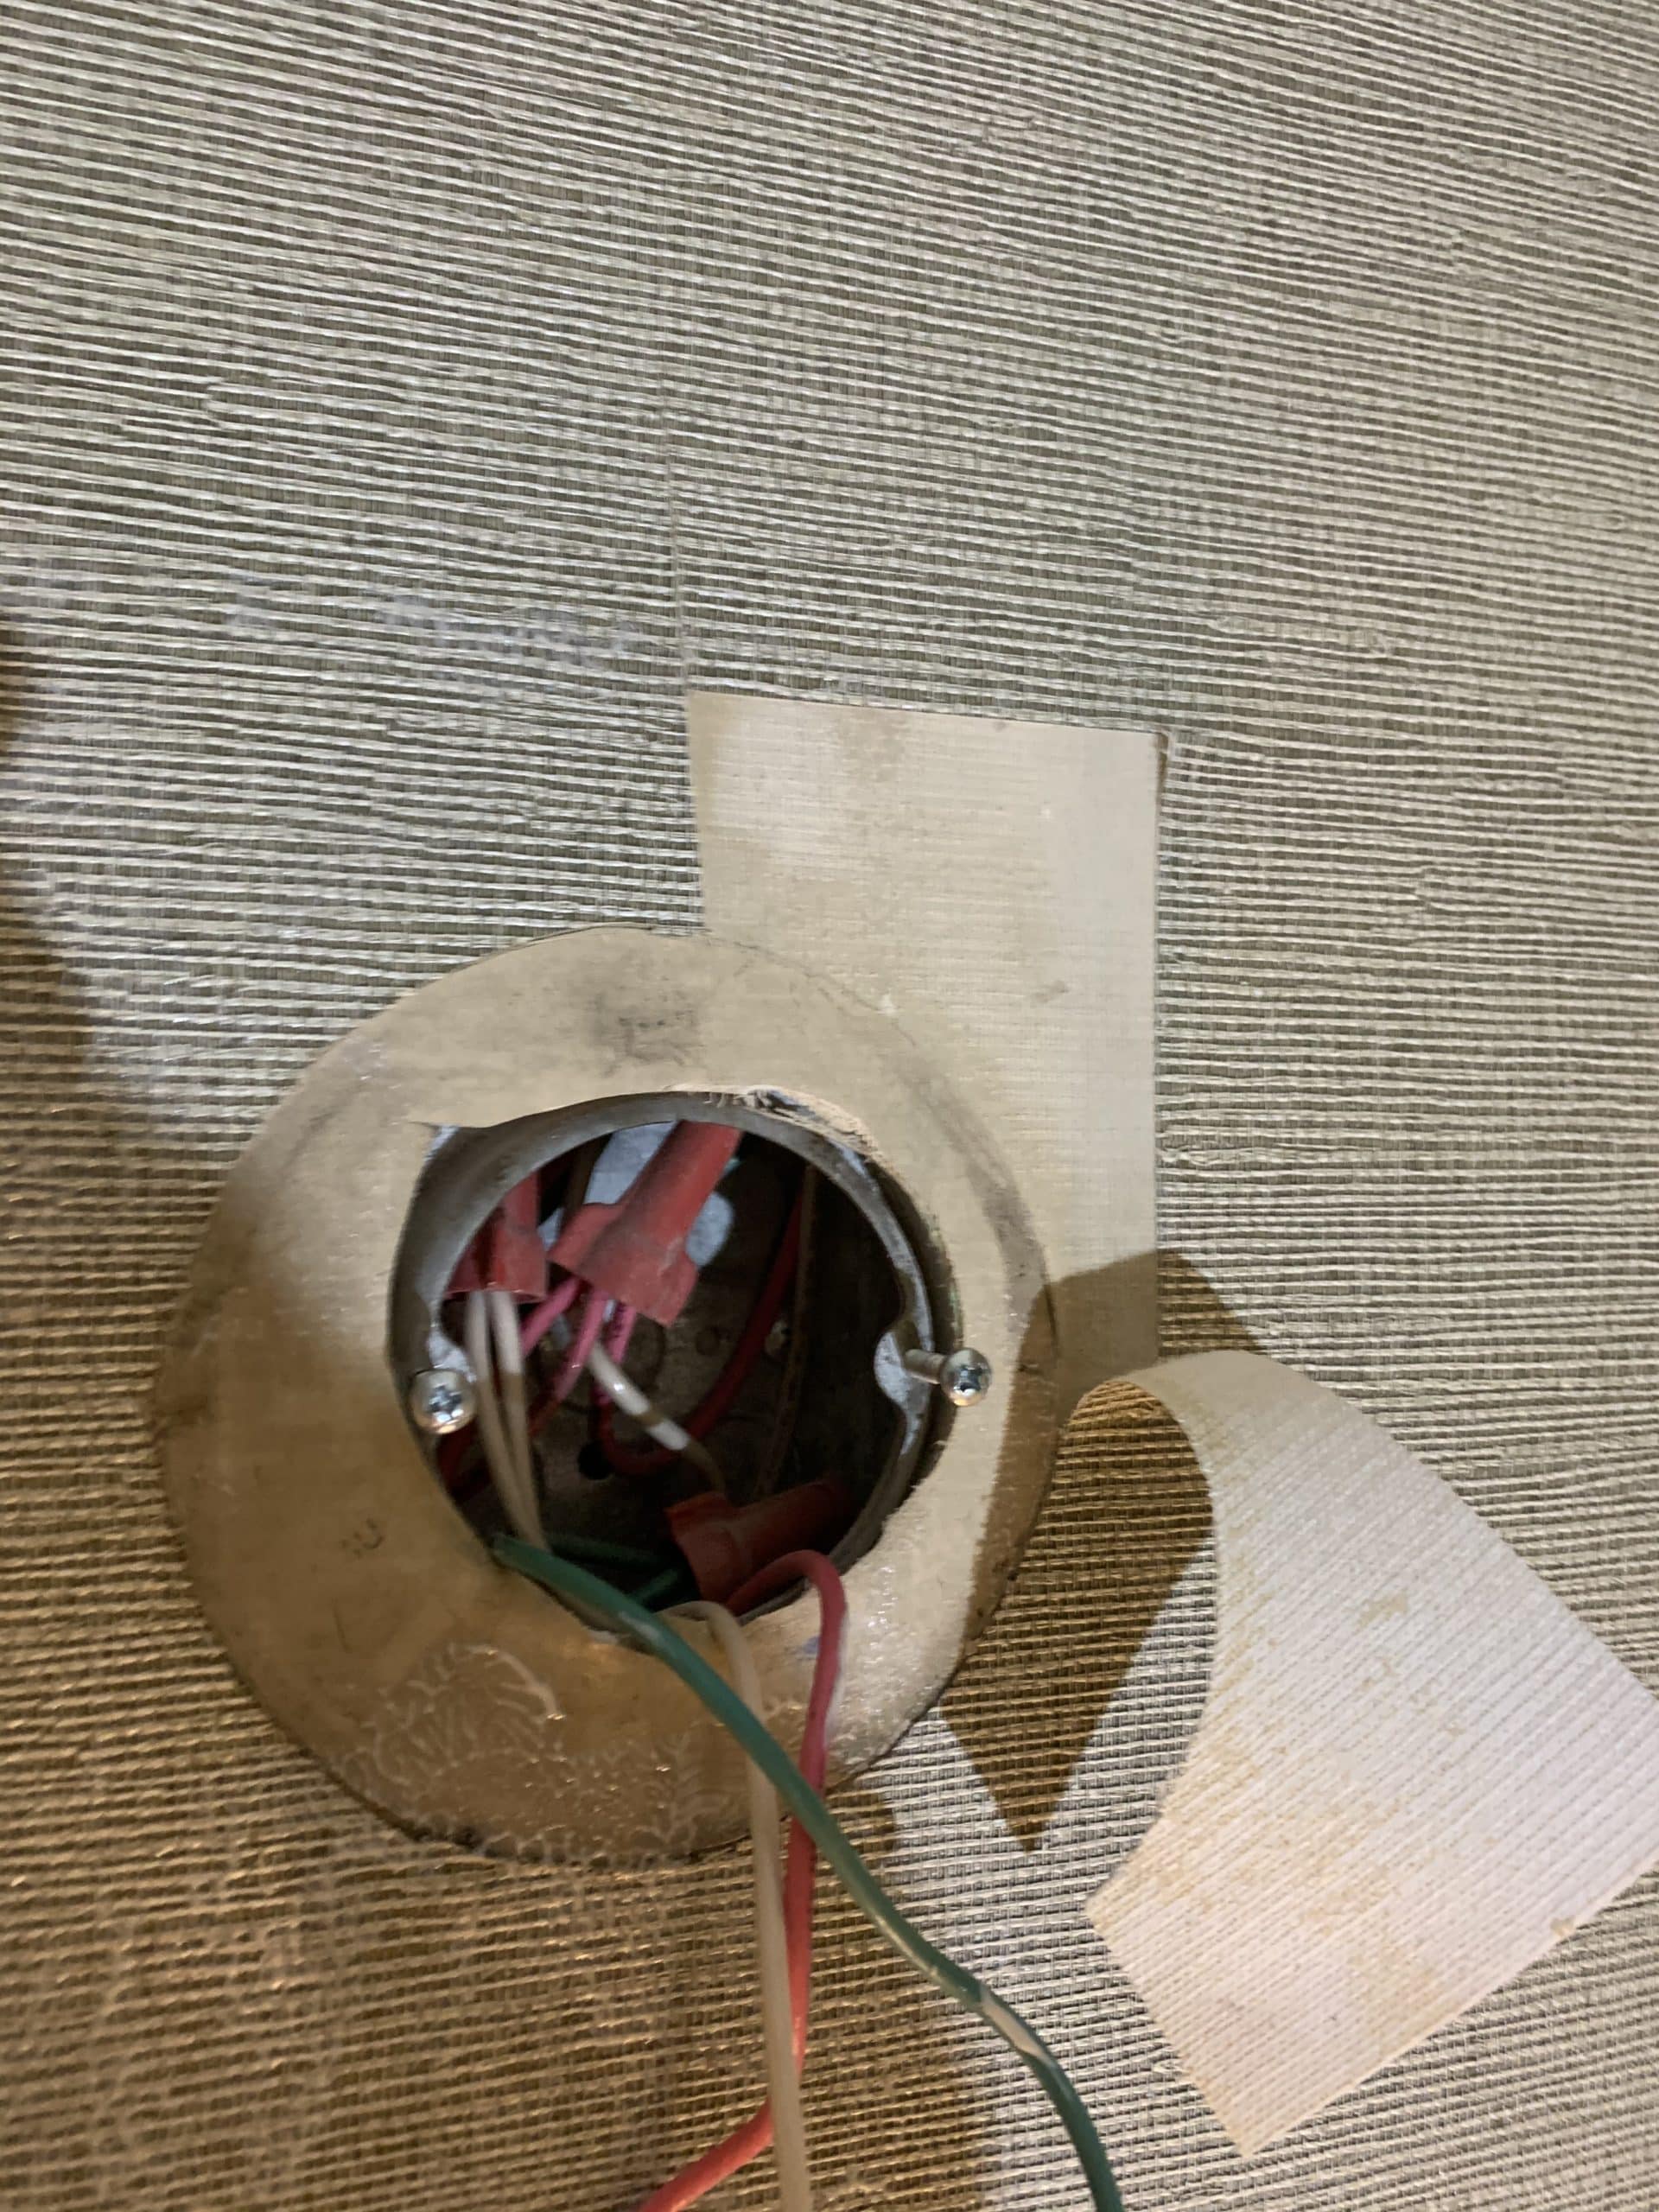
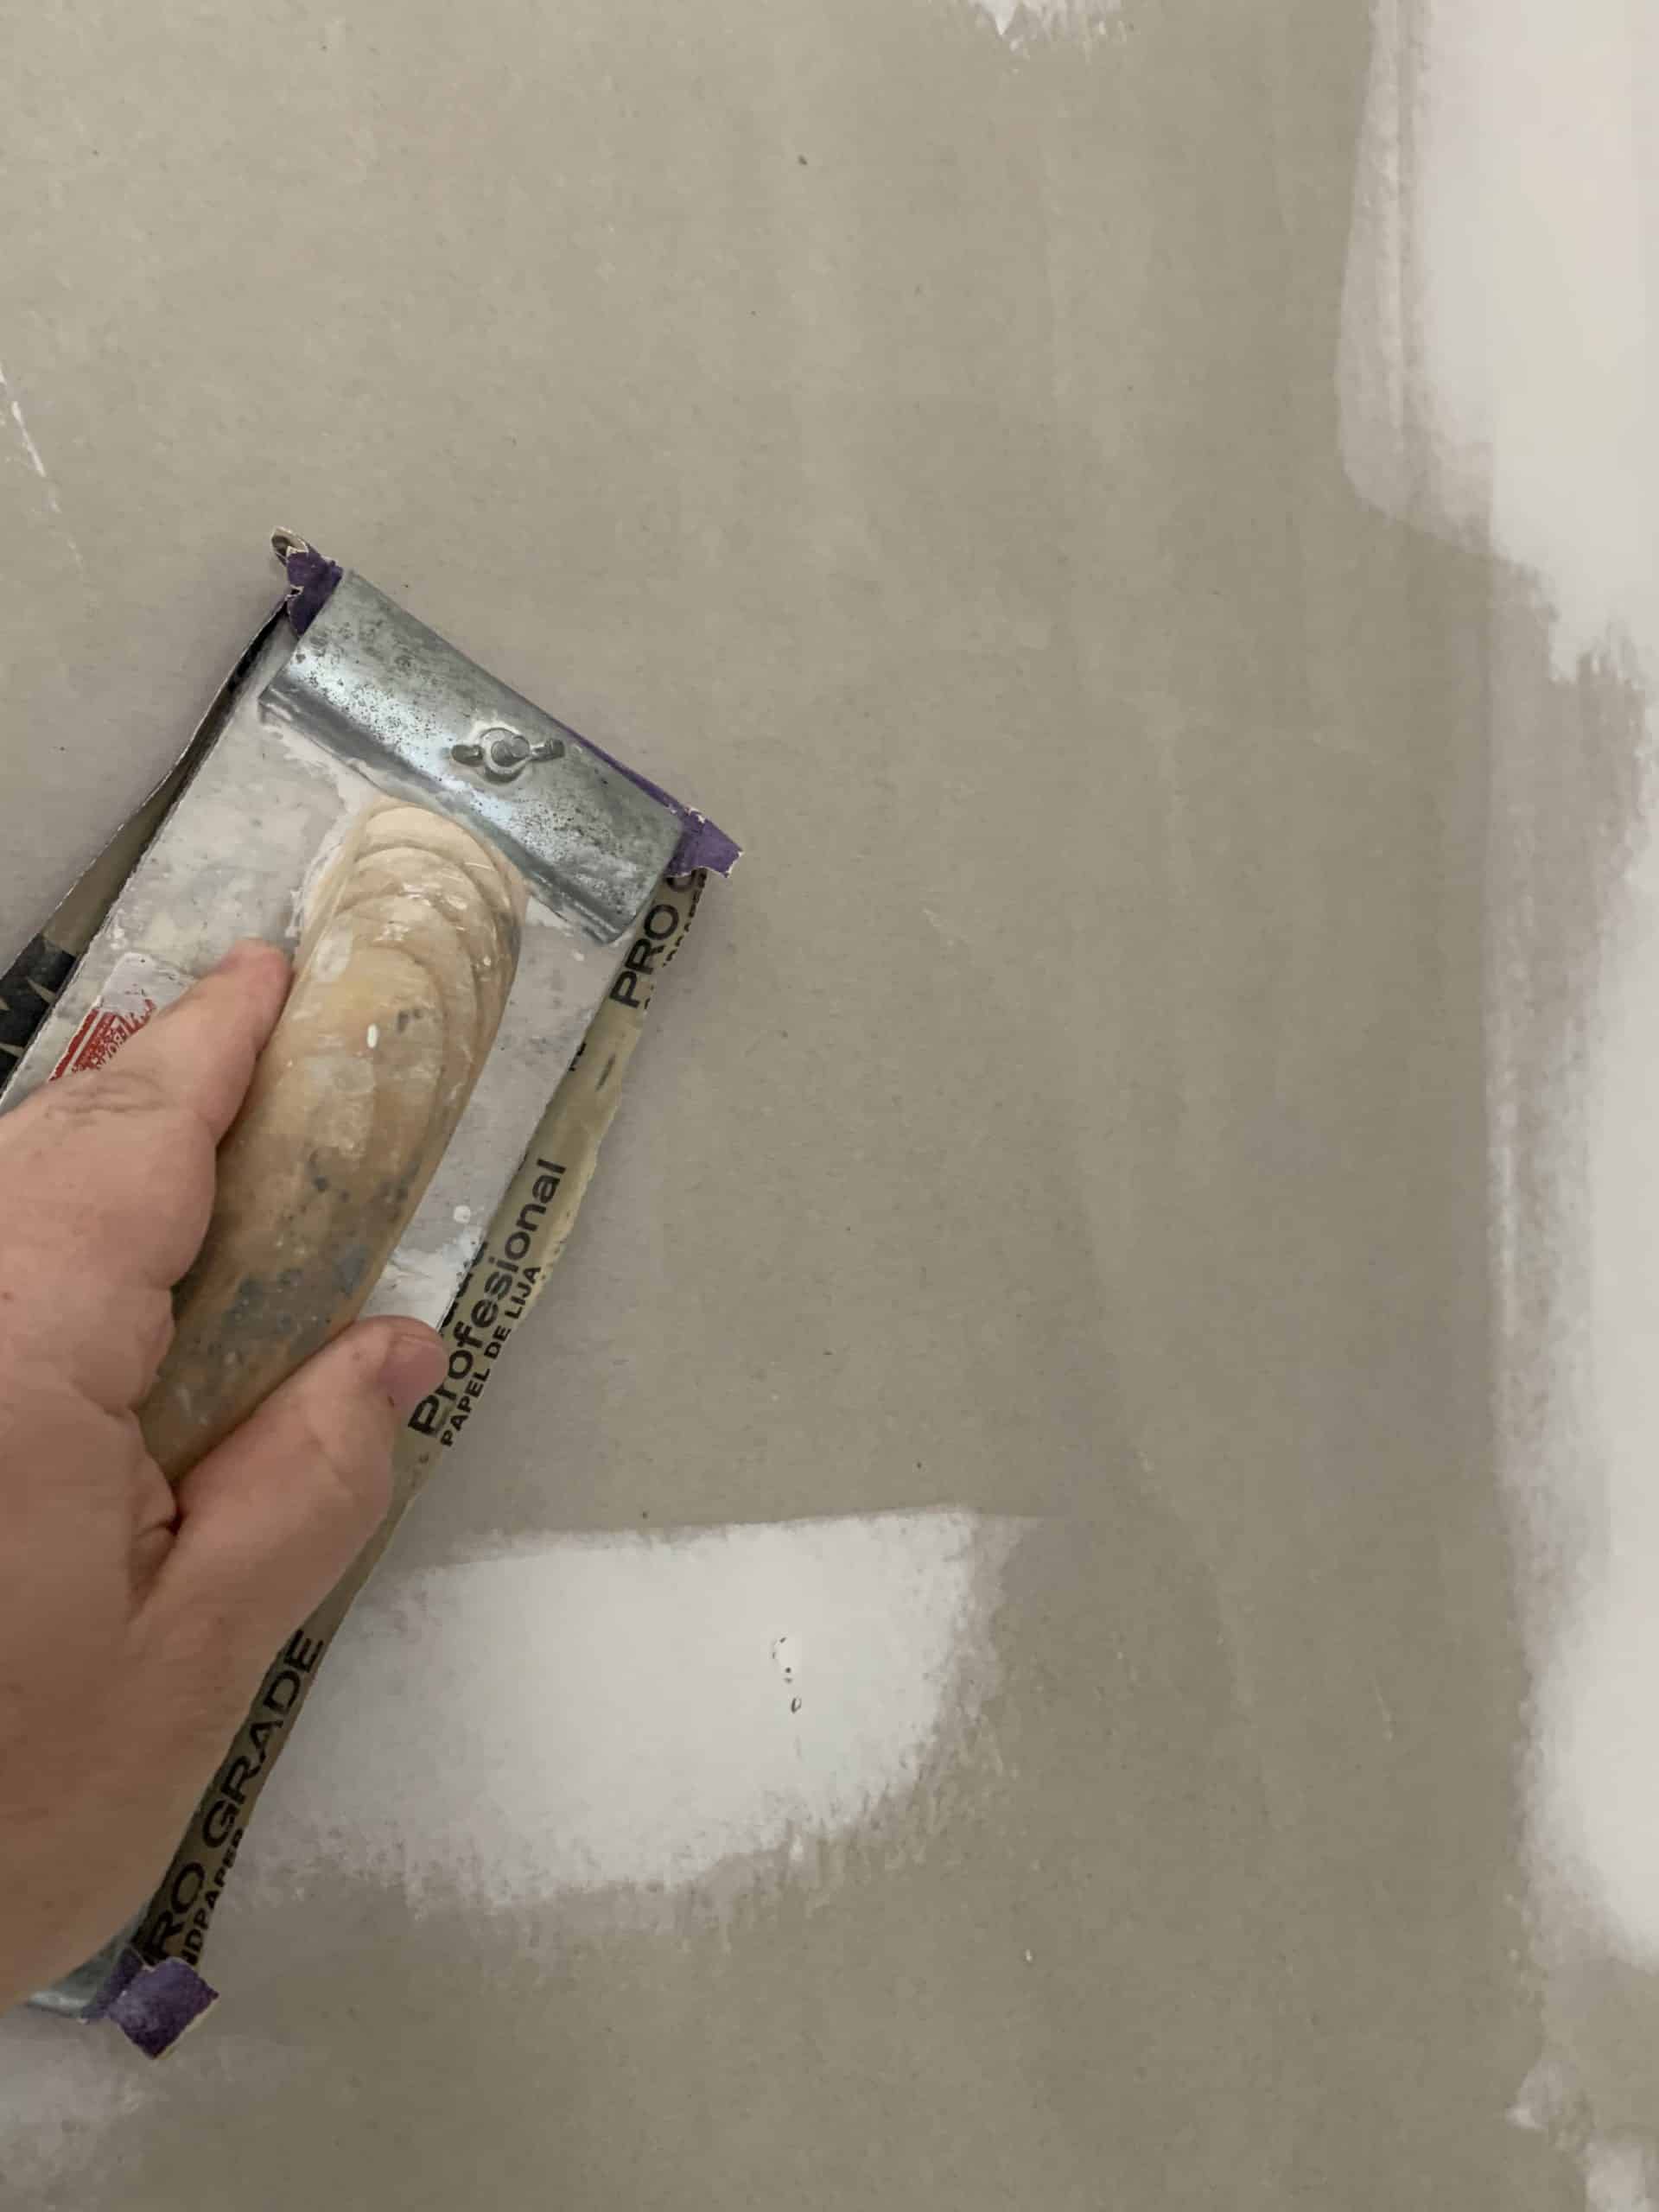
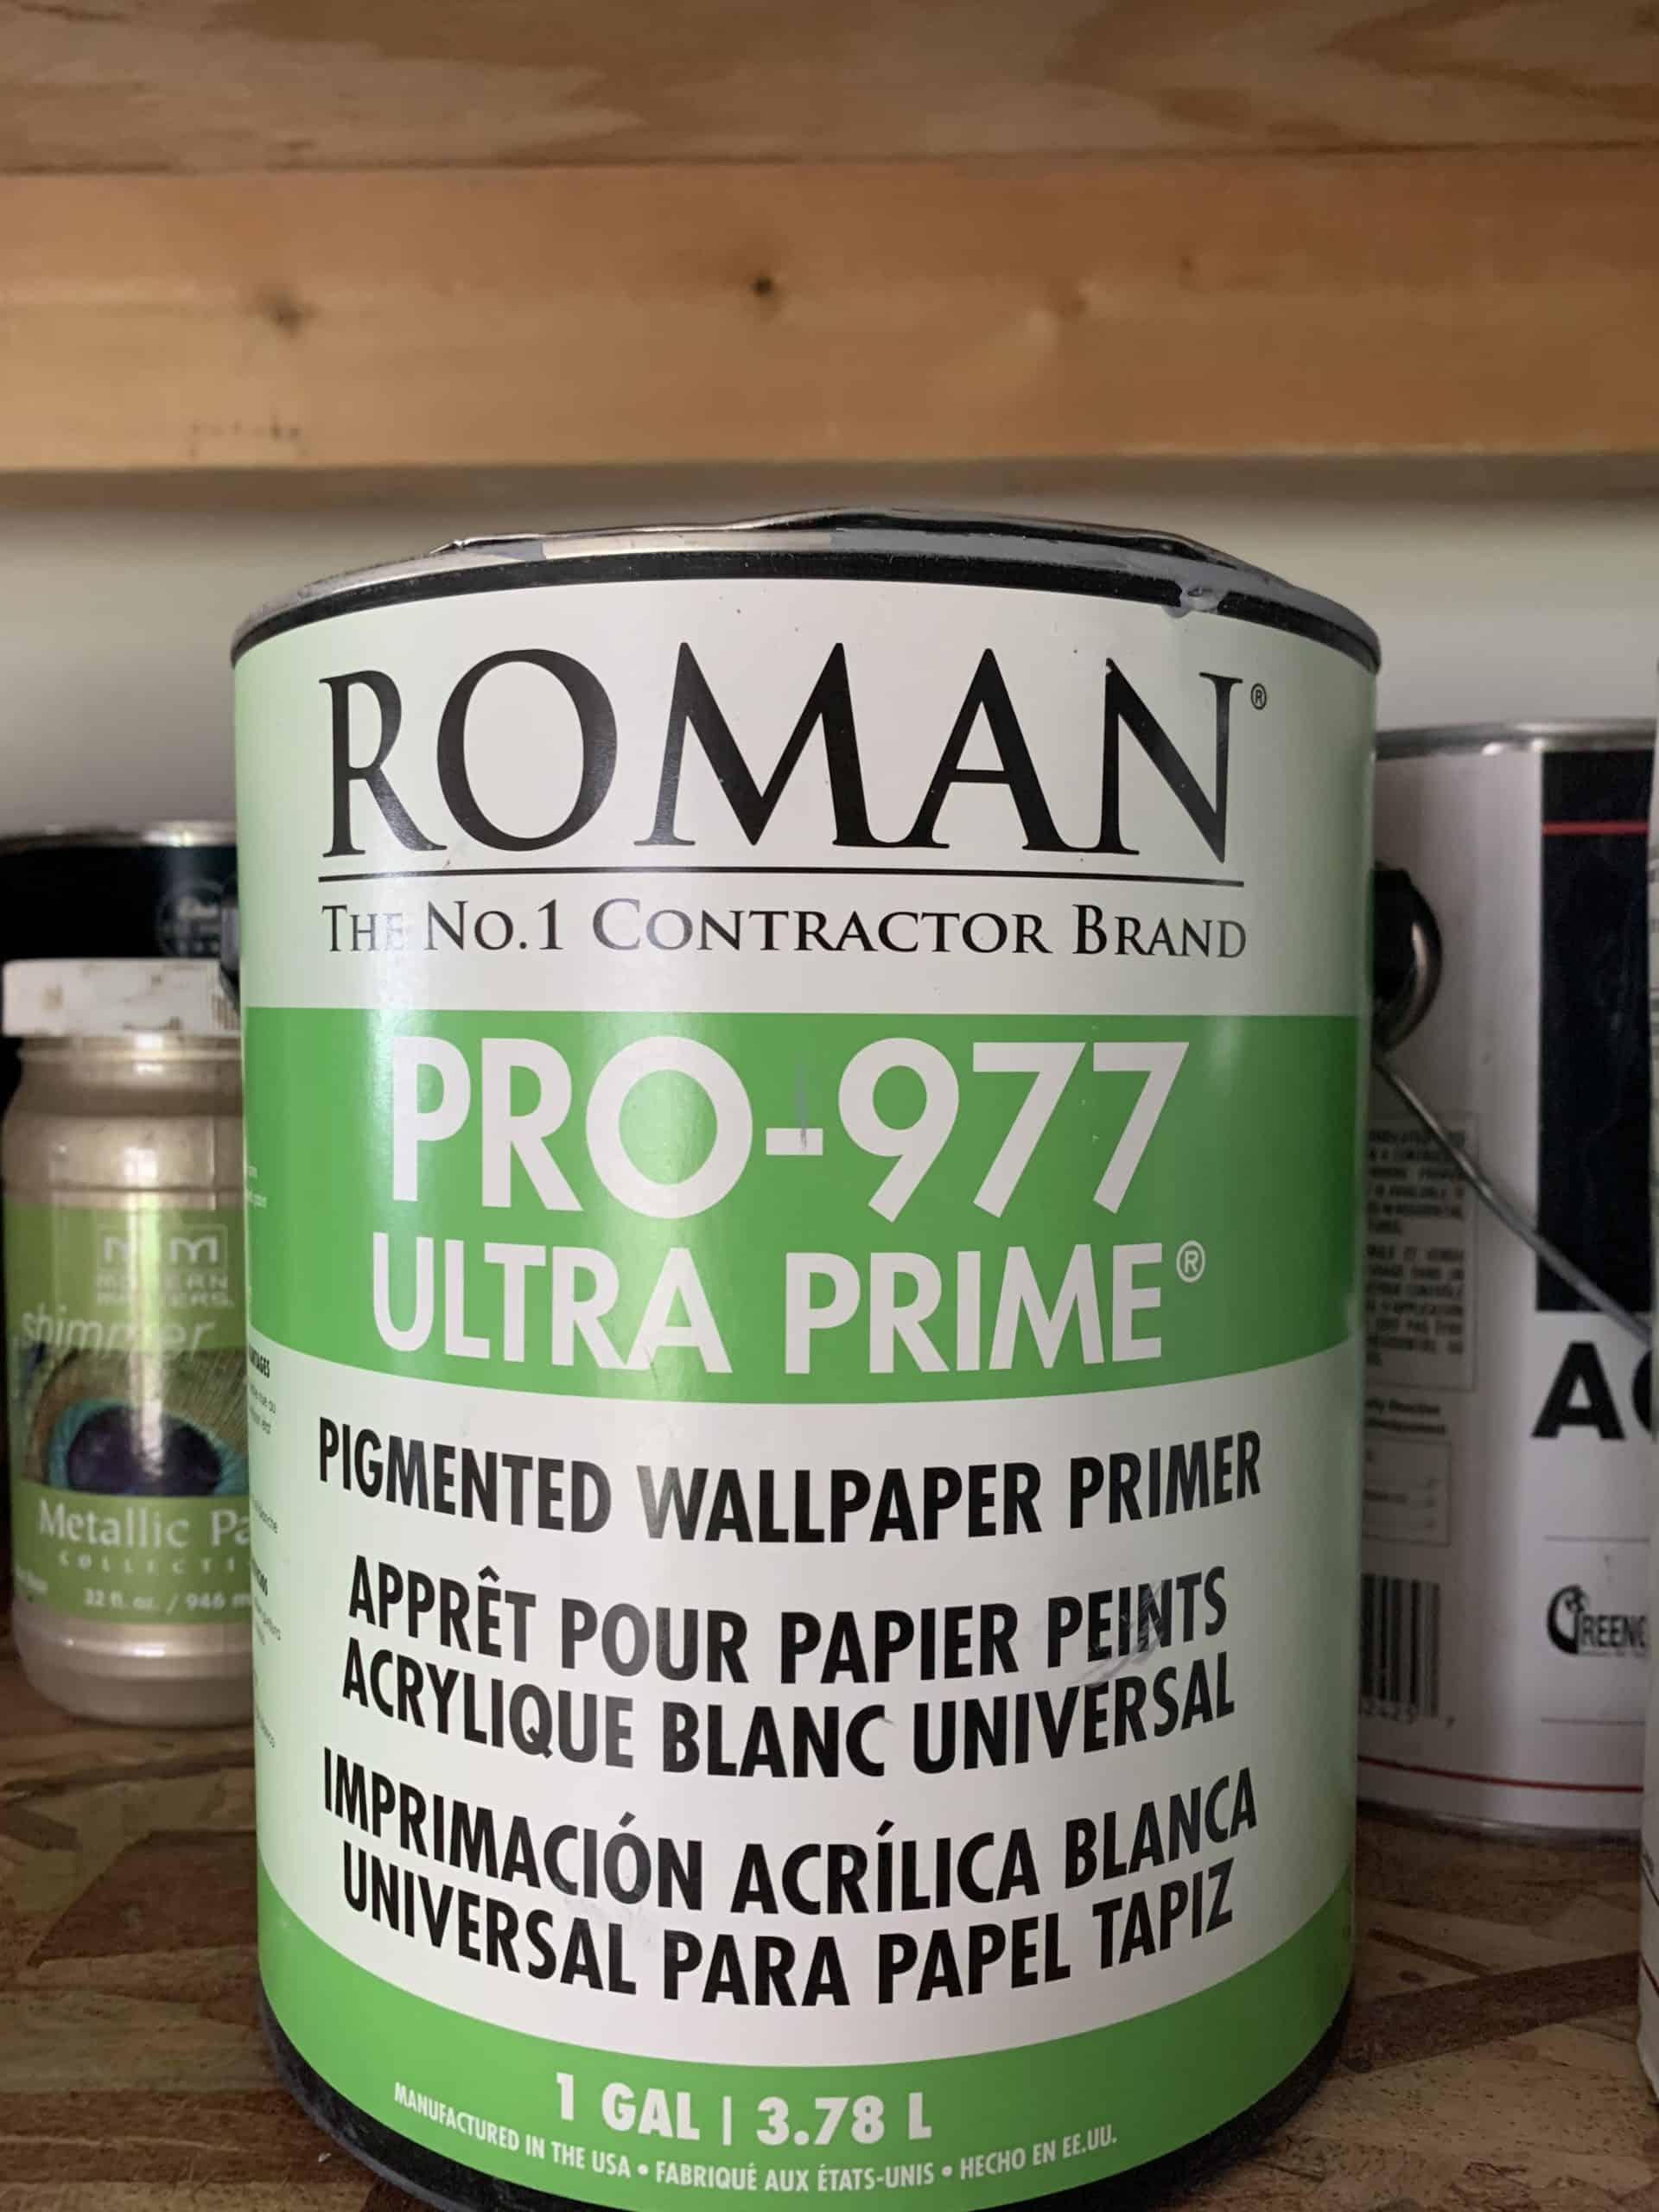
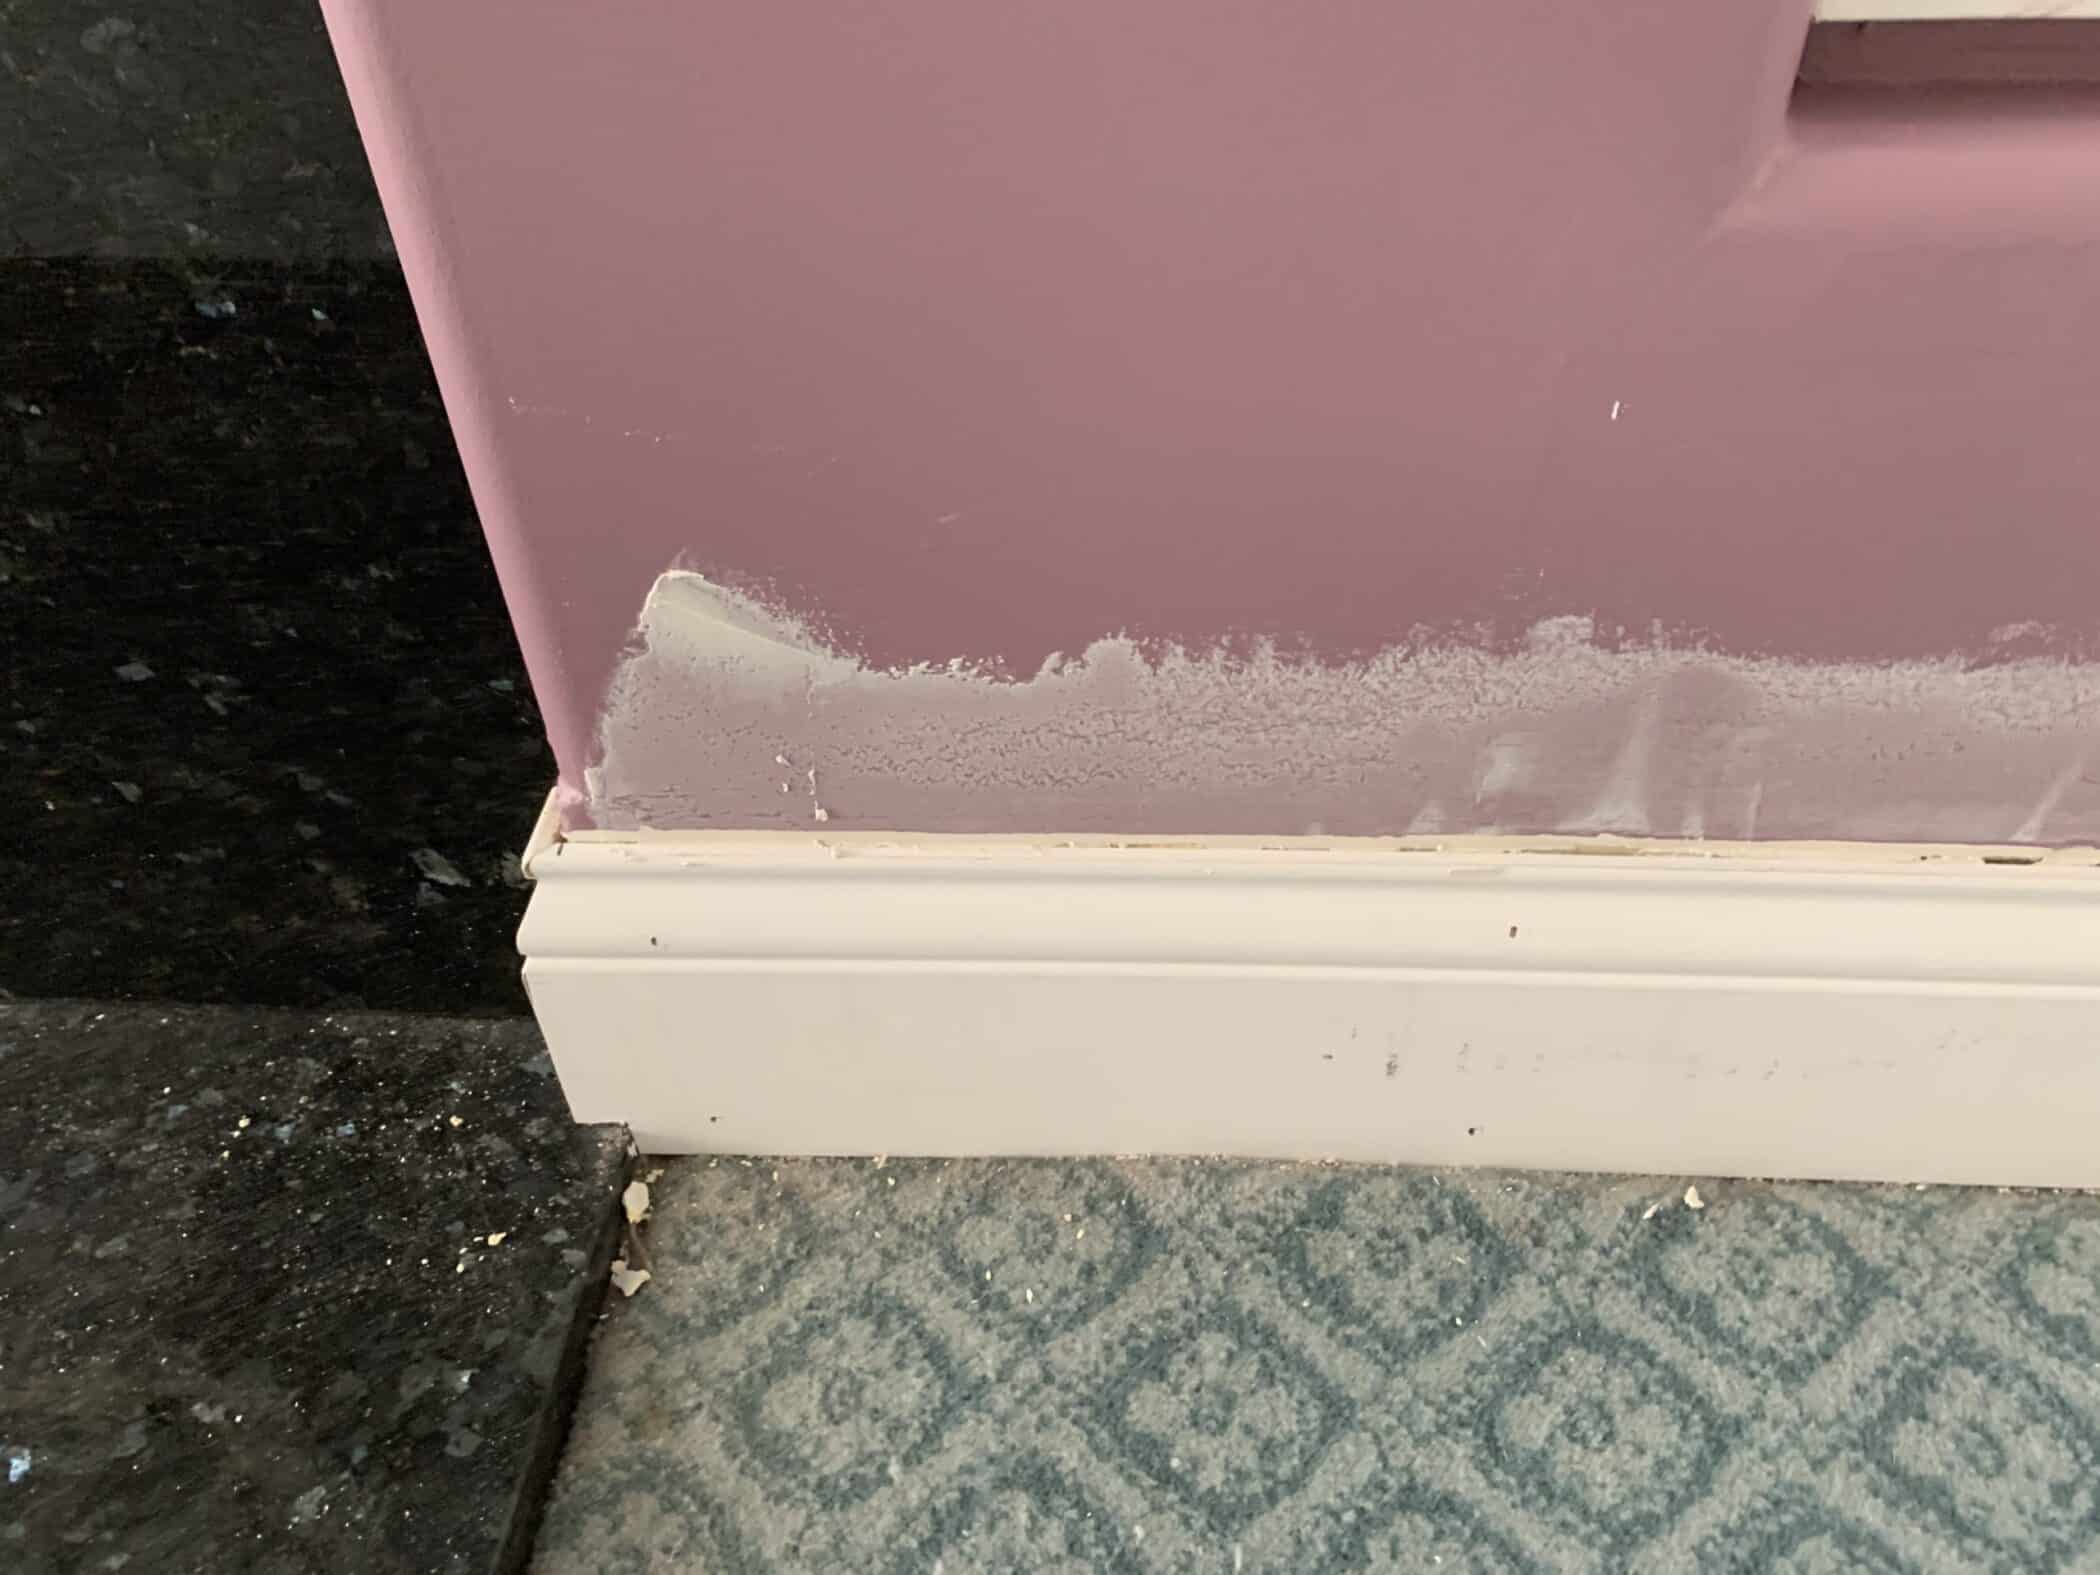
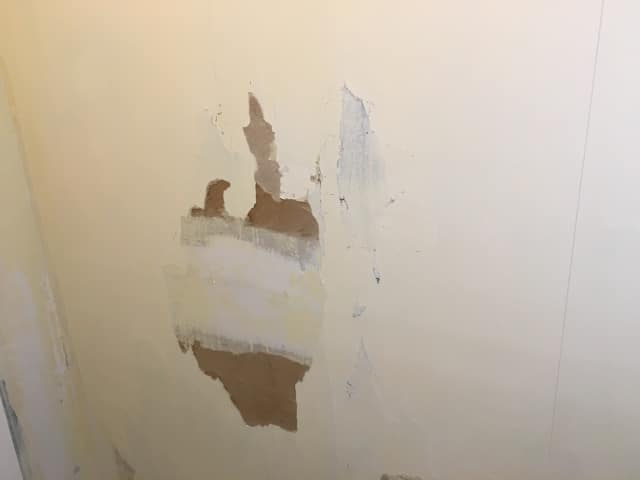
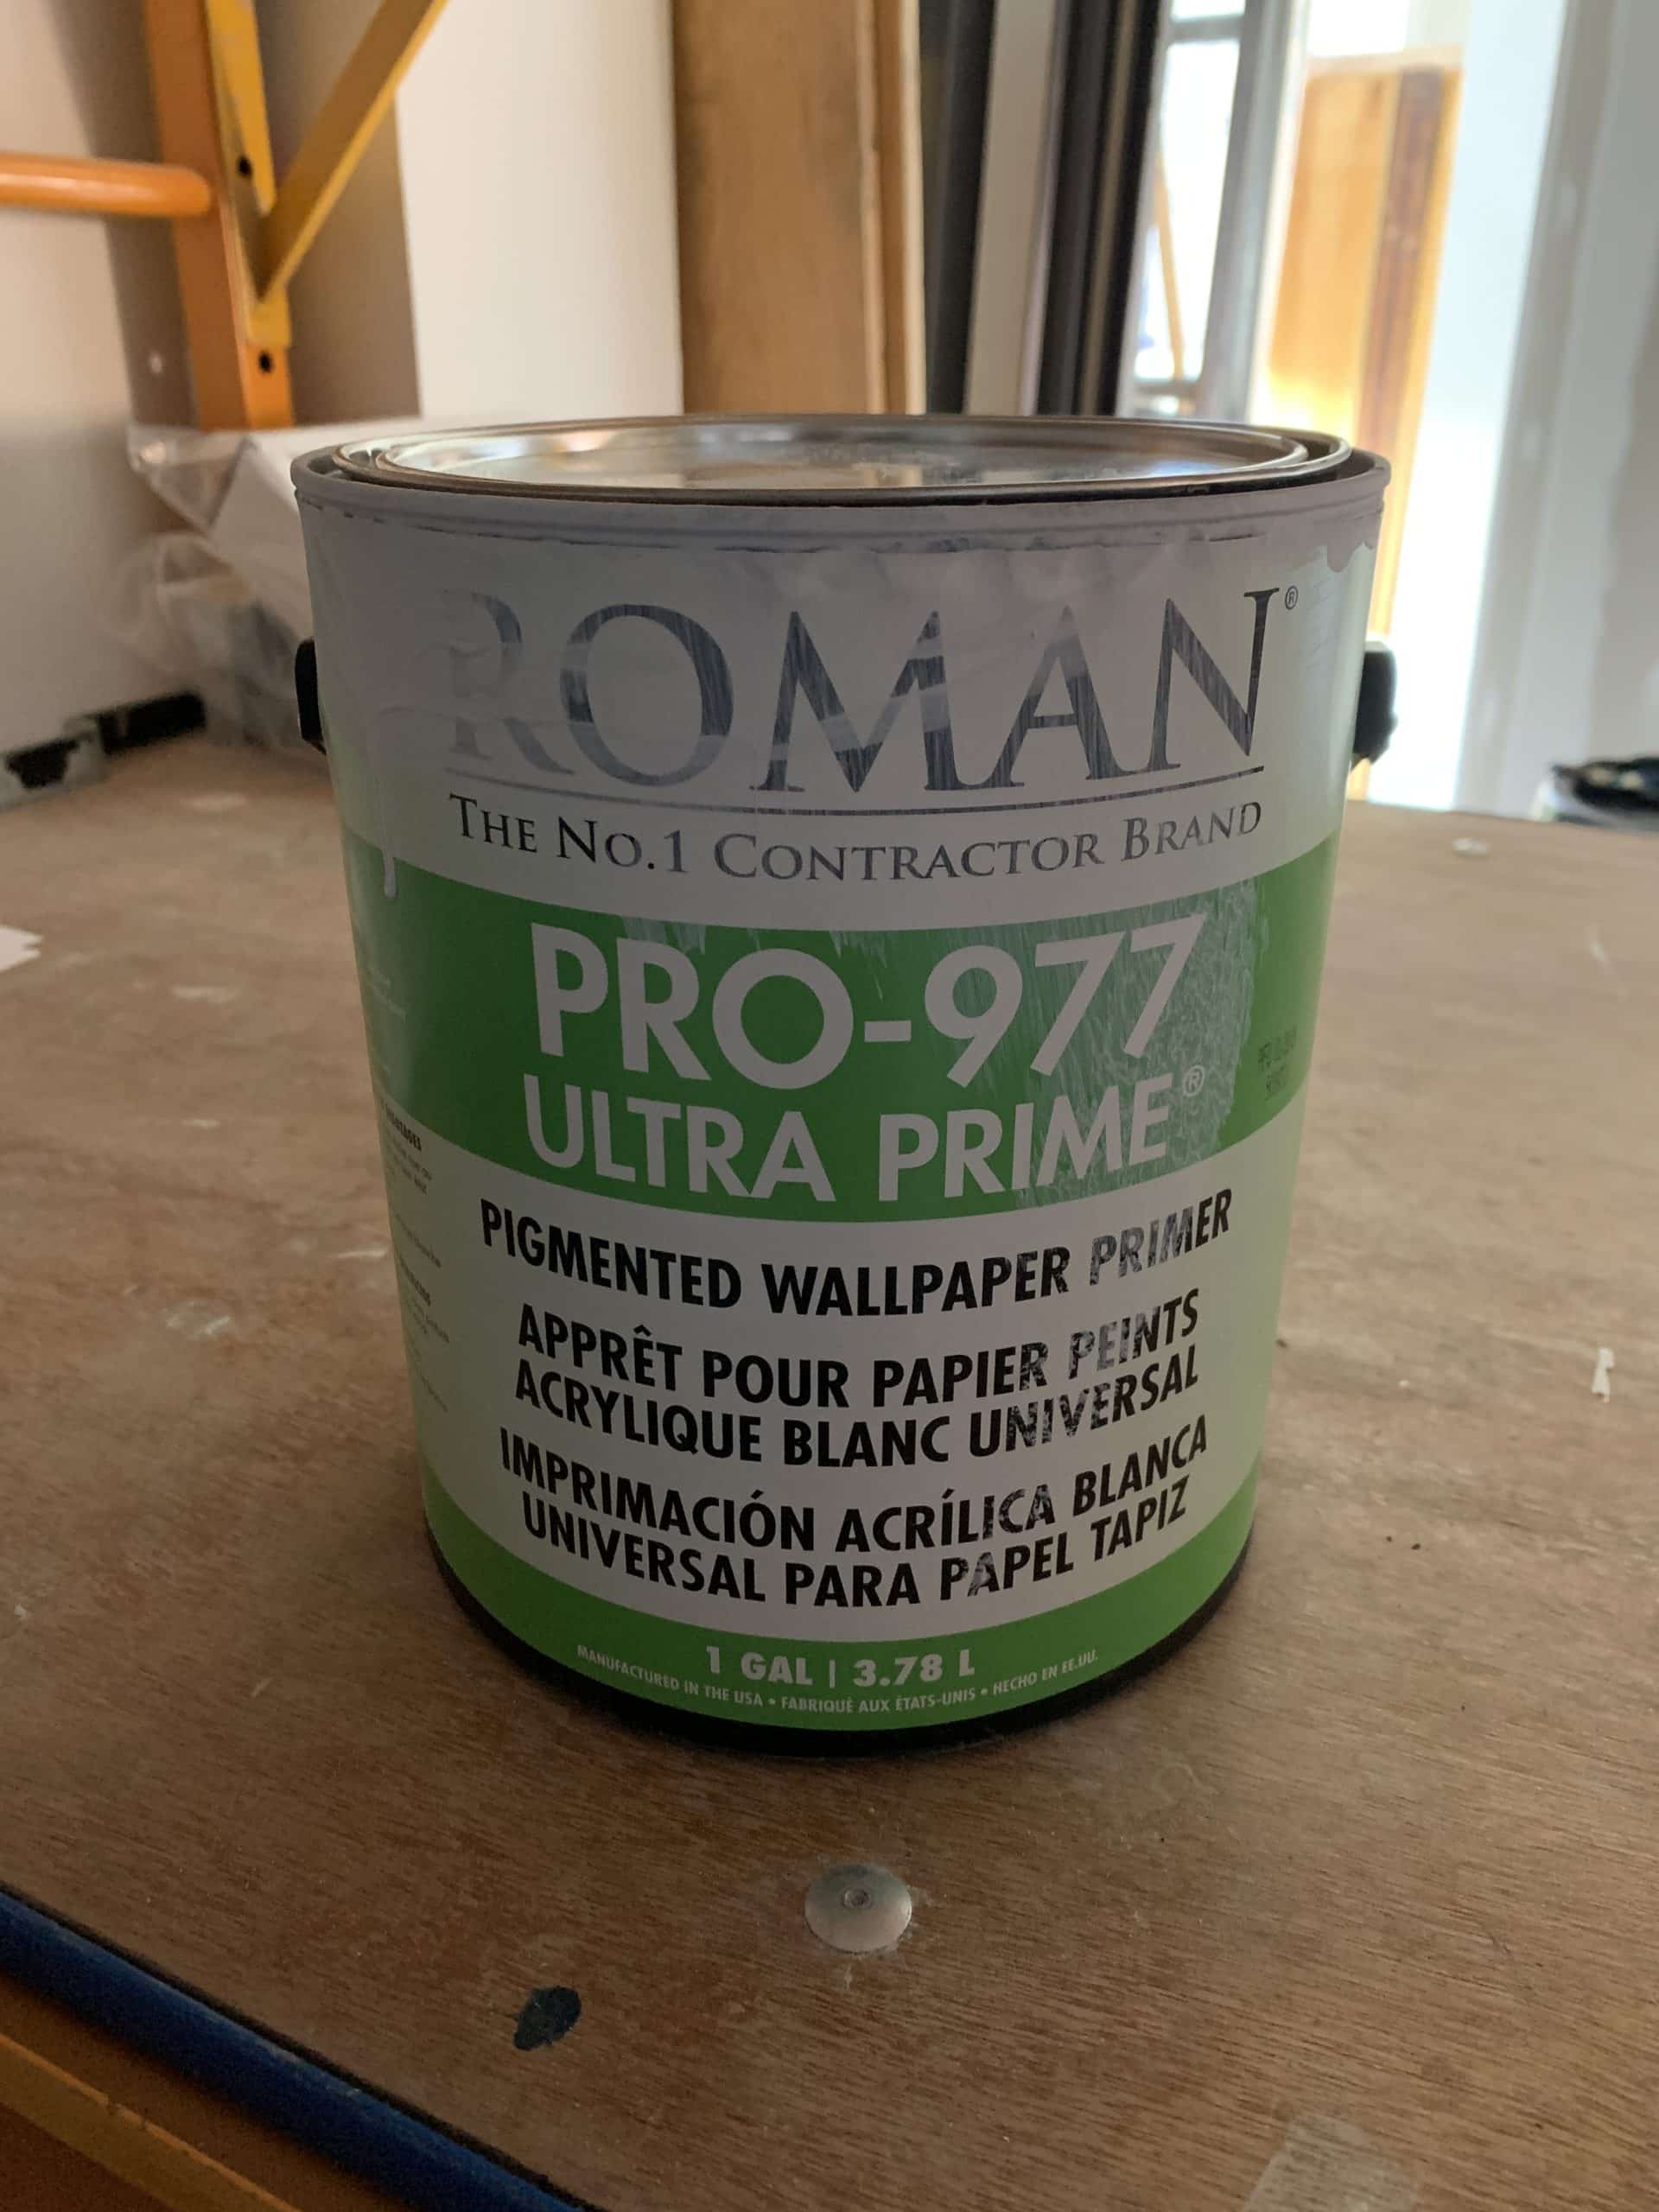
- Make sure the walls are clean, dry, solid, have no holes, and have been primed.
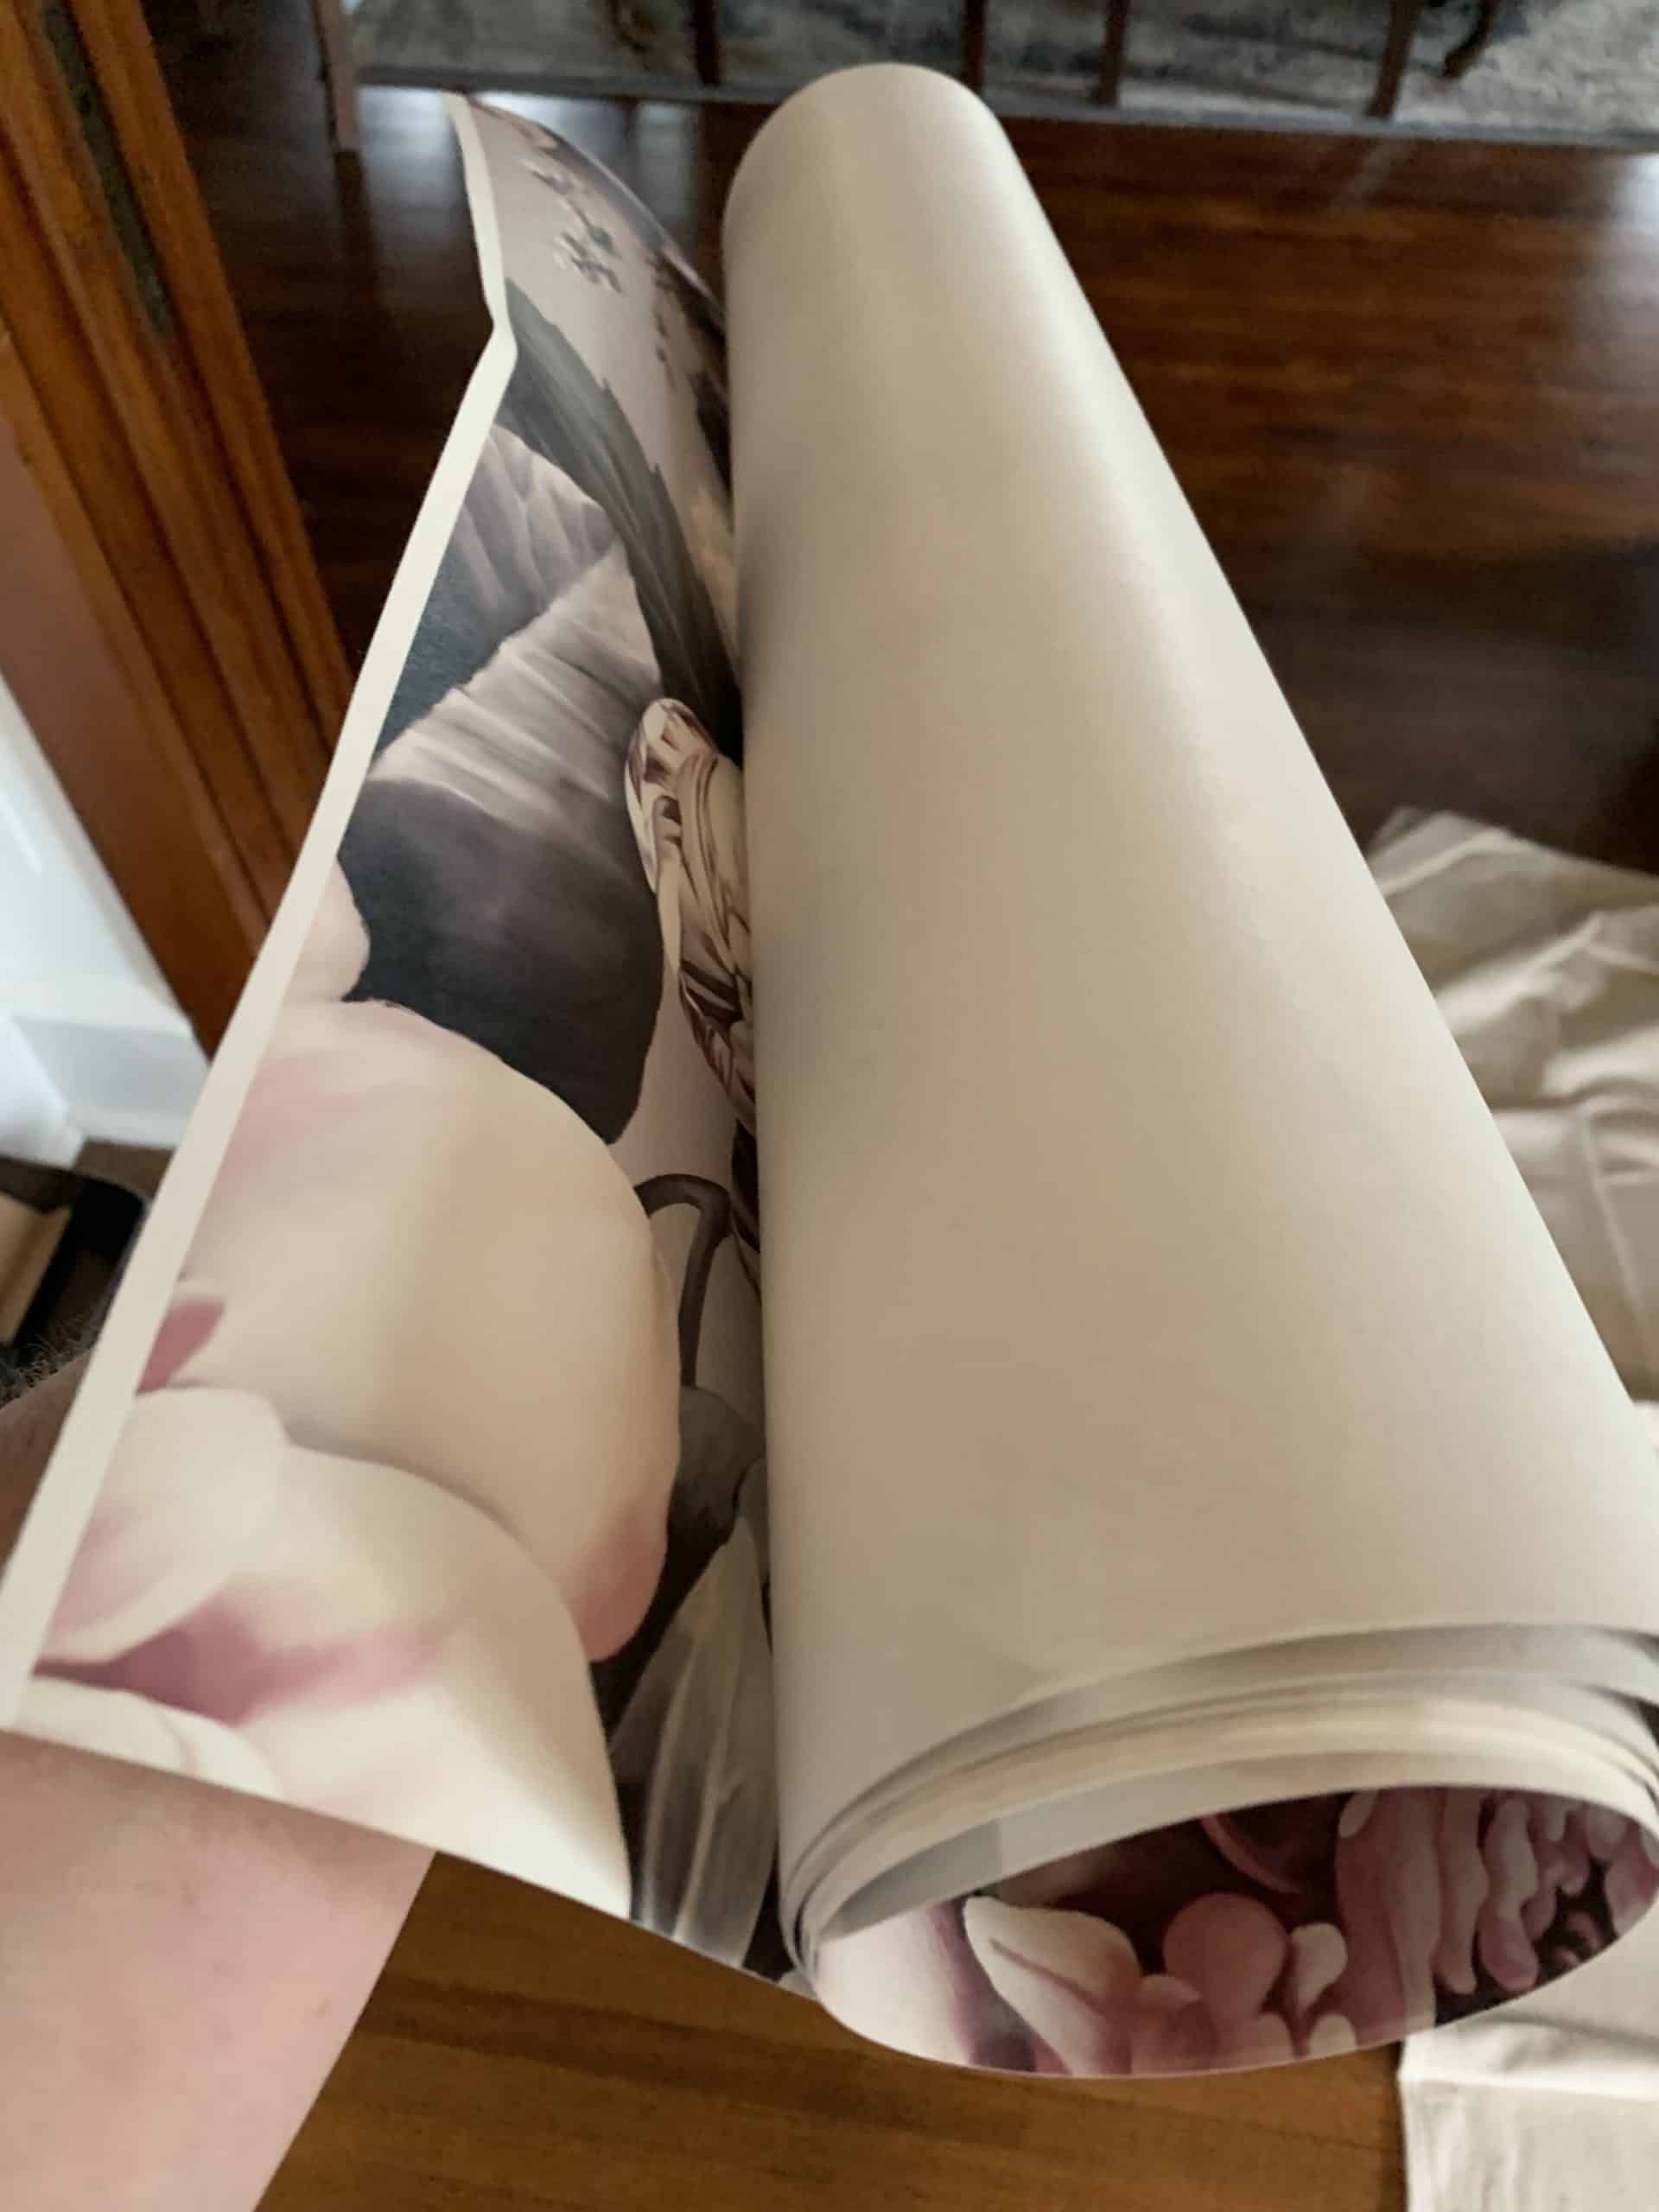
- Open the box or package carefully. You don’t know how it is wrapped, so be careful because some are easily scratched.
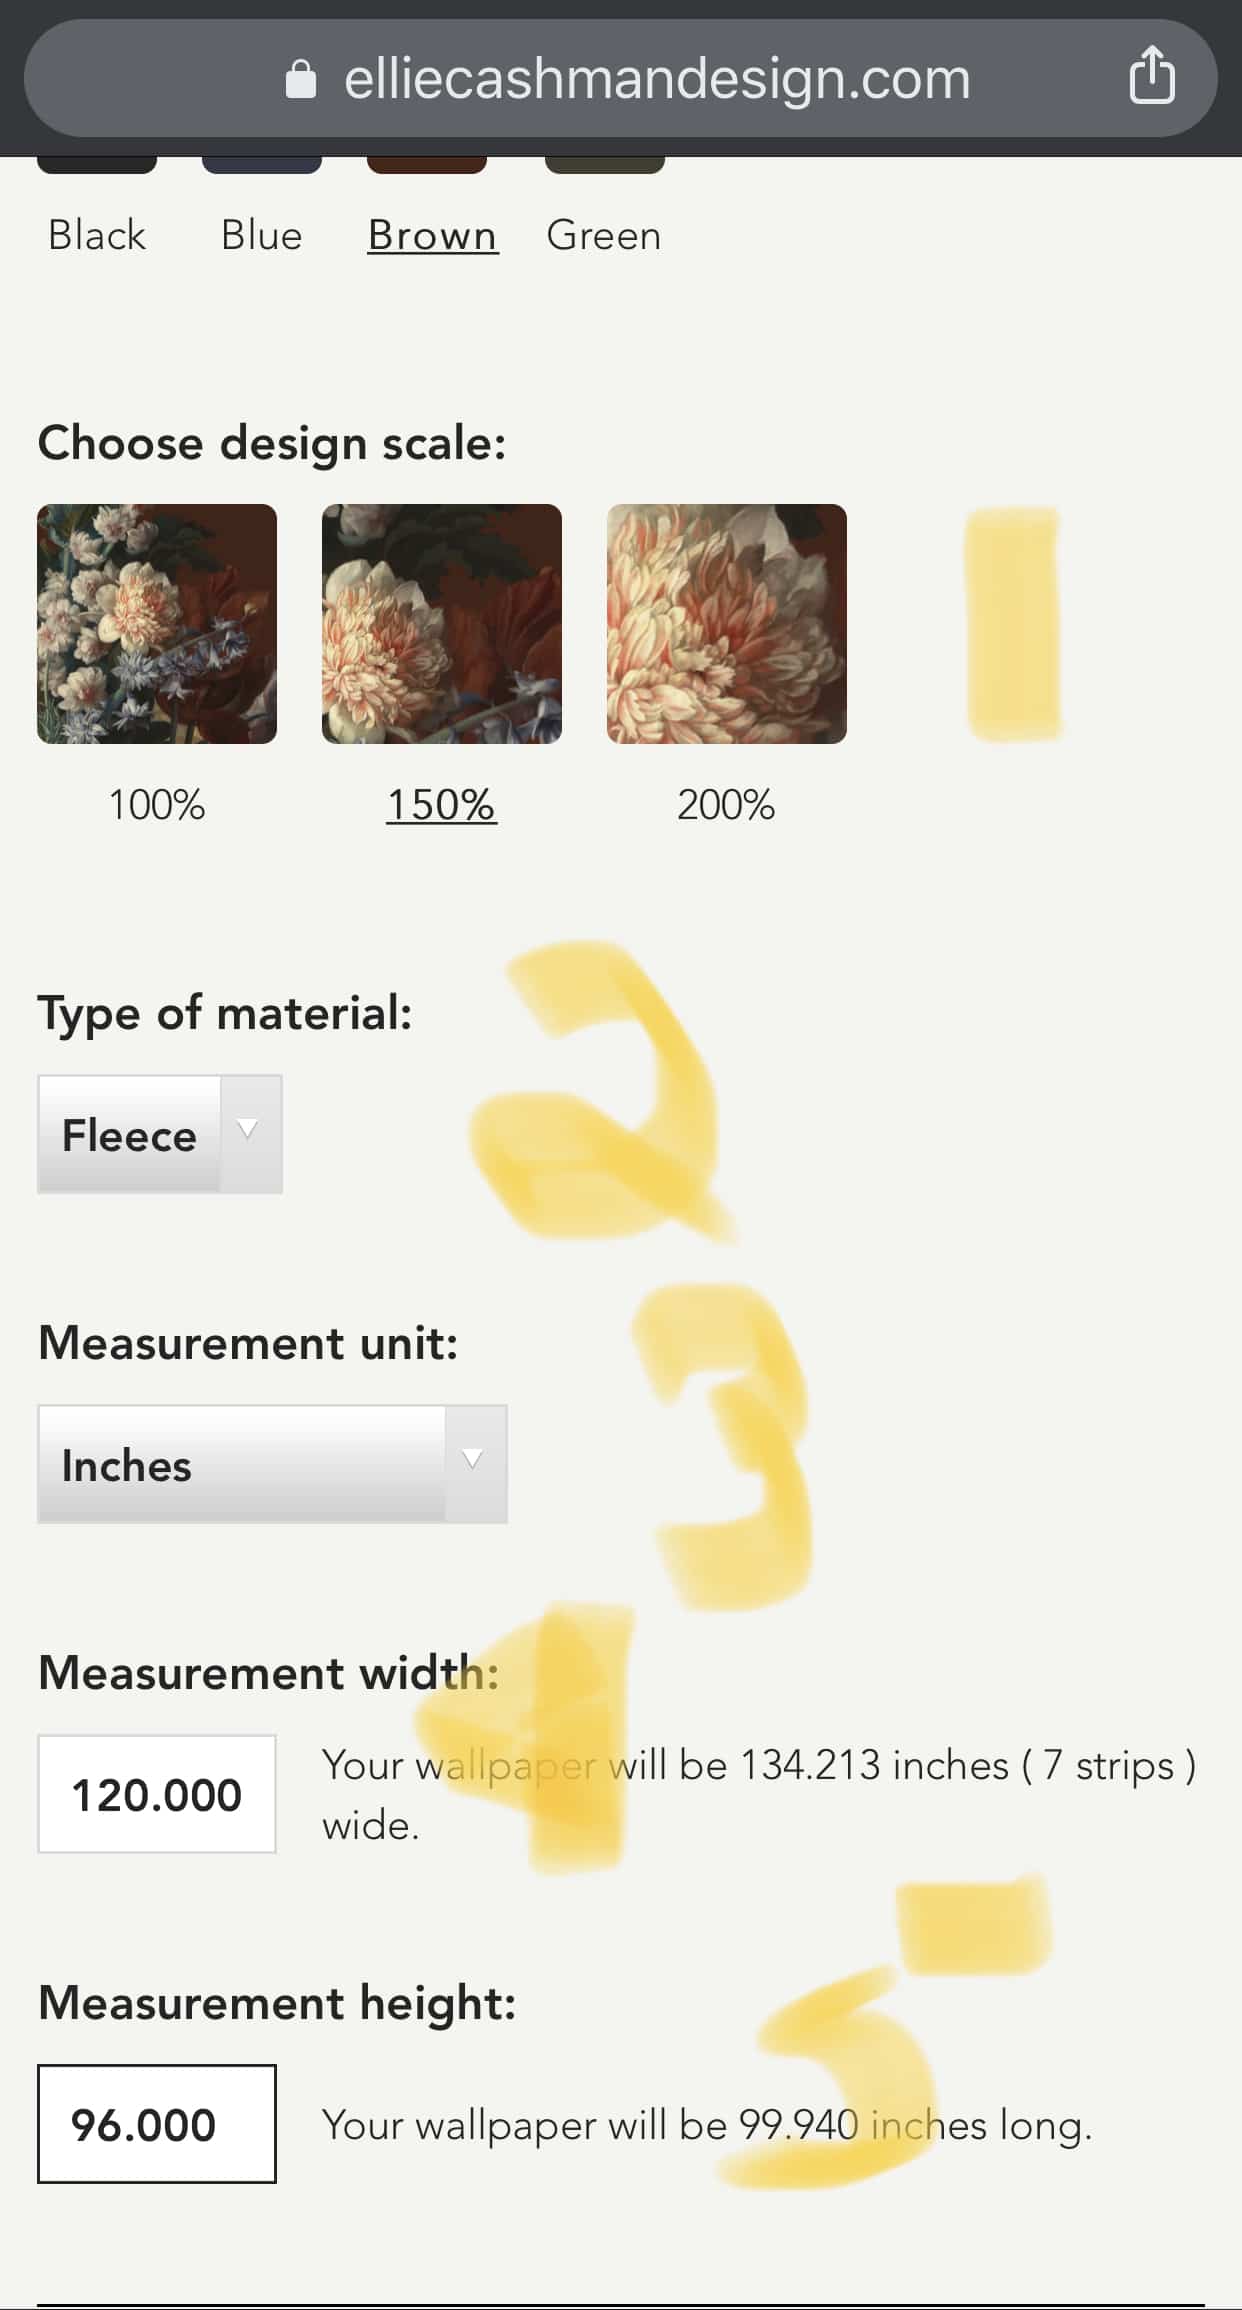
- Look at the packing list to find the design and measurements. Do they match the wall you are installing the wallpaper on?
- Look at the wallpaper mural. Are there any marks, scratches, or print errors?
- Compare the wallpaper design sheet to the wall and then to the wallpaper mural. They should all be the same/have the same information.
- If there are any variations, STOP!!! You will not get a refund if you start to install and there is an error in it.
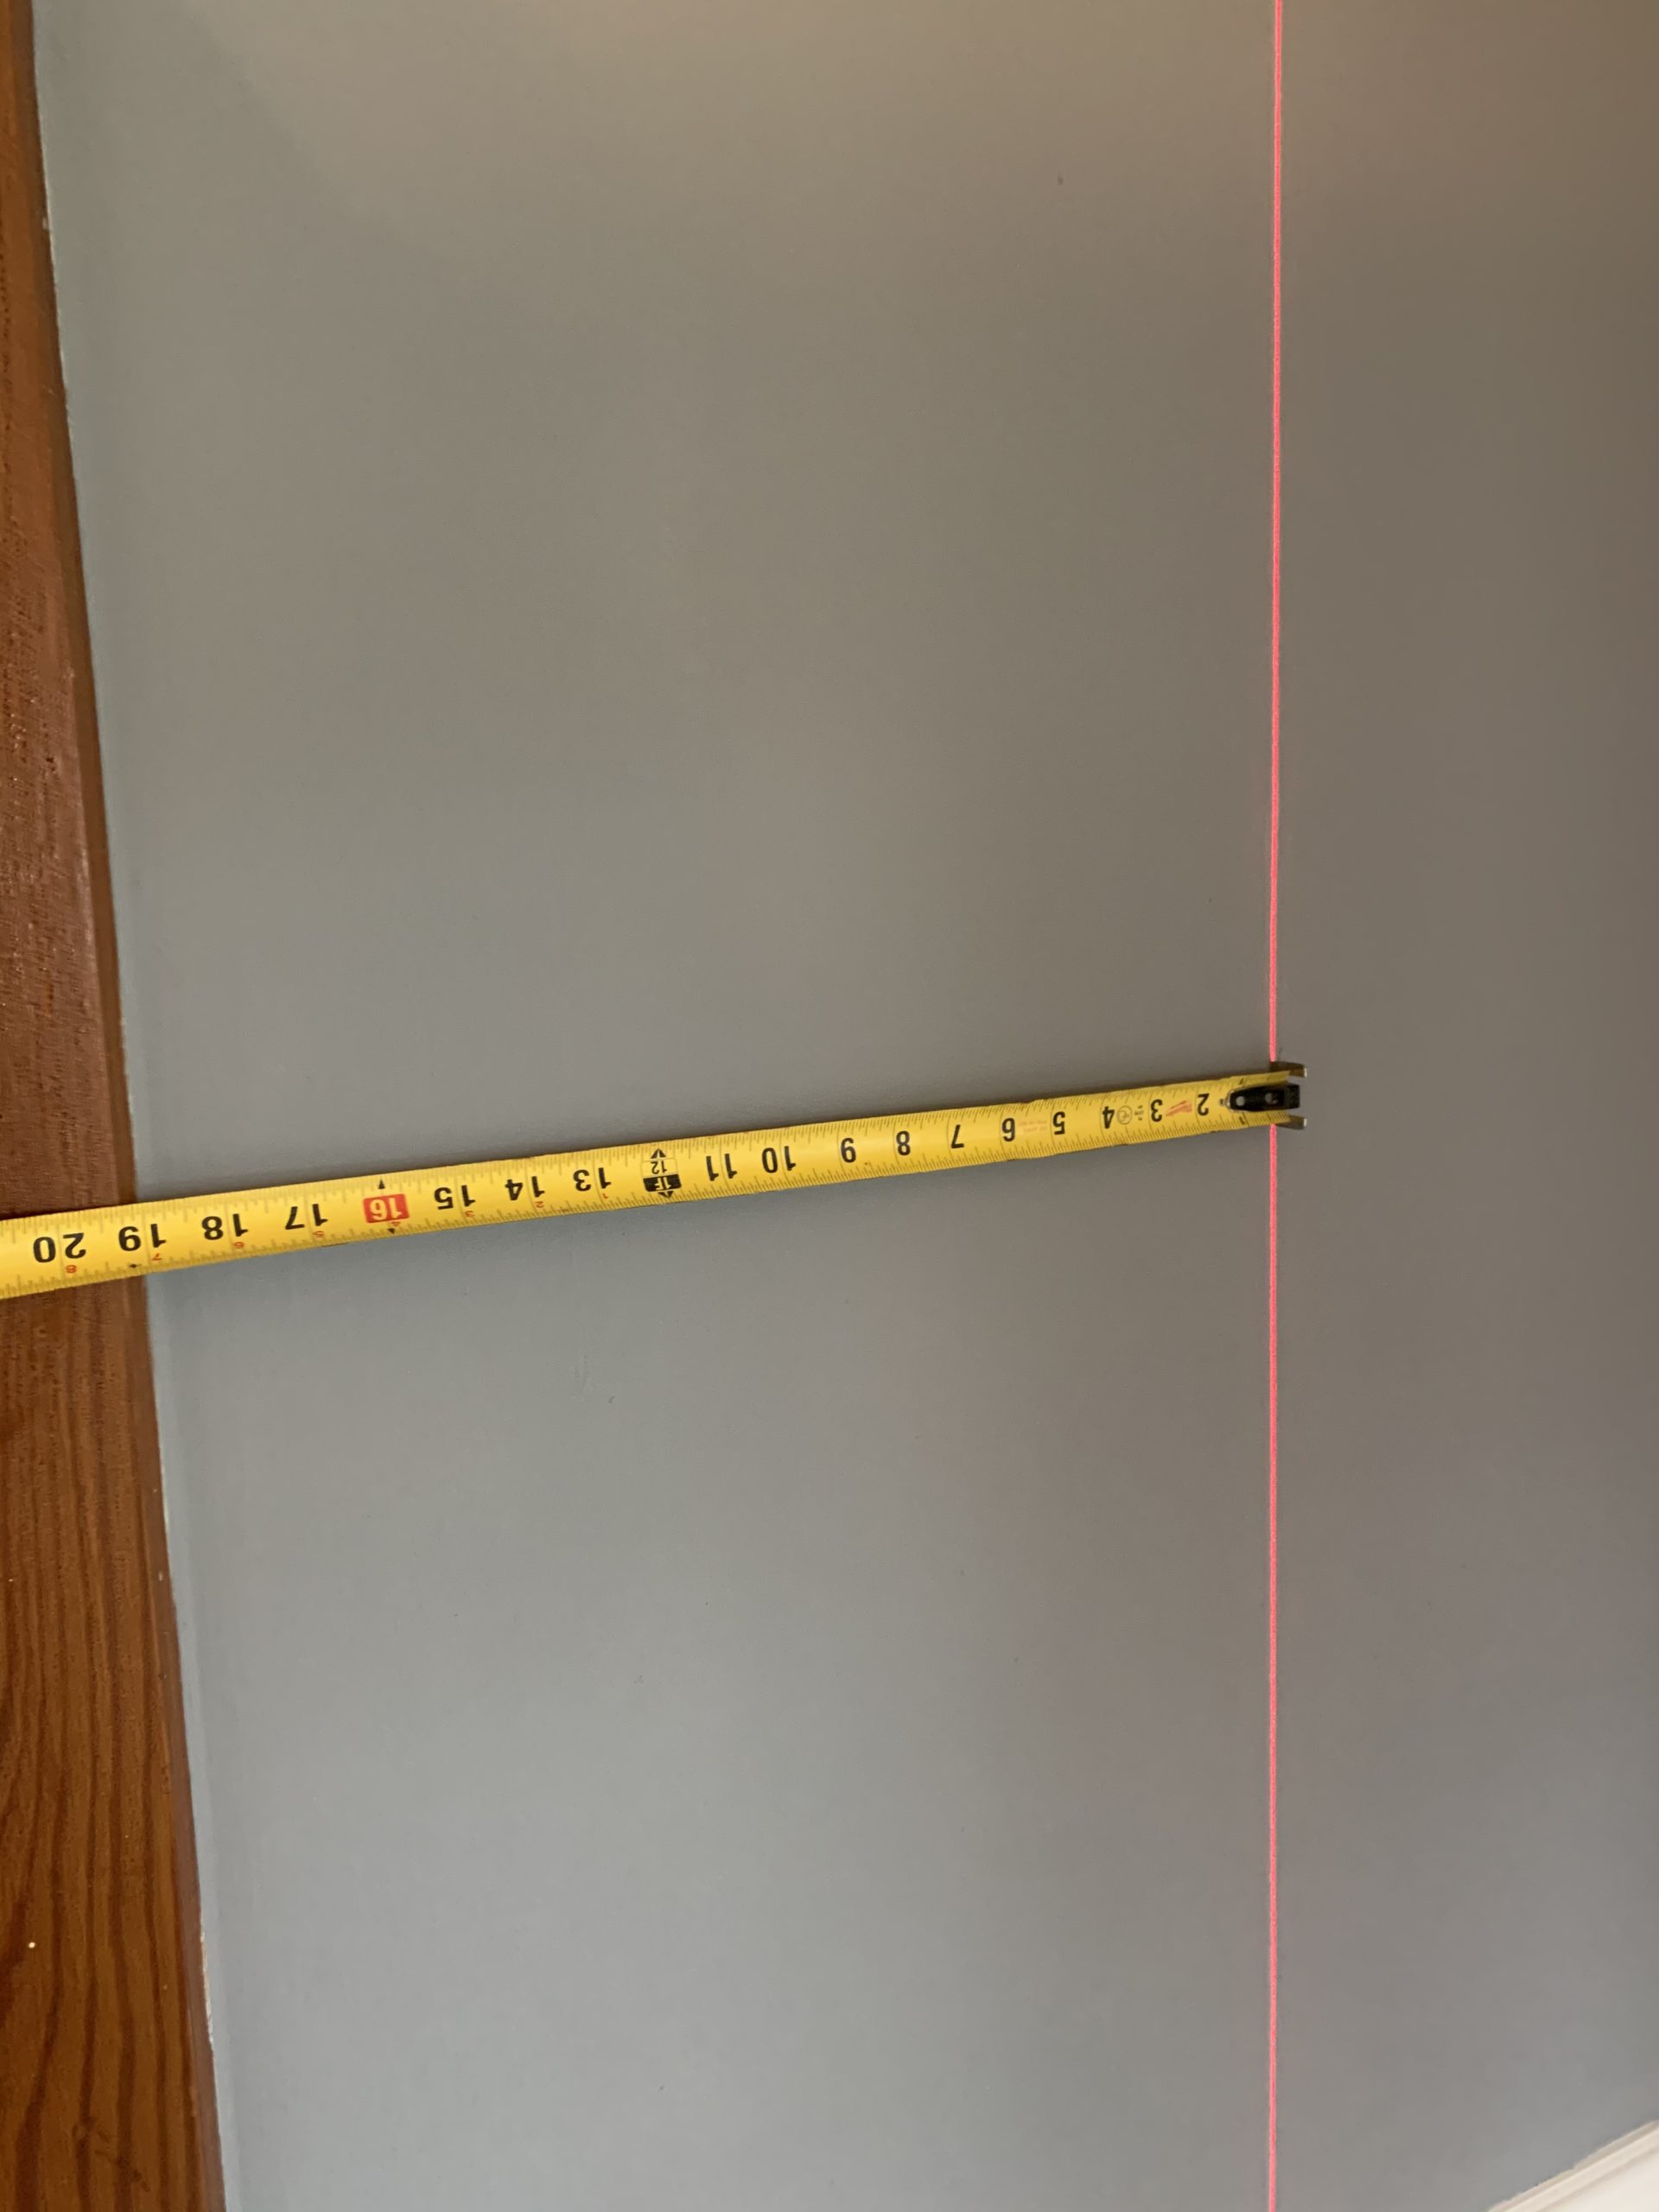
- Double-measure the wall to make sure you have enough height and width to install the wallpaper mural.
- Make sure you have the right adhesive!
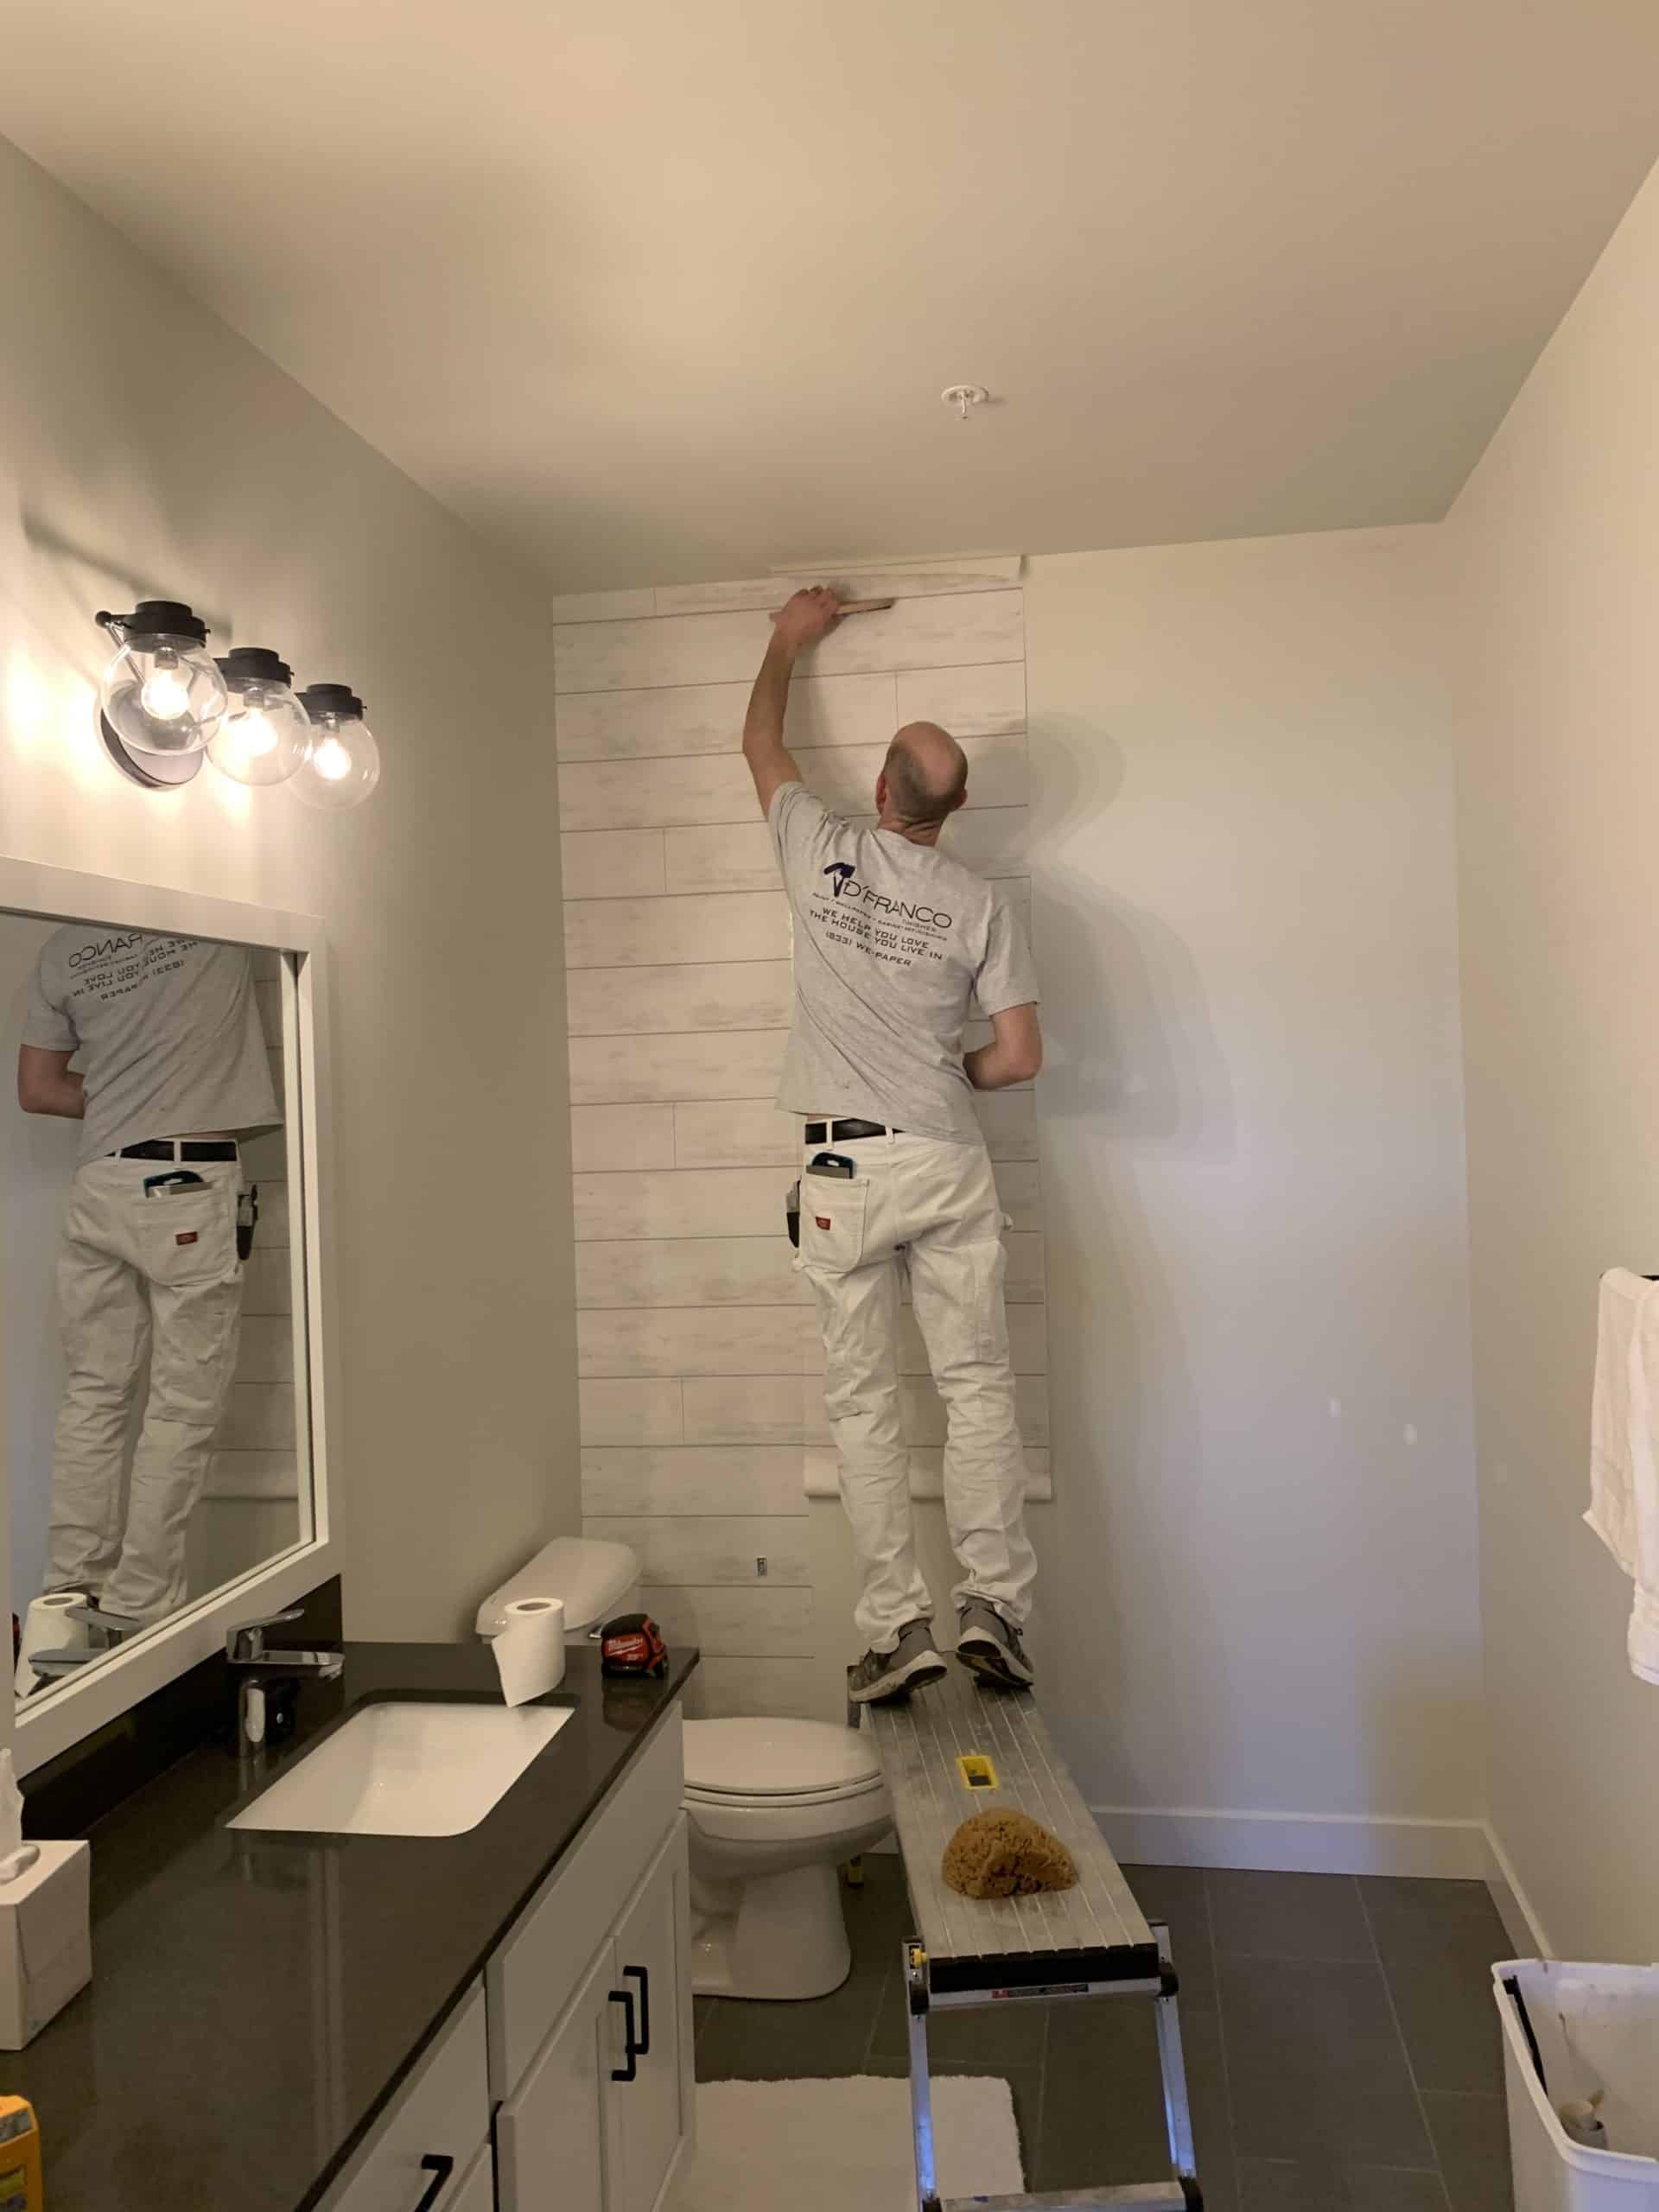
Where to Begin Installing Your Mural
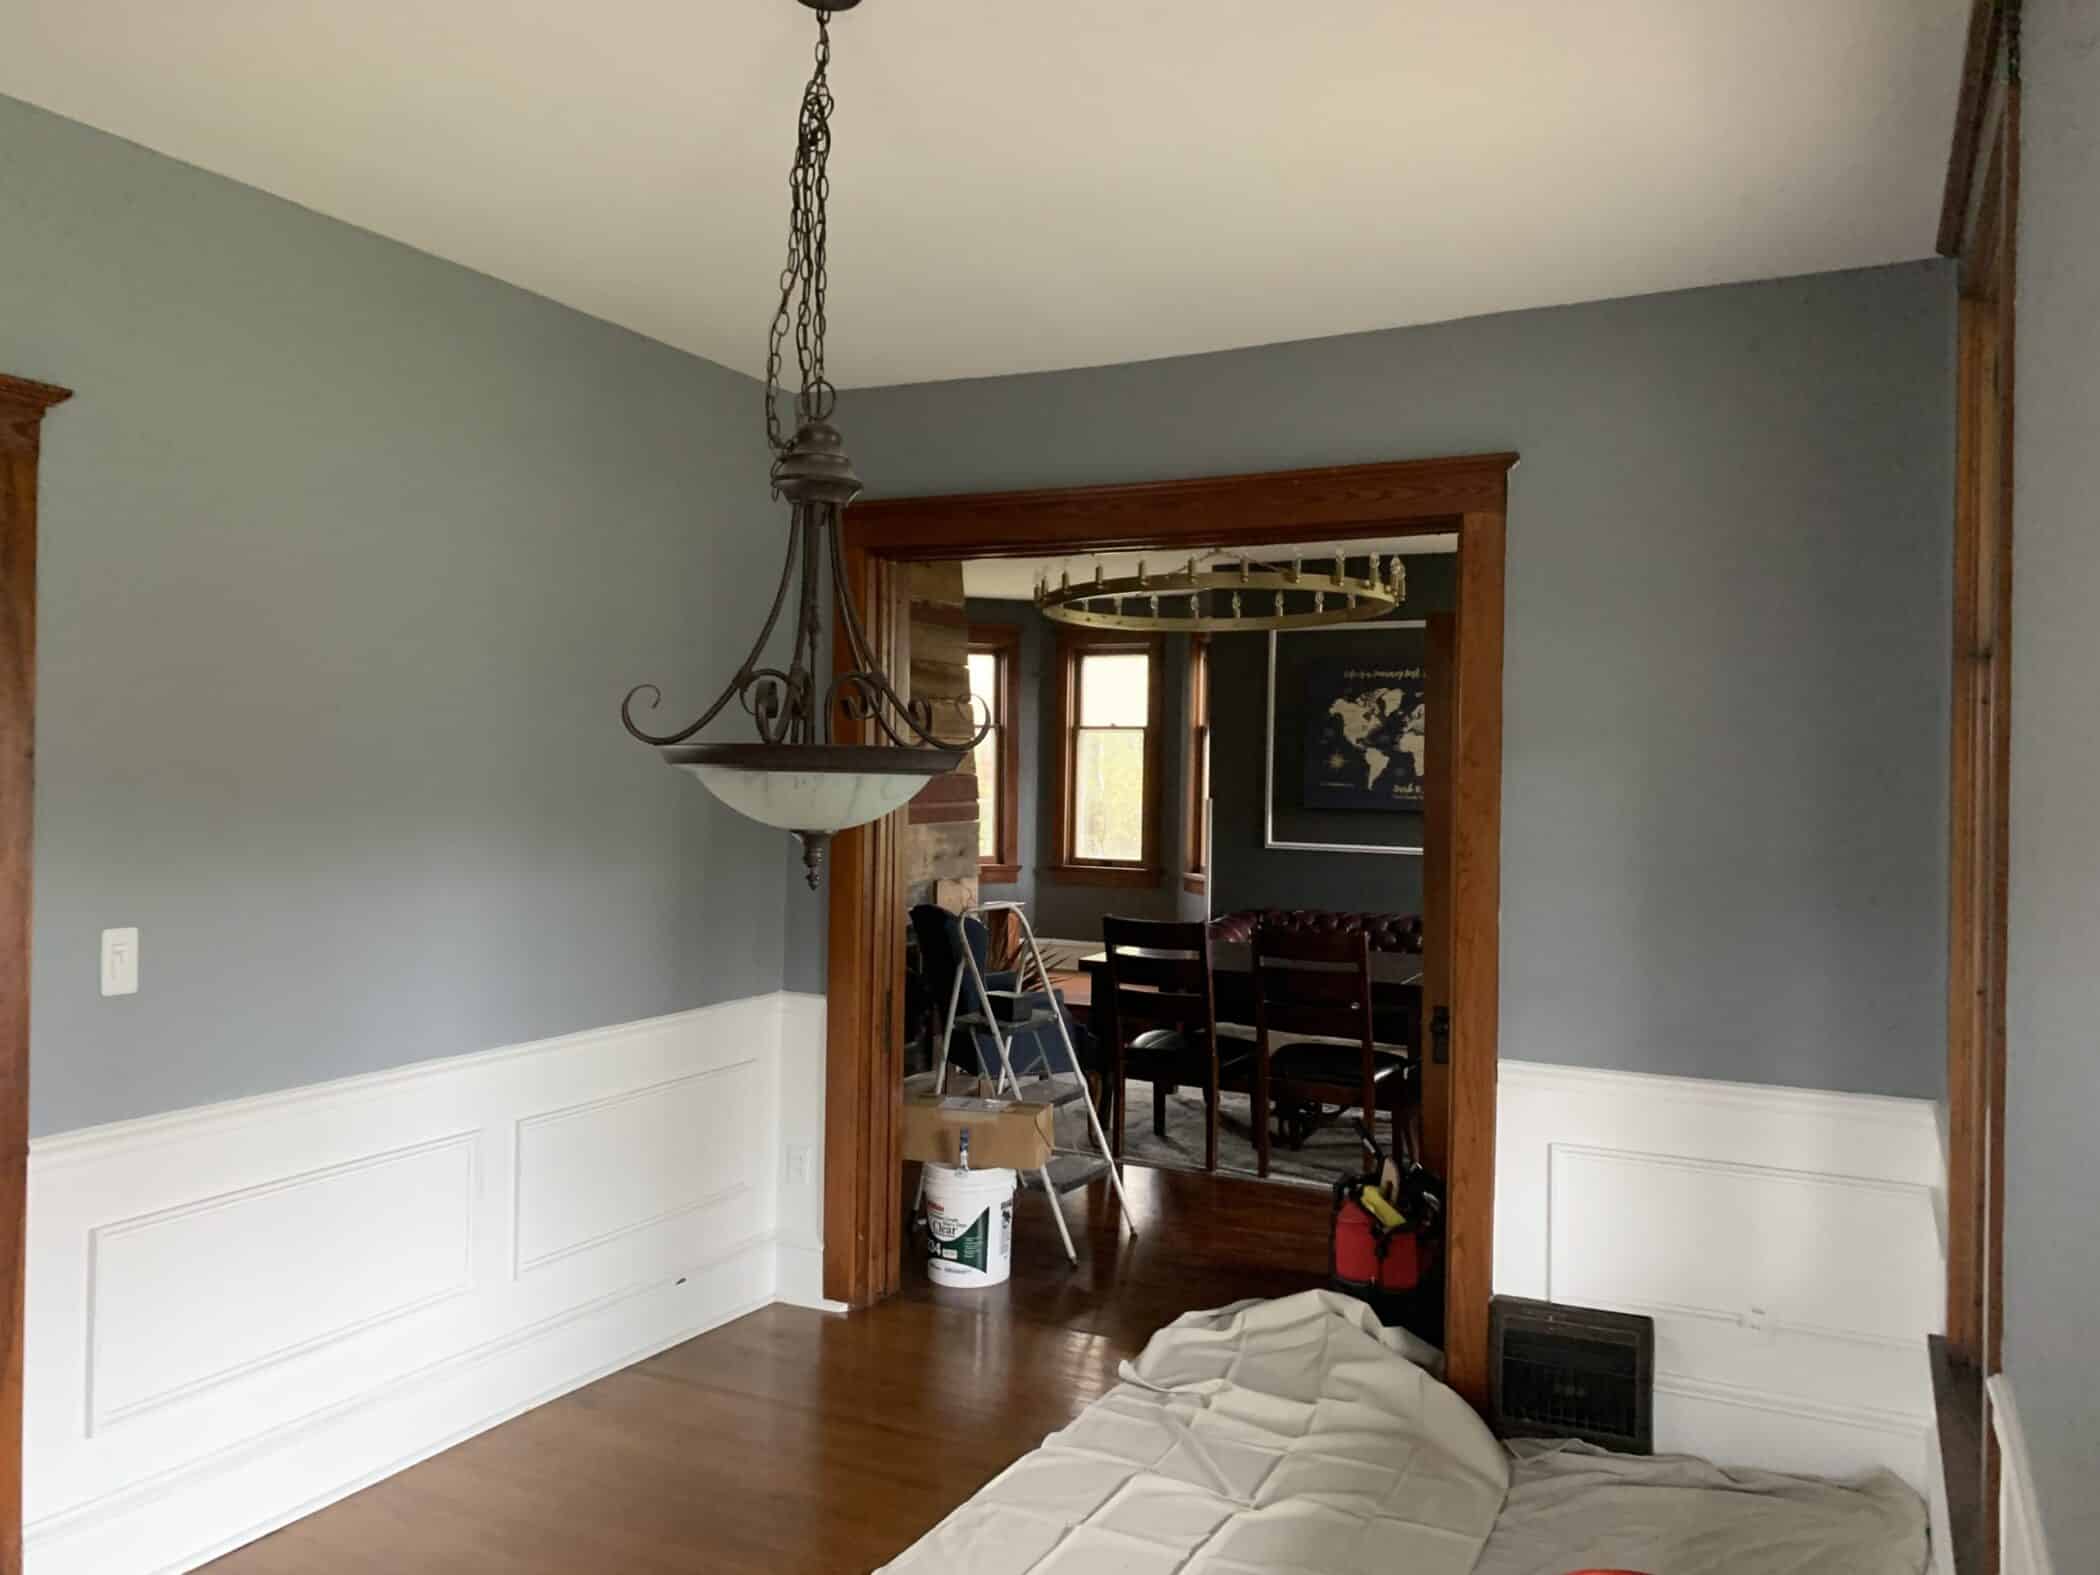
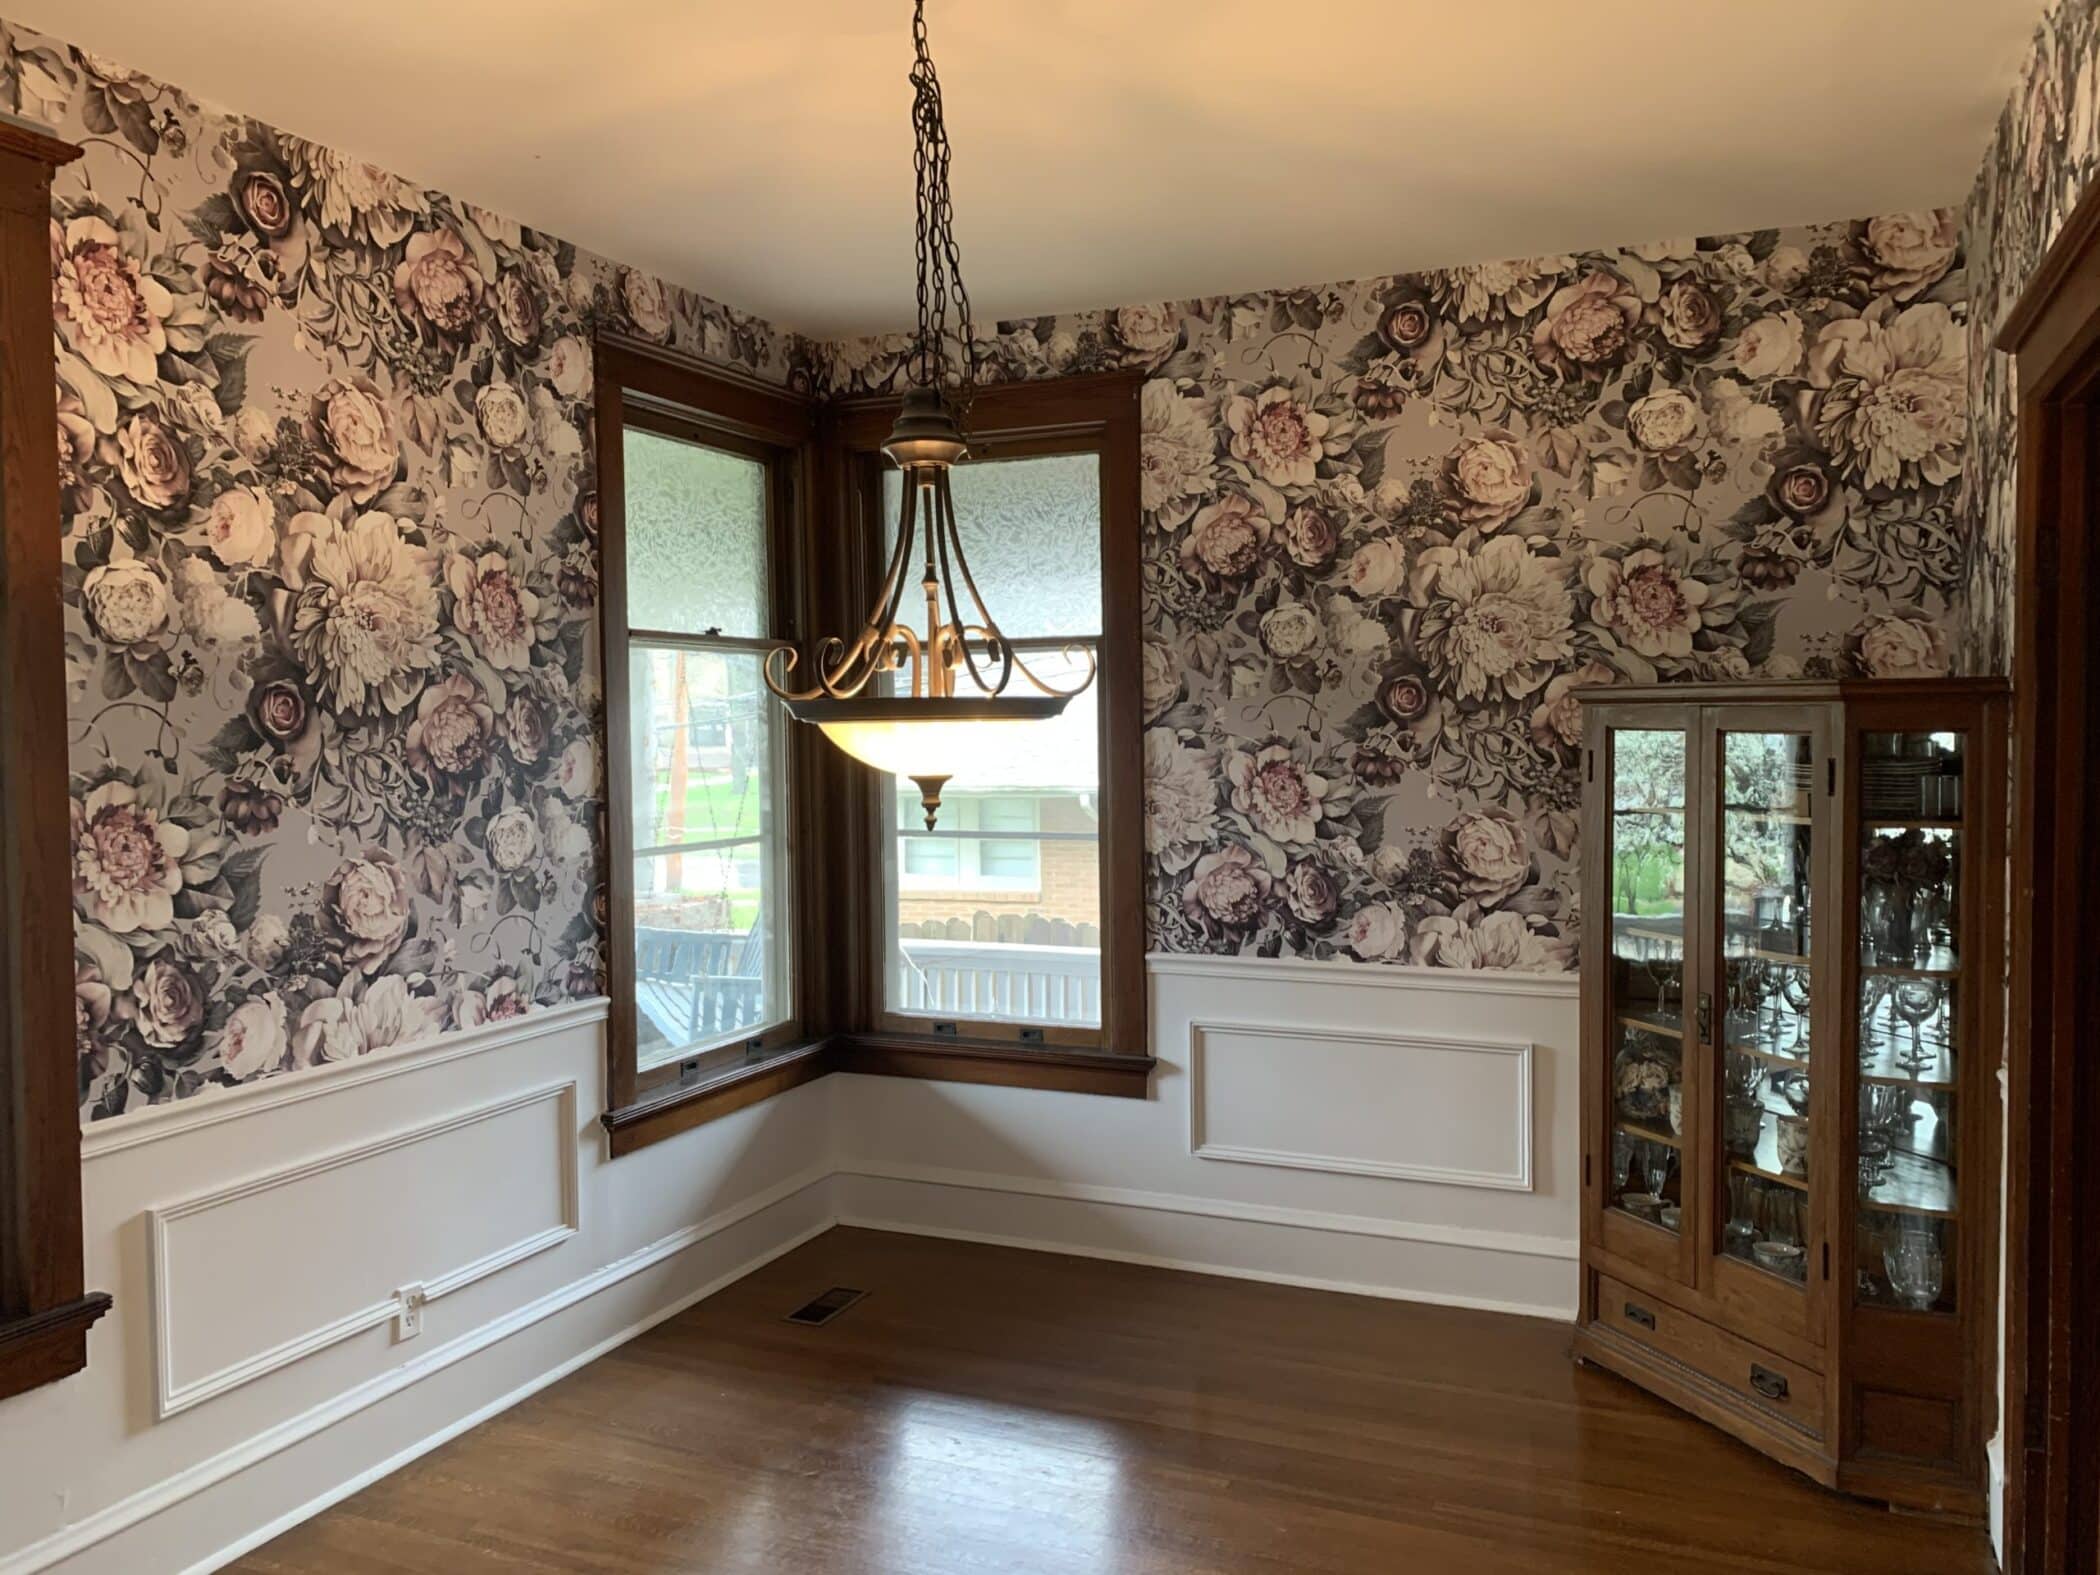
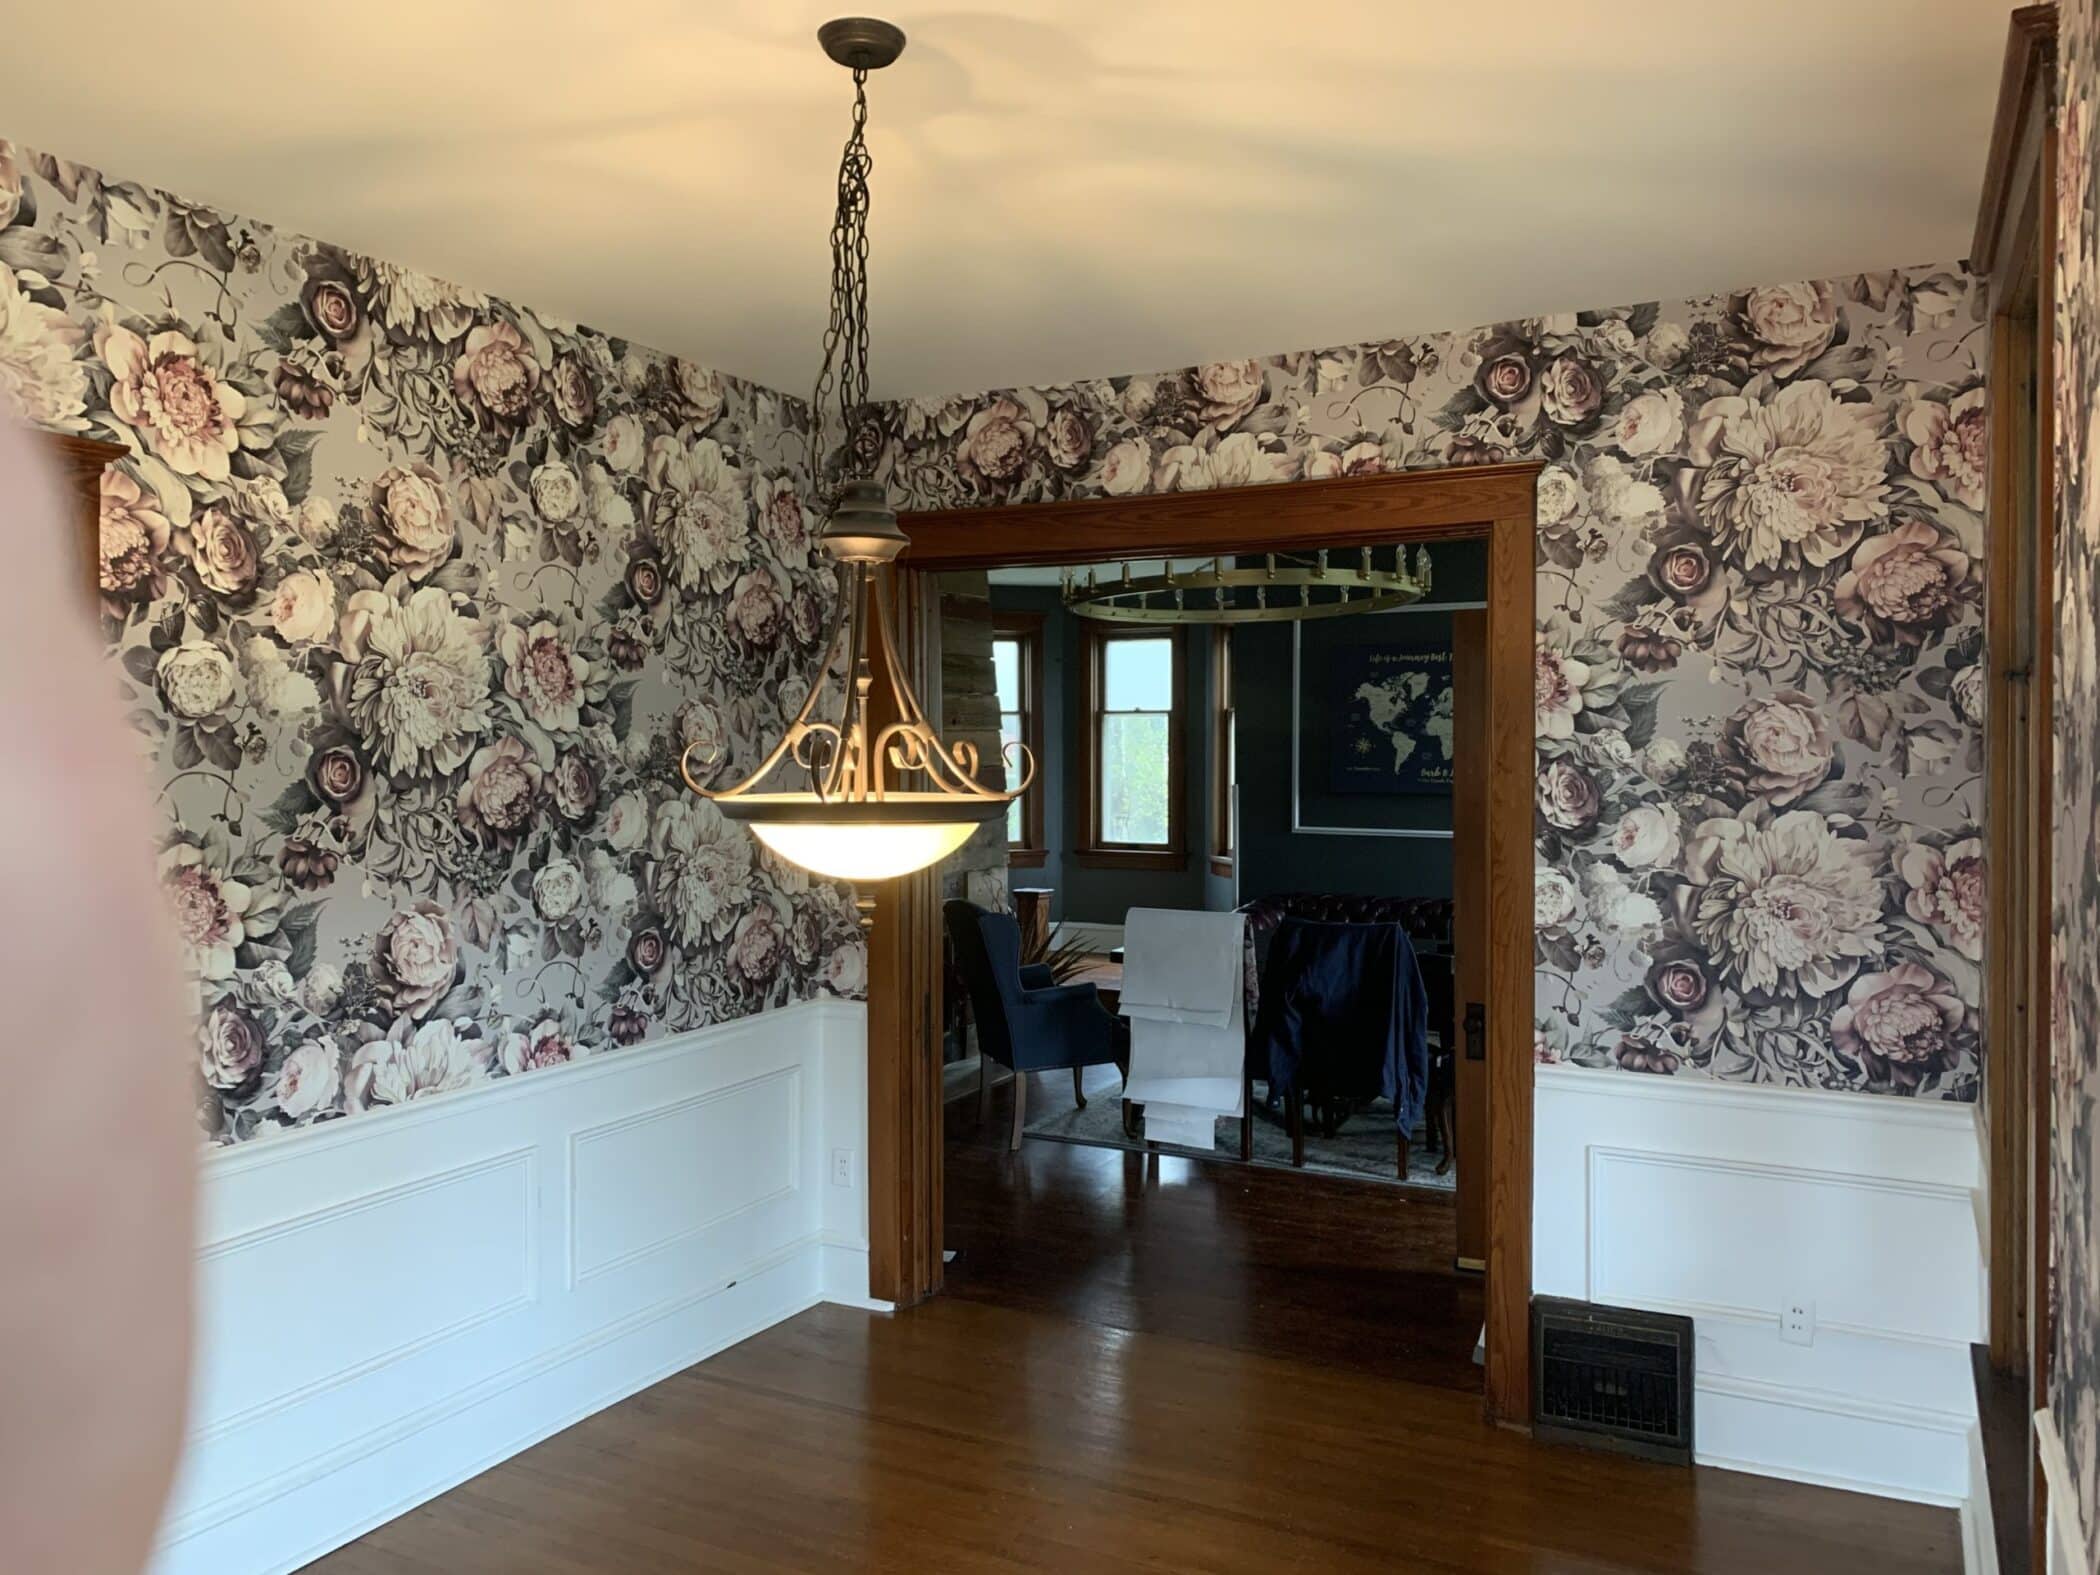
Sometimes, there is no right or wrong way to begin, as far as location is concerned. Last week, we were instructed to start in the middle of the wall. Due to the layout, the letters had to be 2 inches above the door frame and 4 inches below the drop ceiling. With that information, we started to install so that all the letters were at the correct height on the rest of the wall.
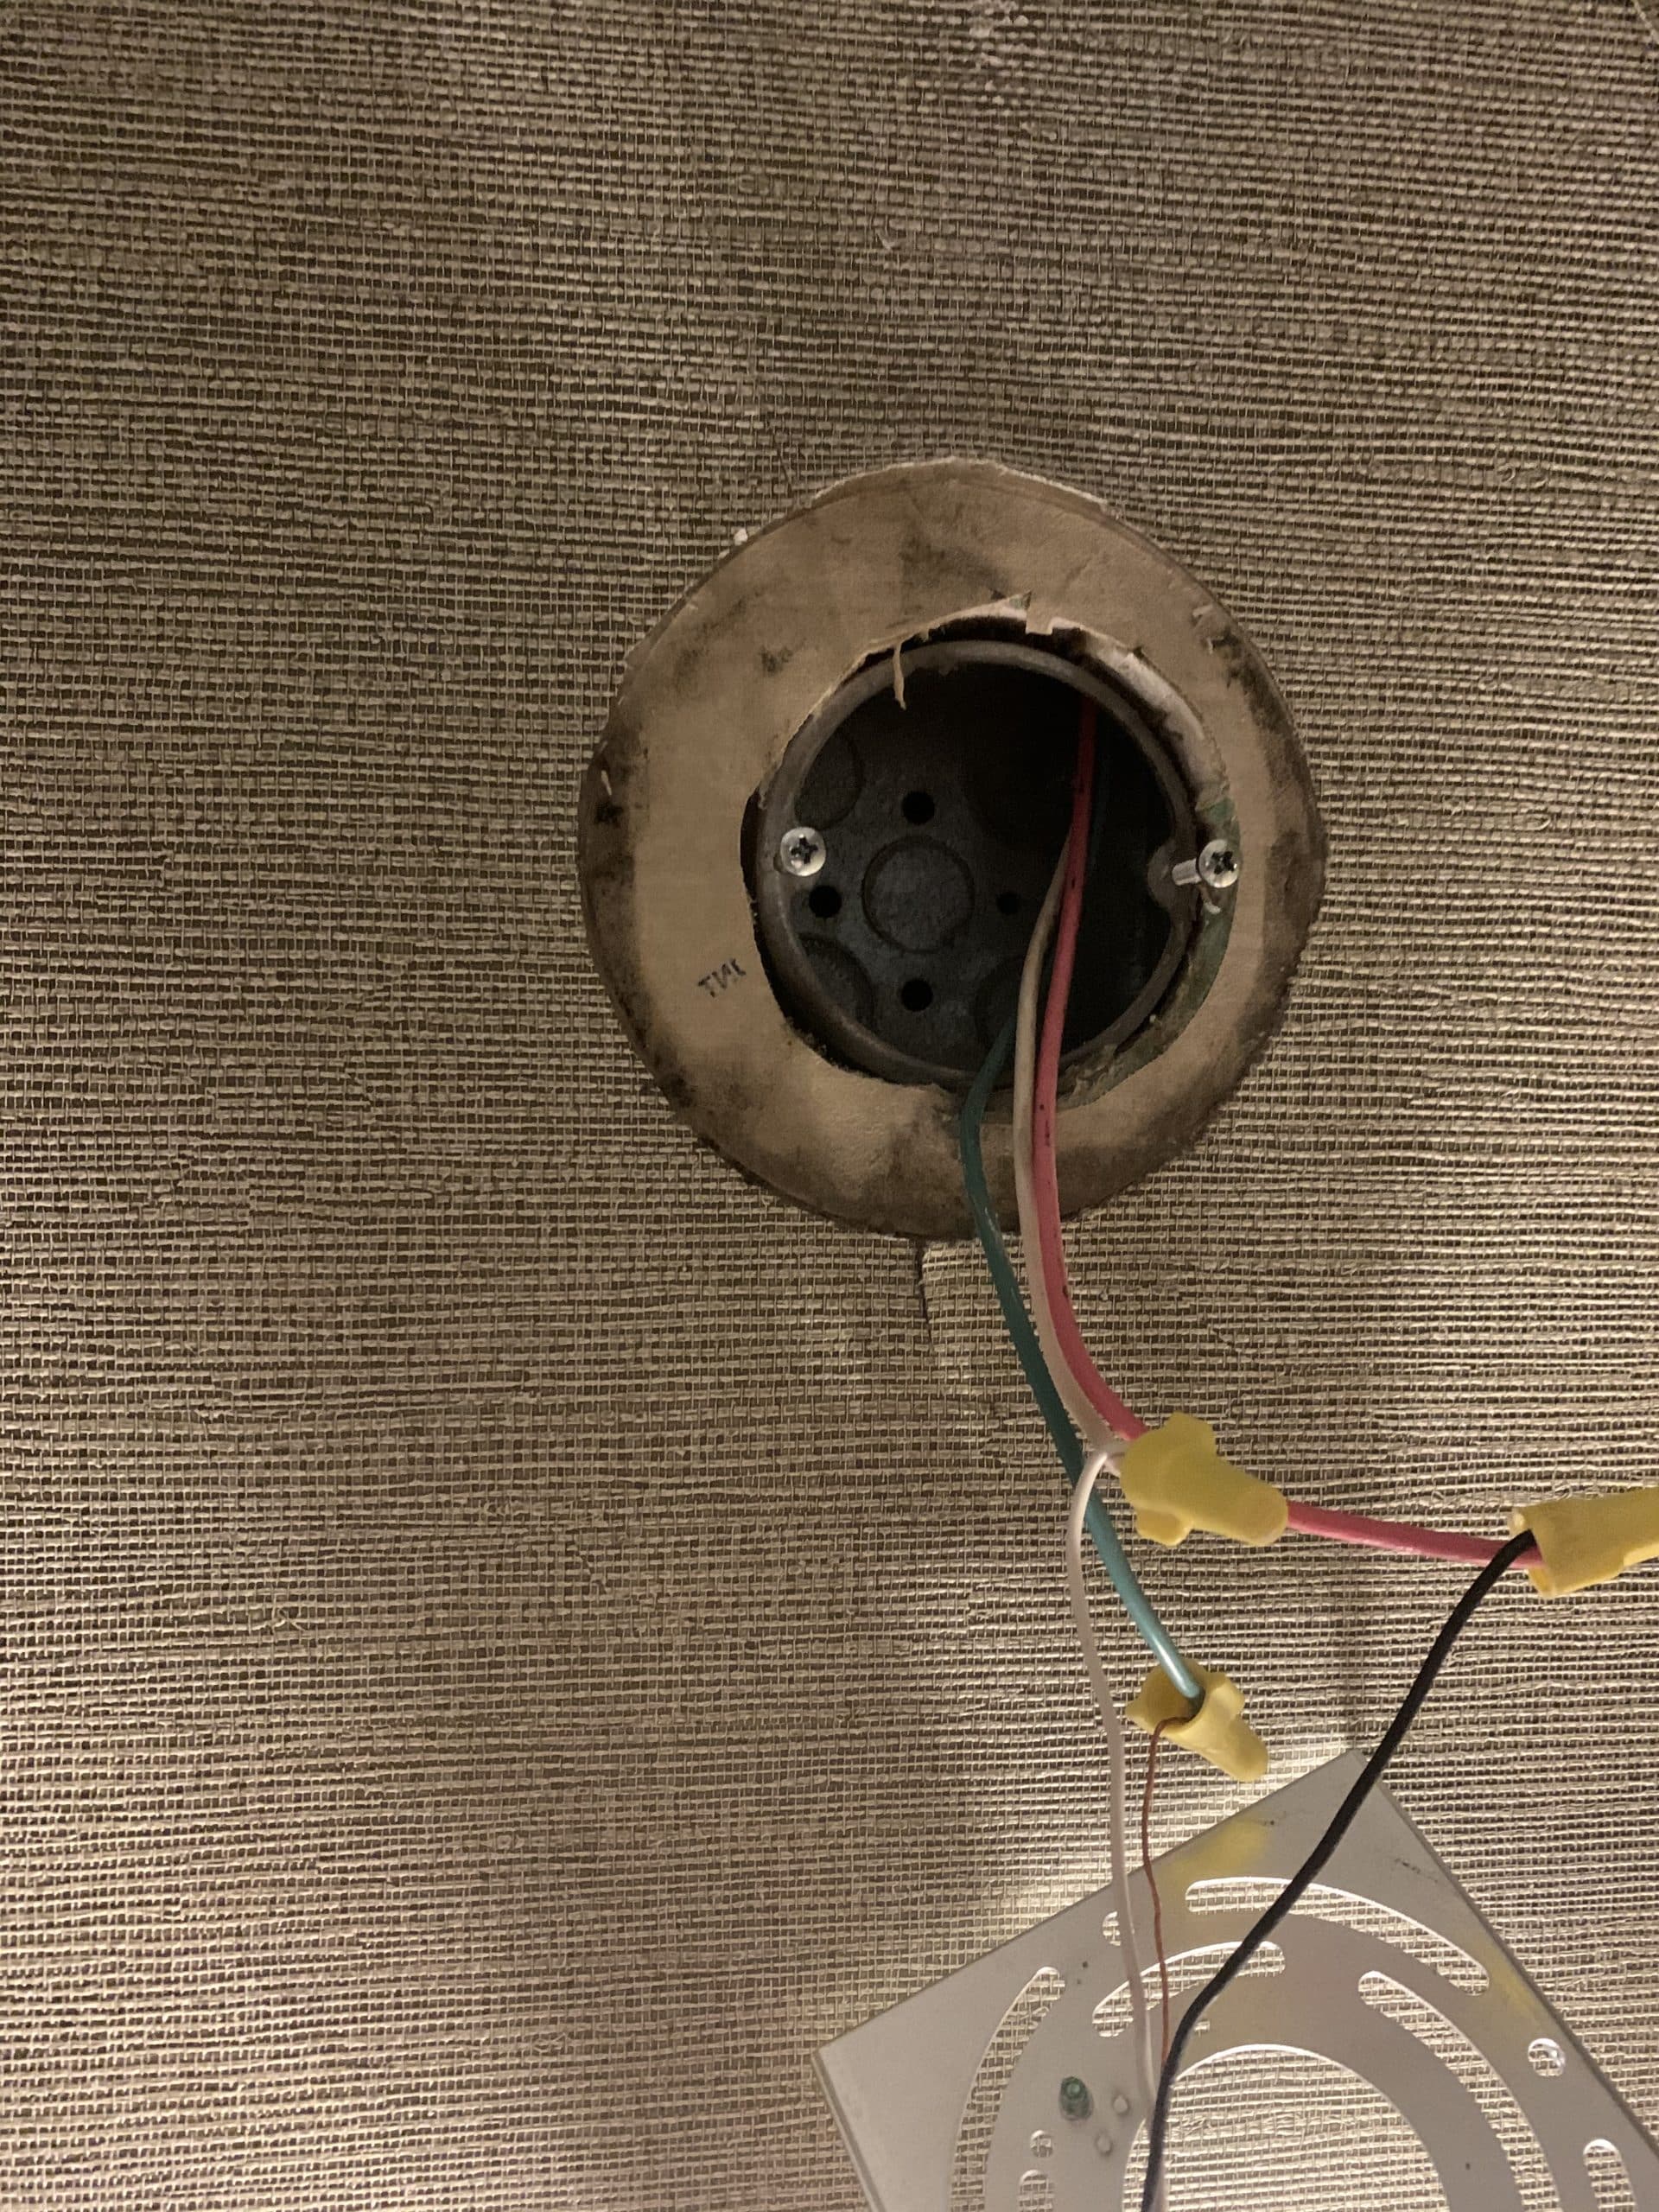
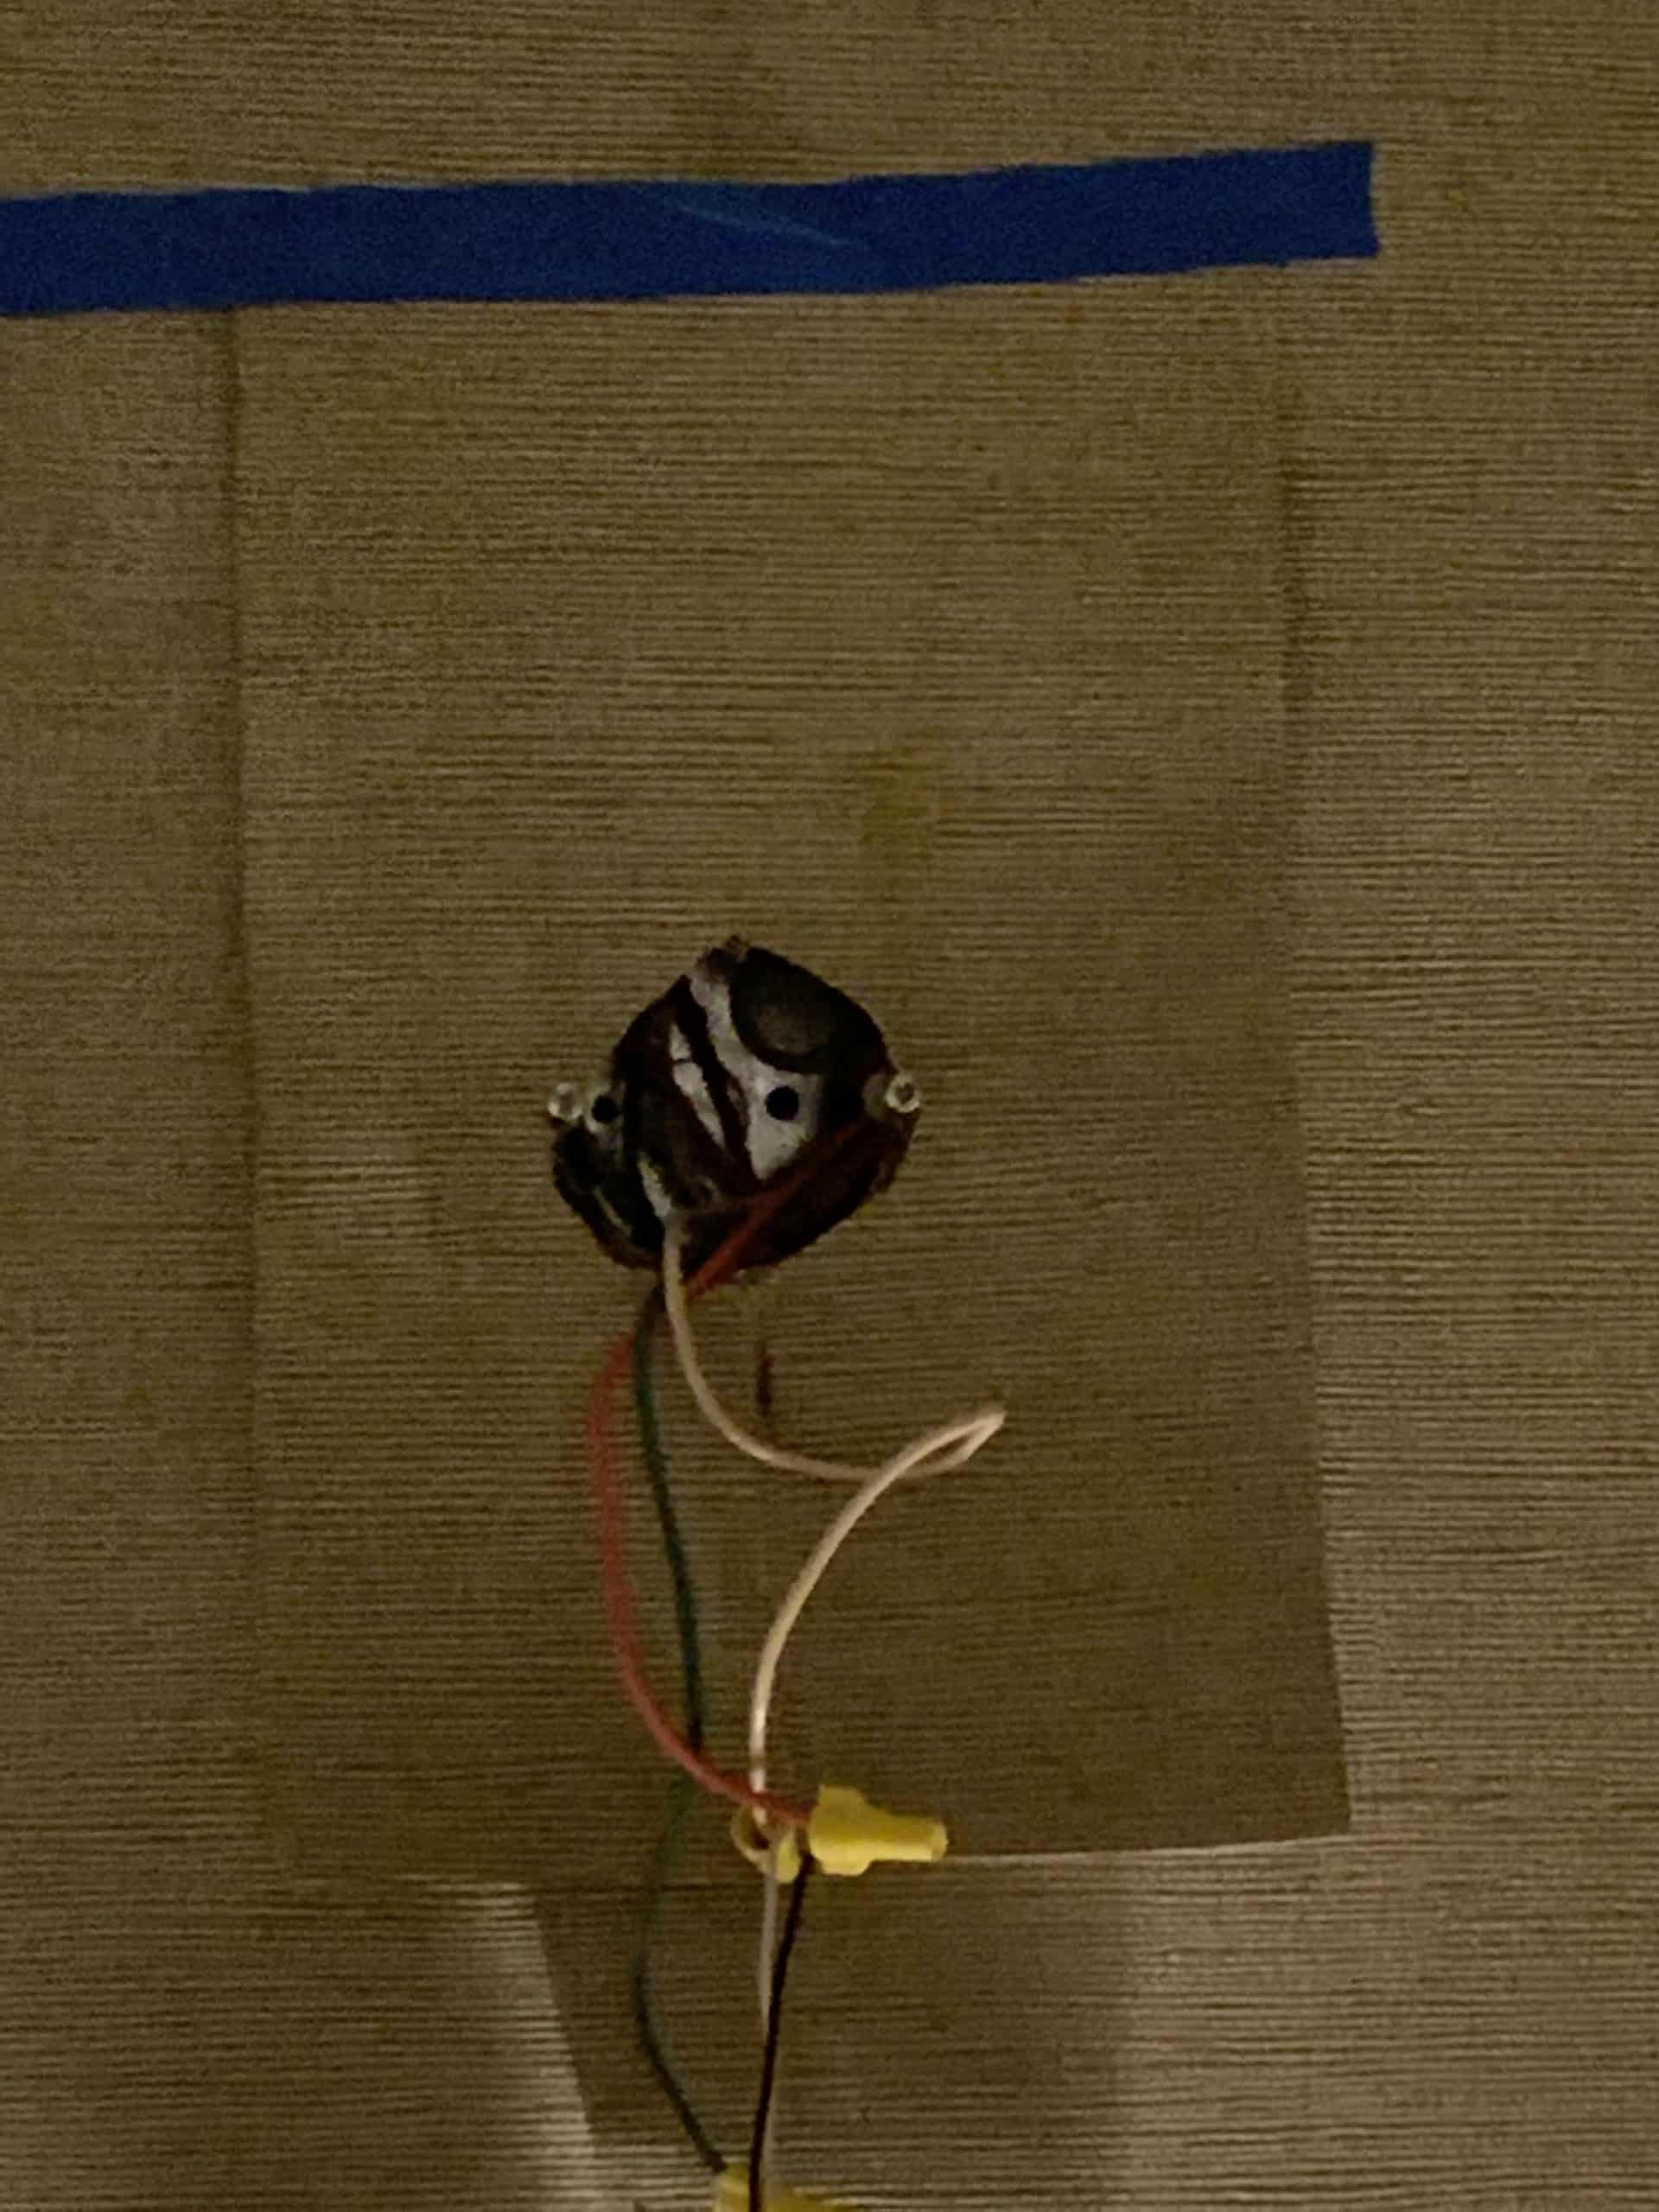
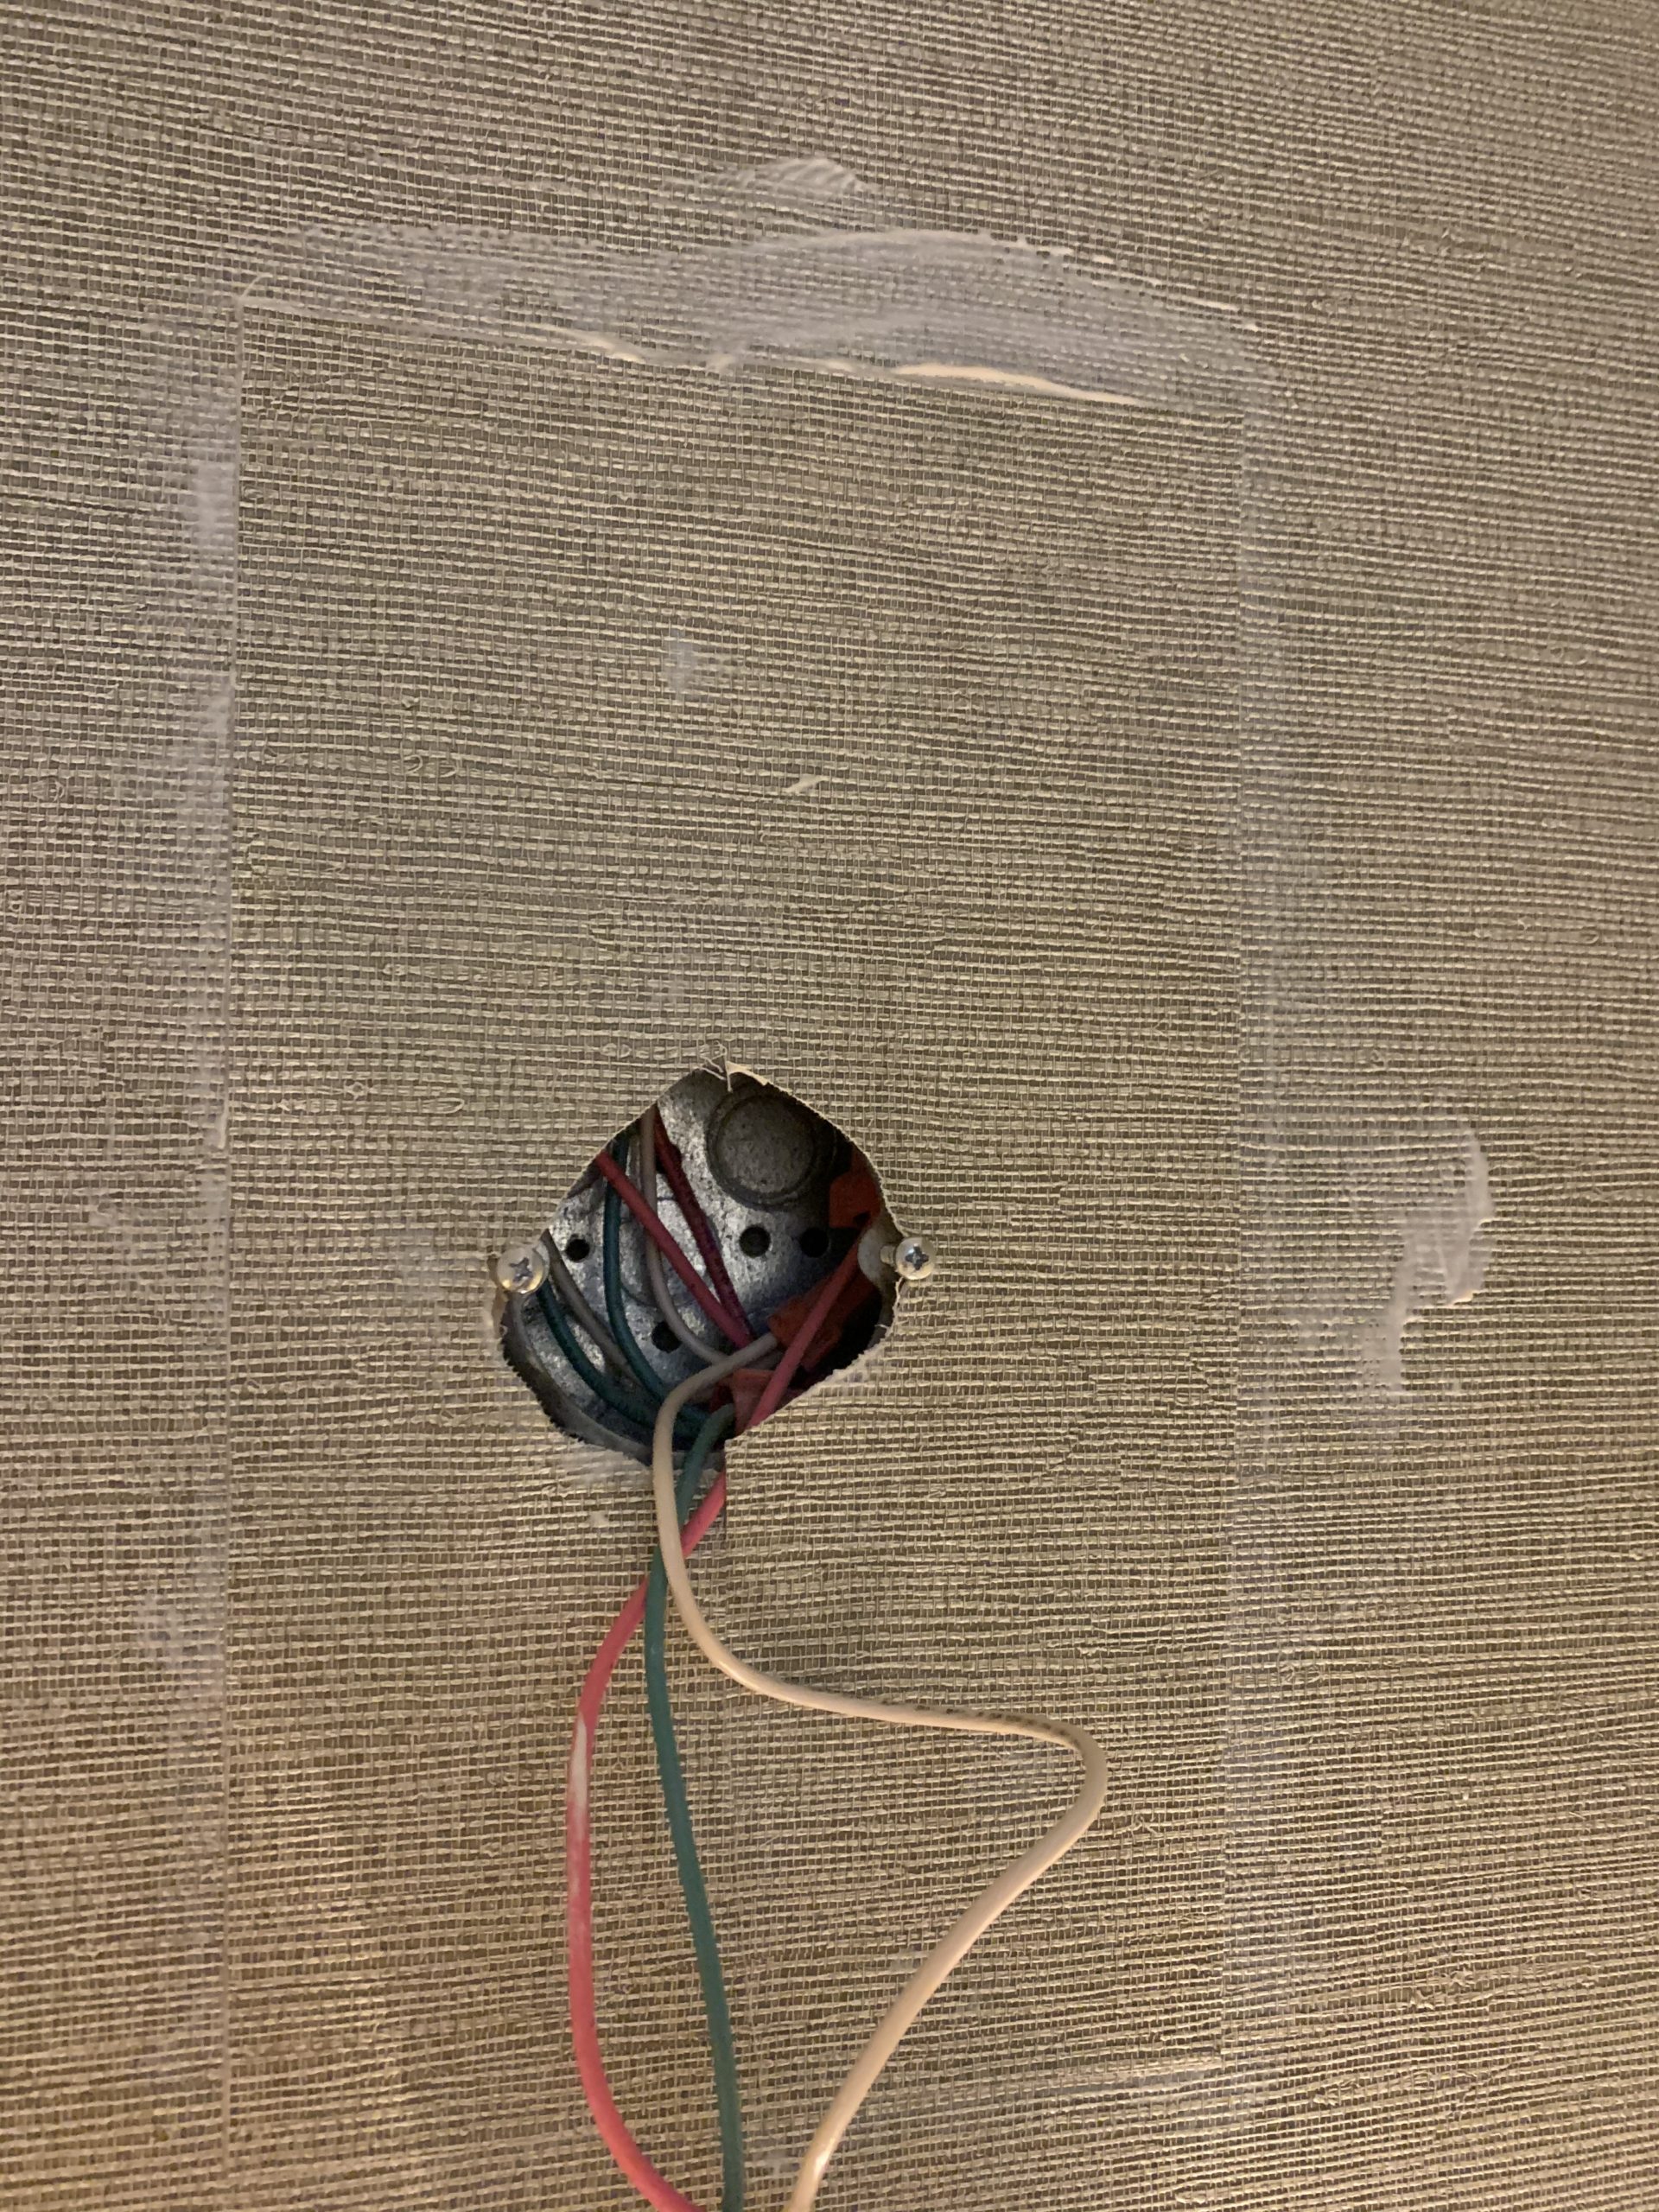
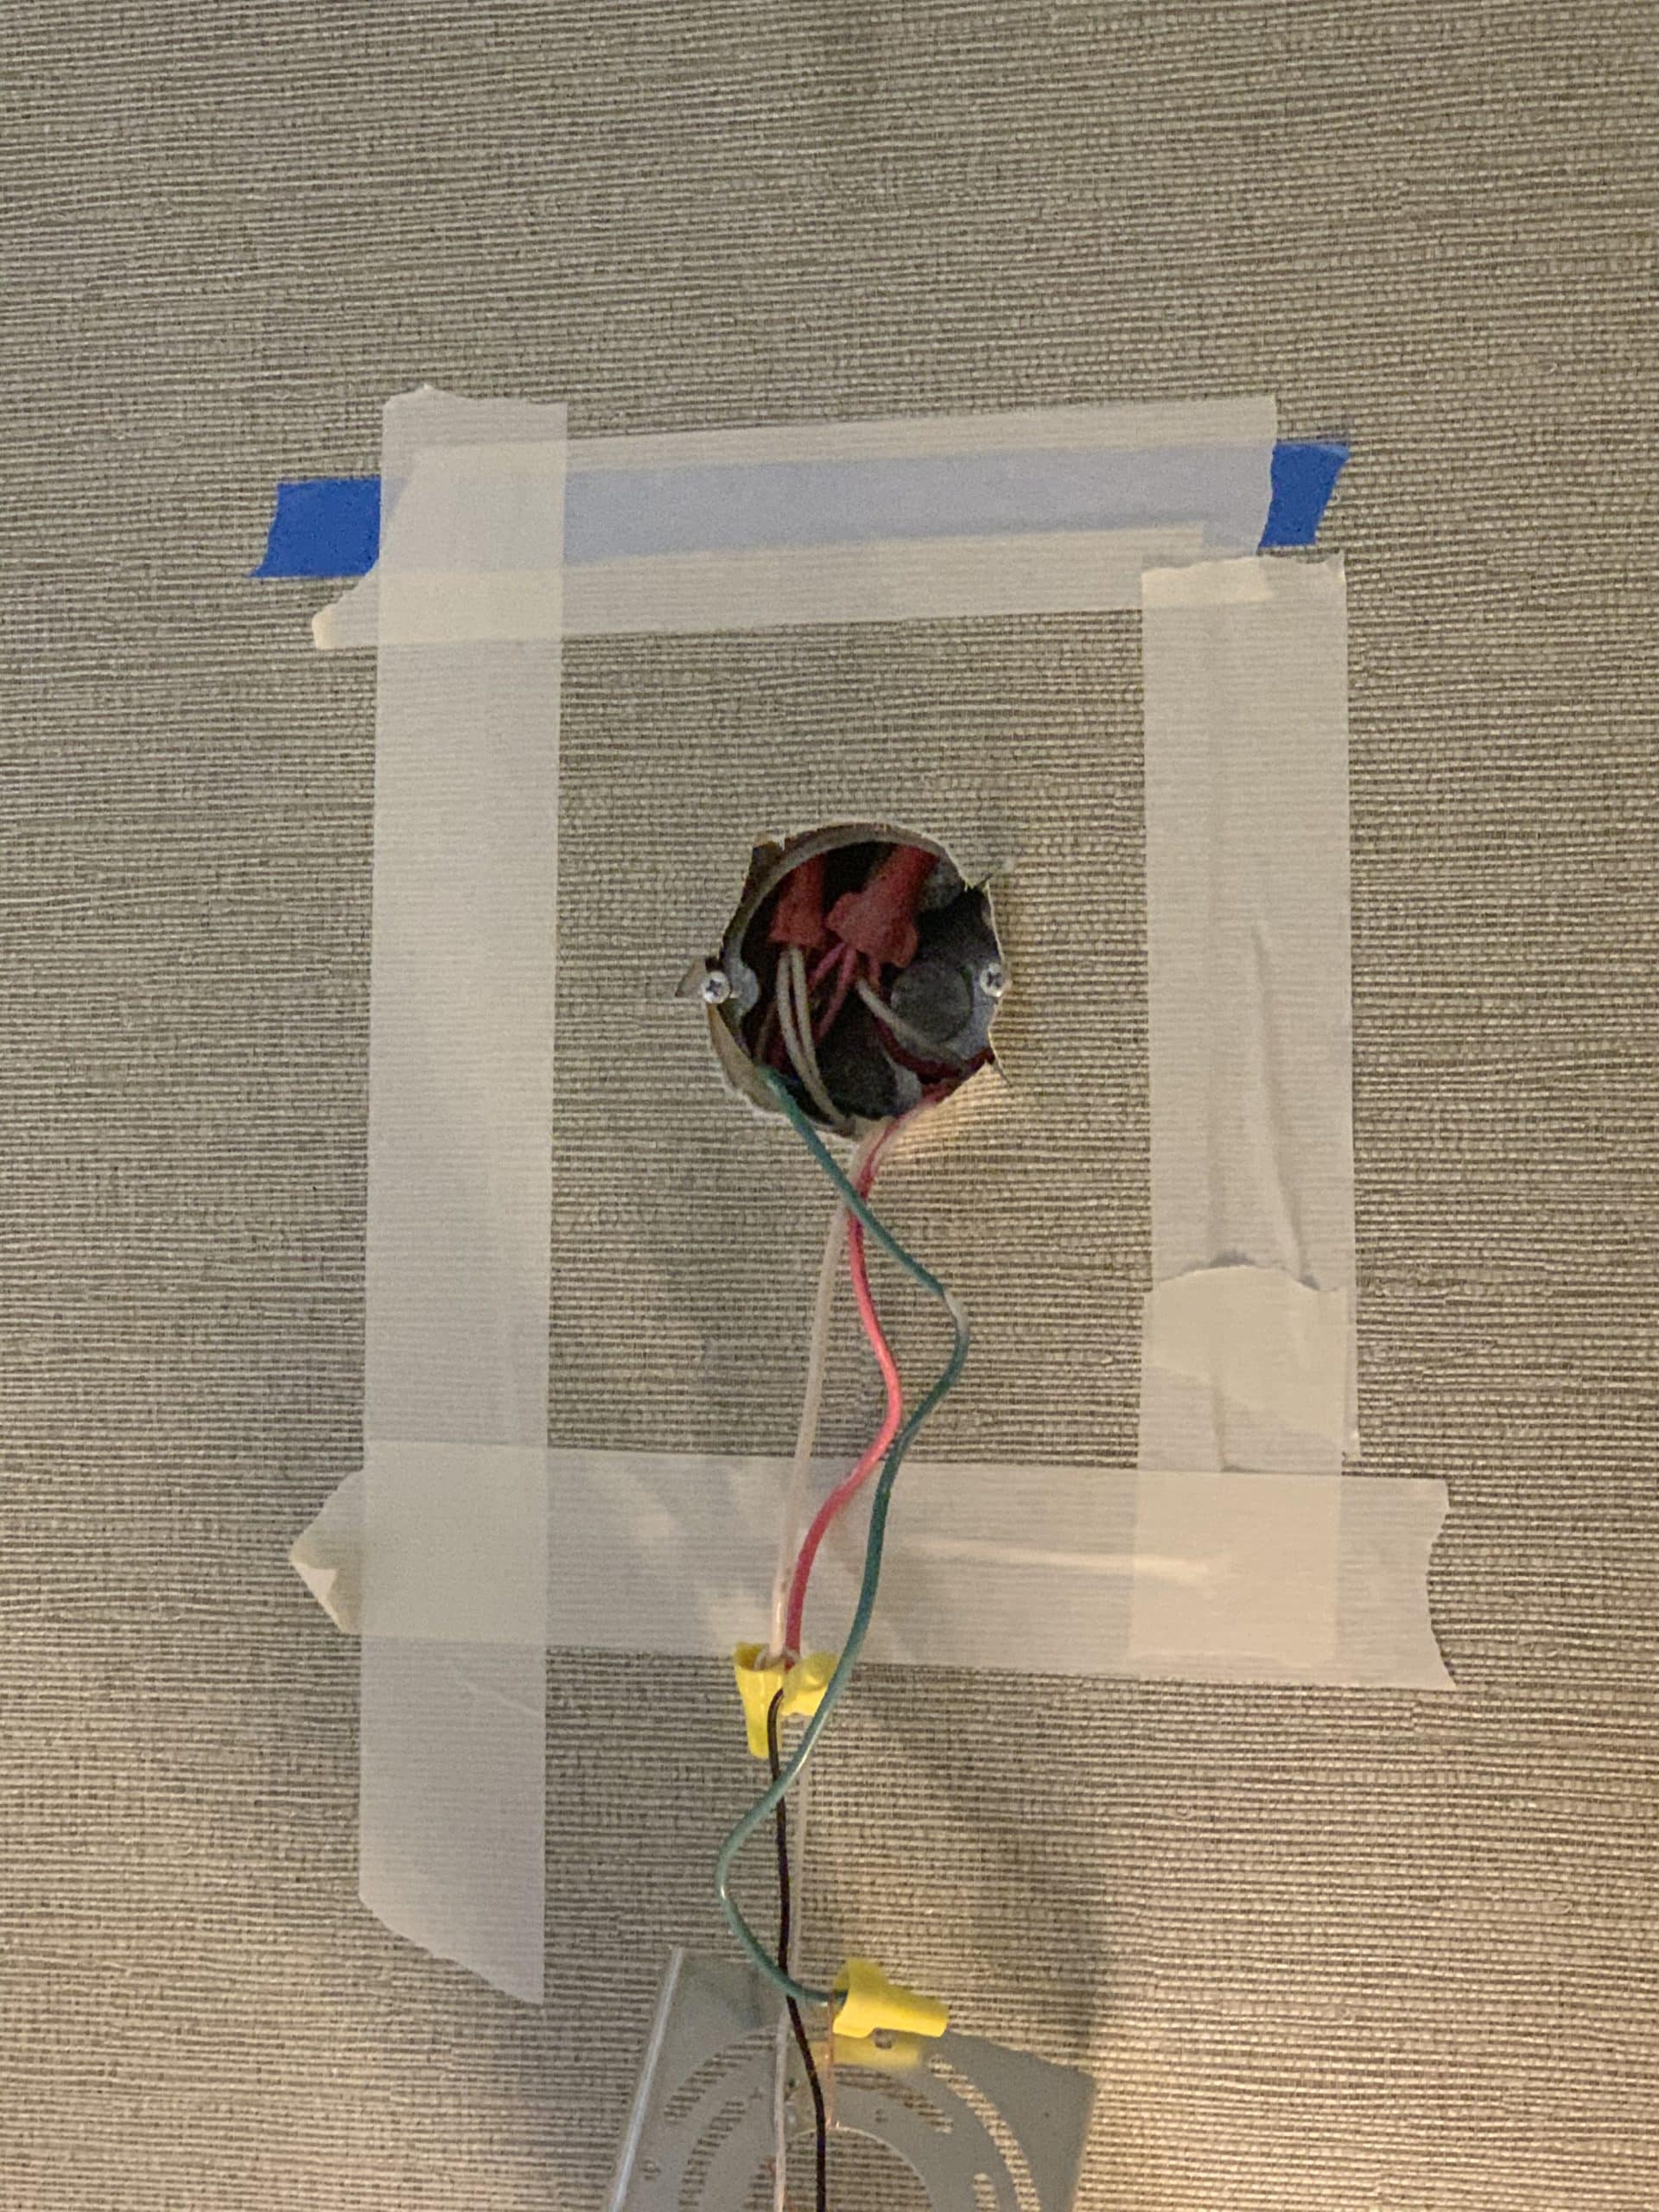
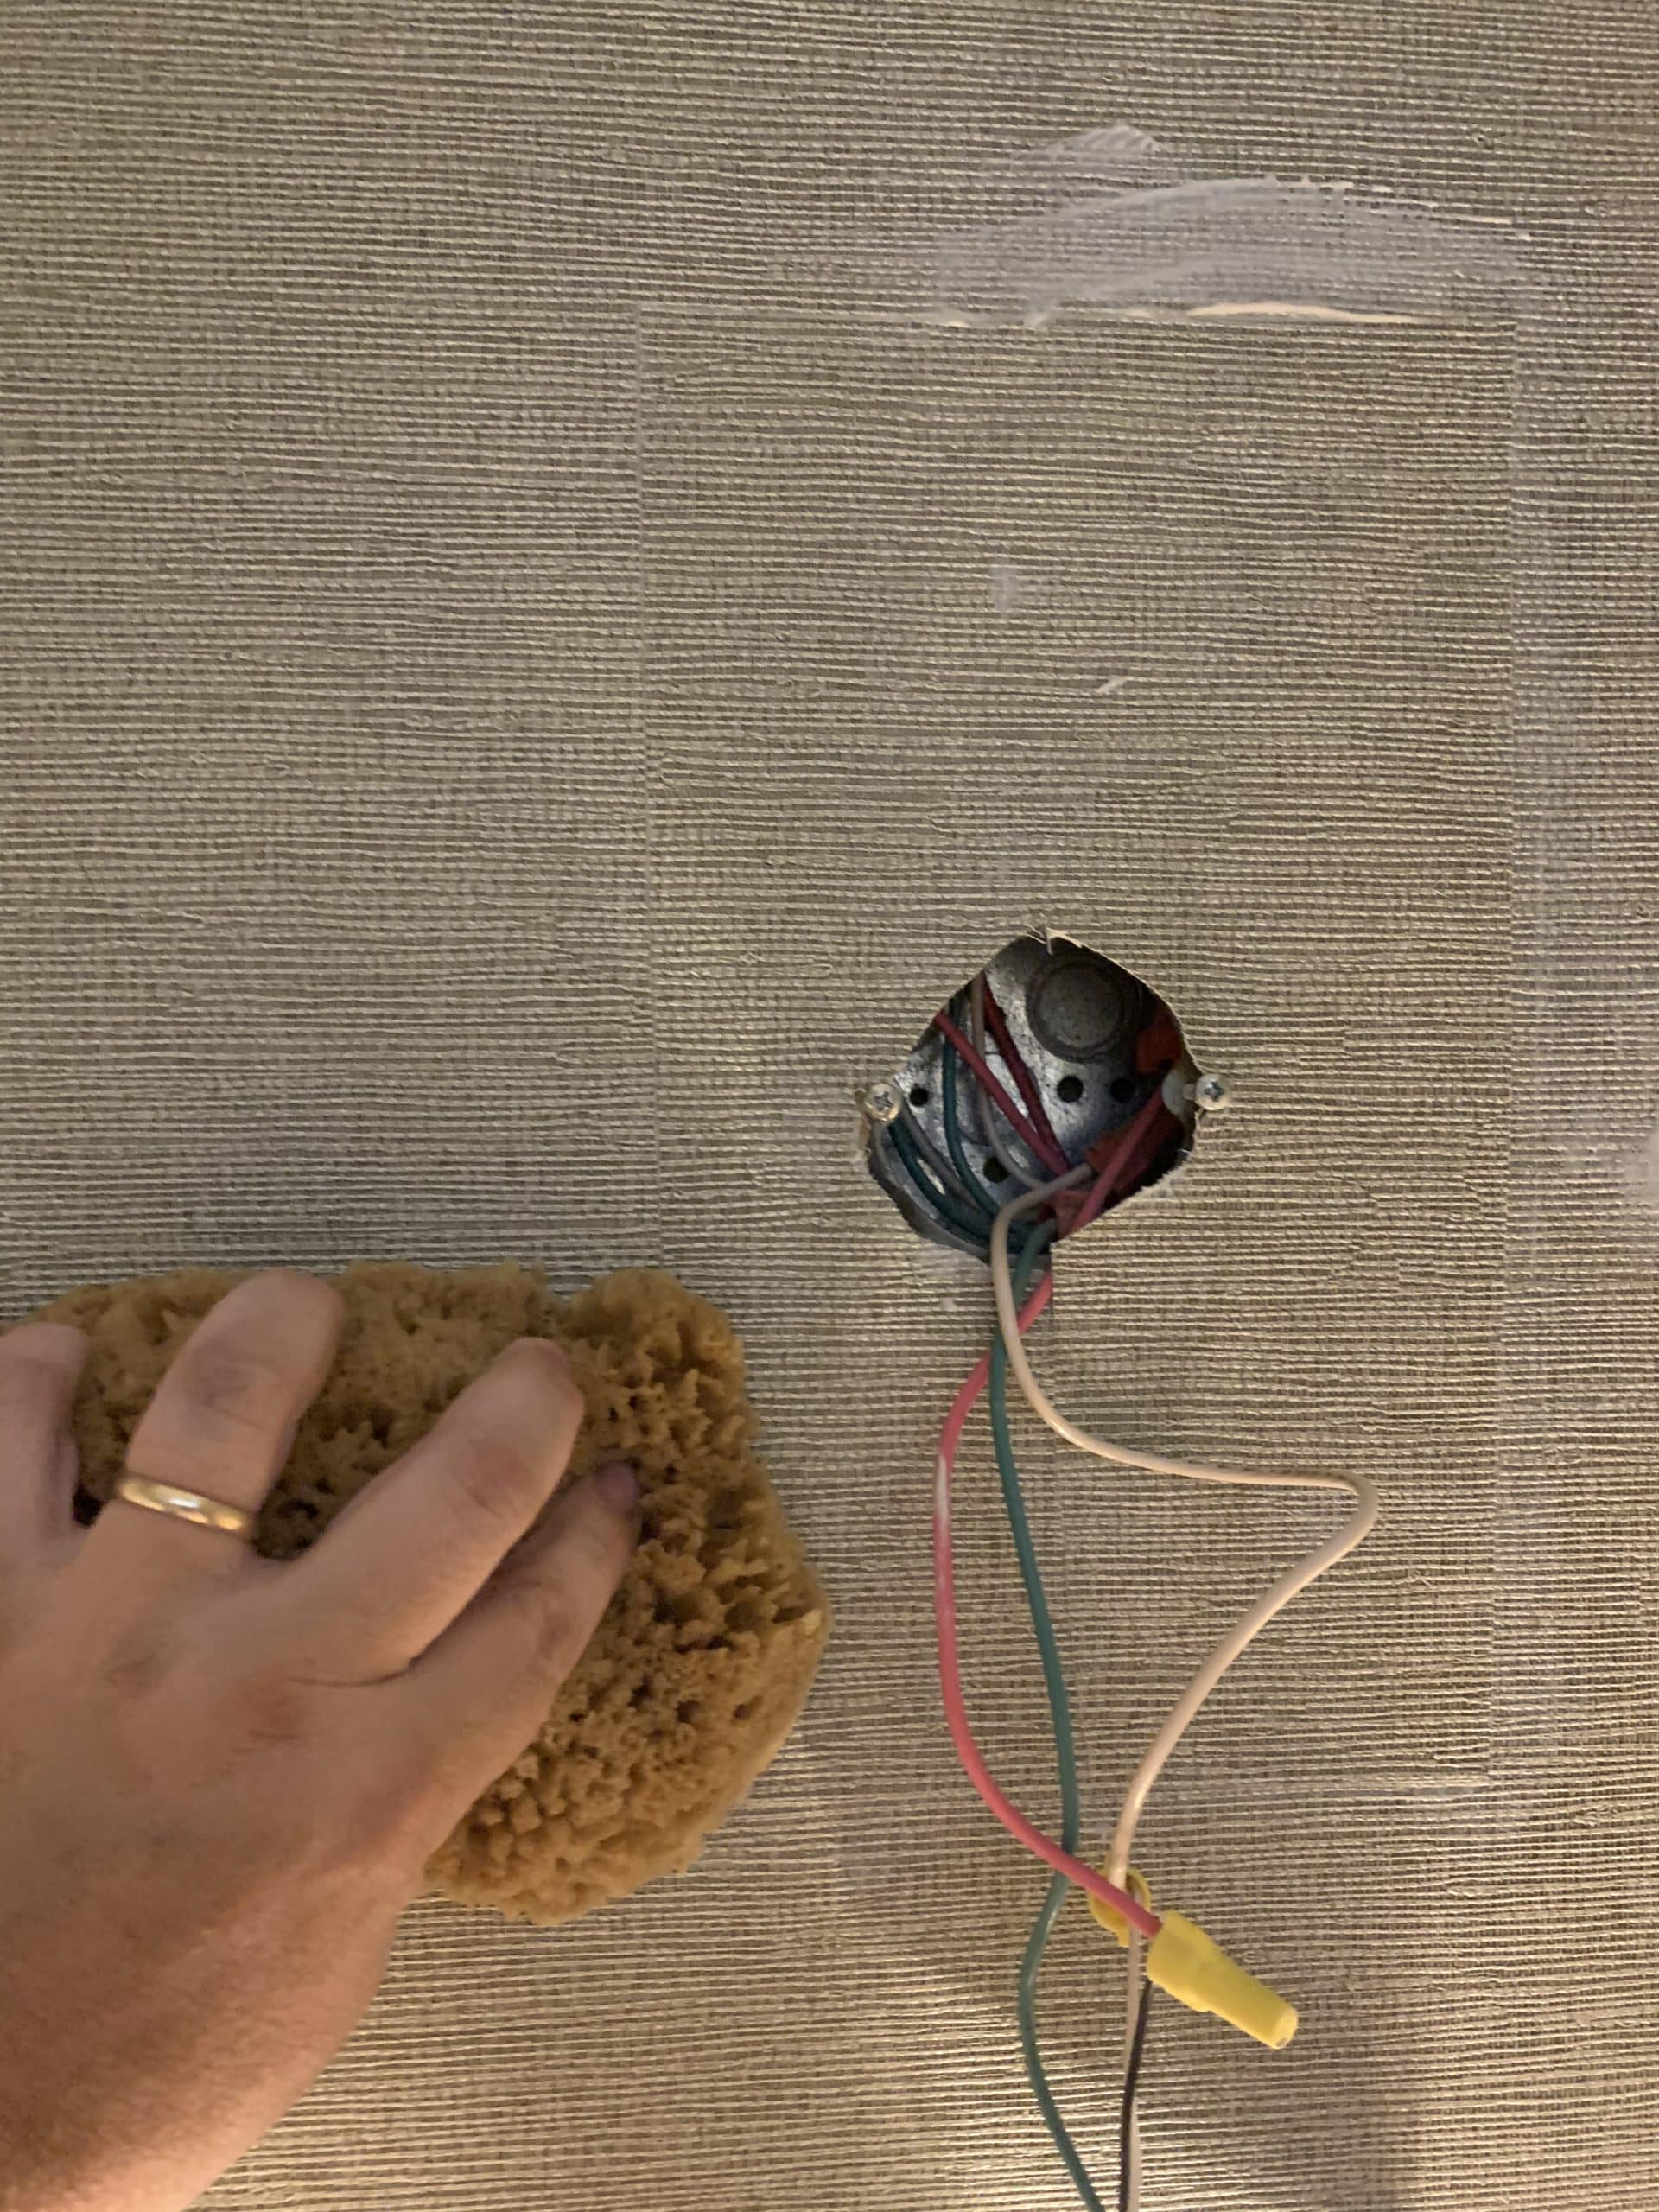
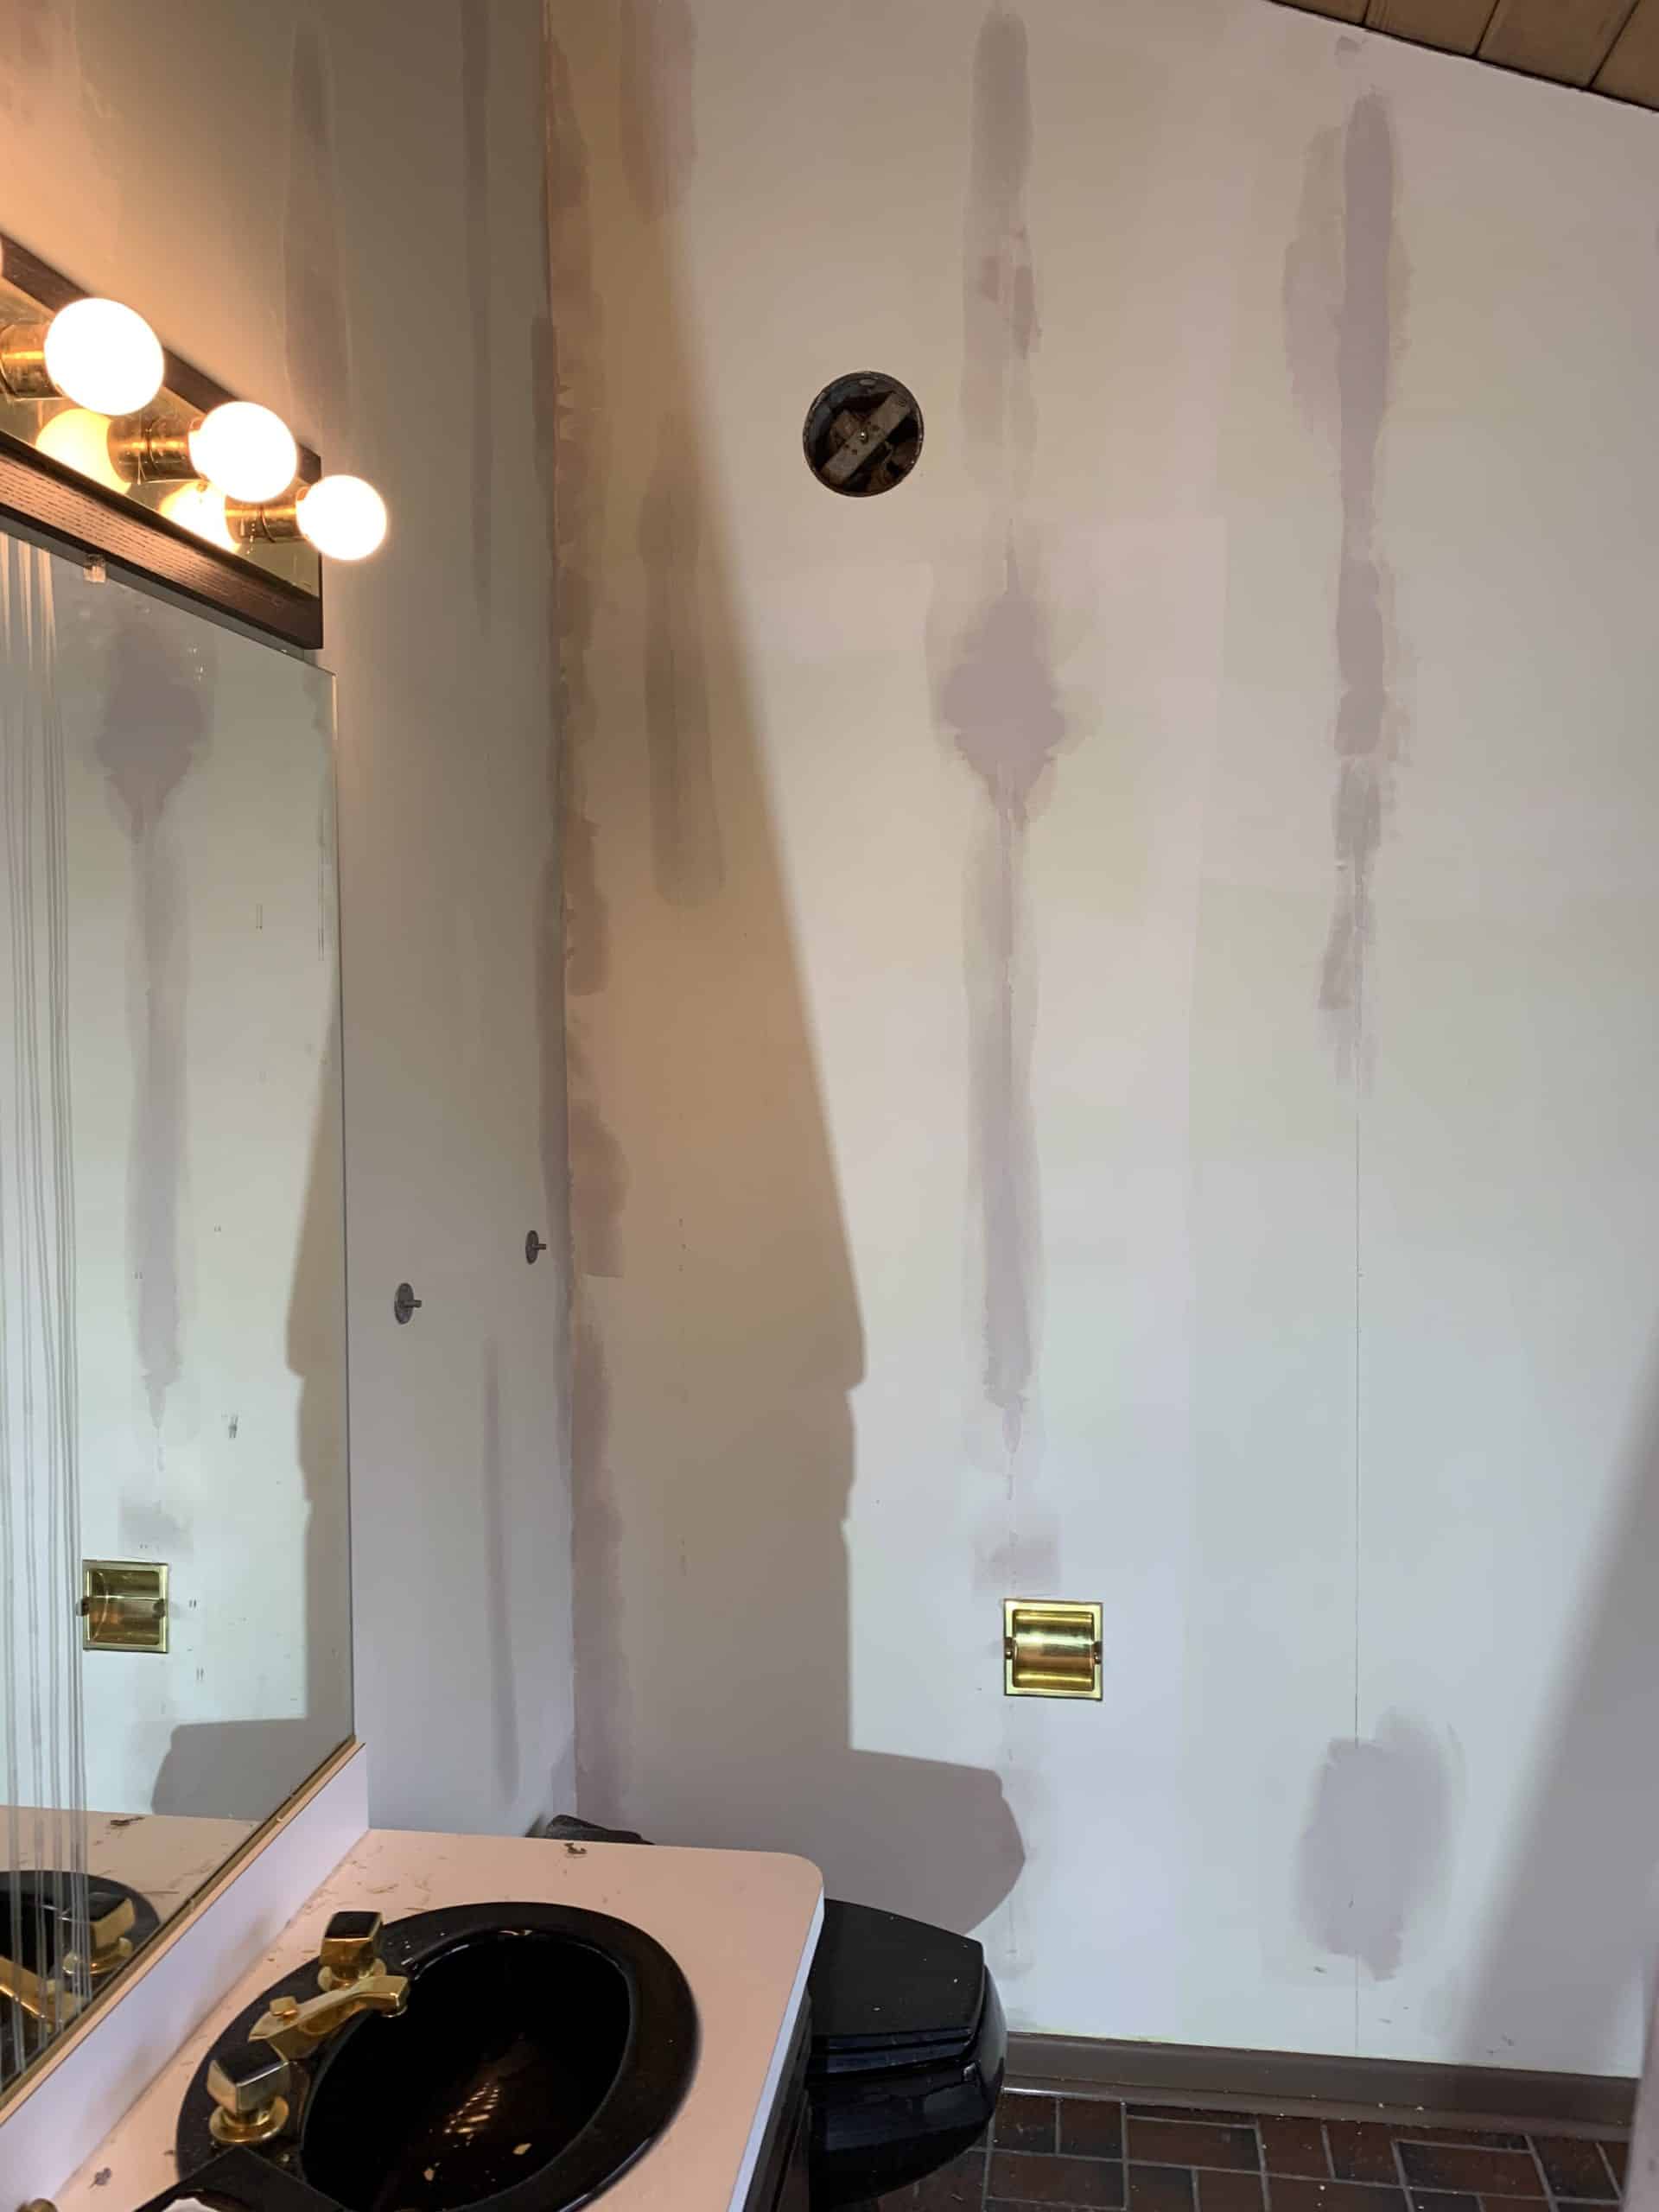
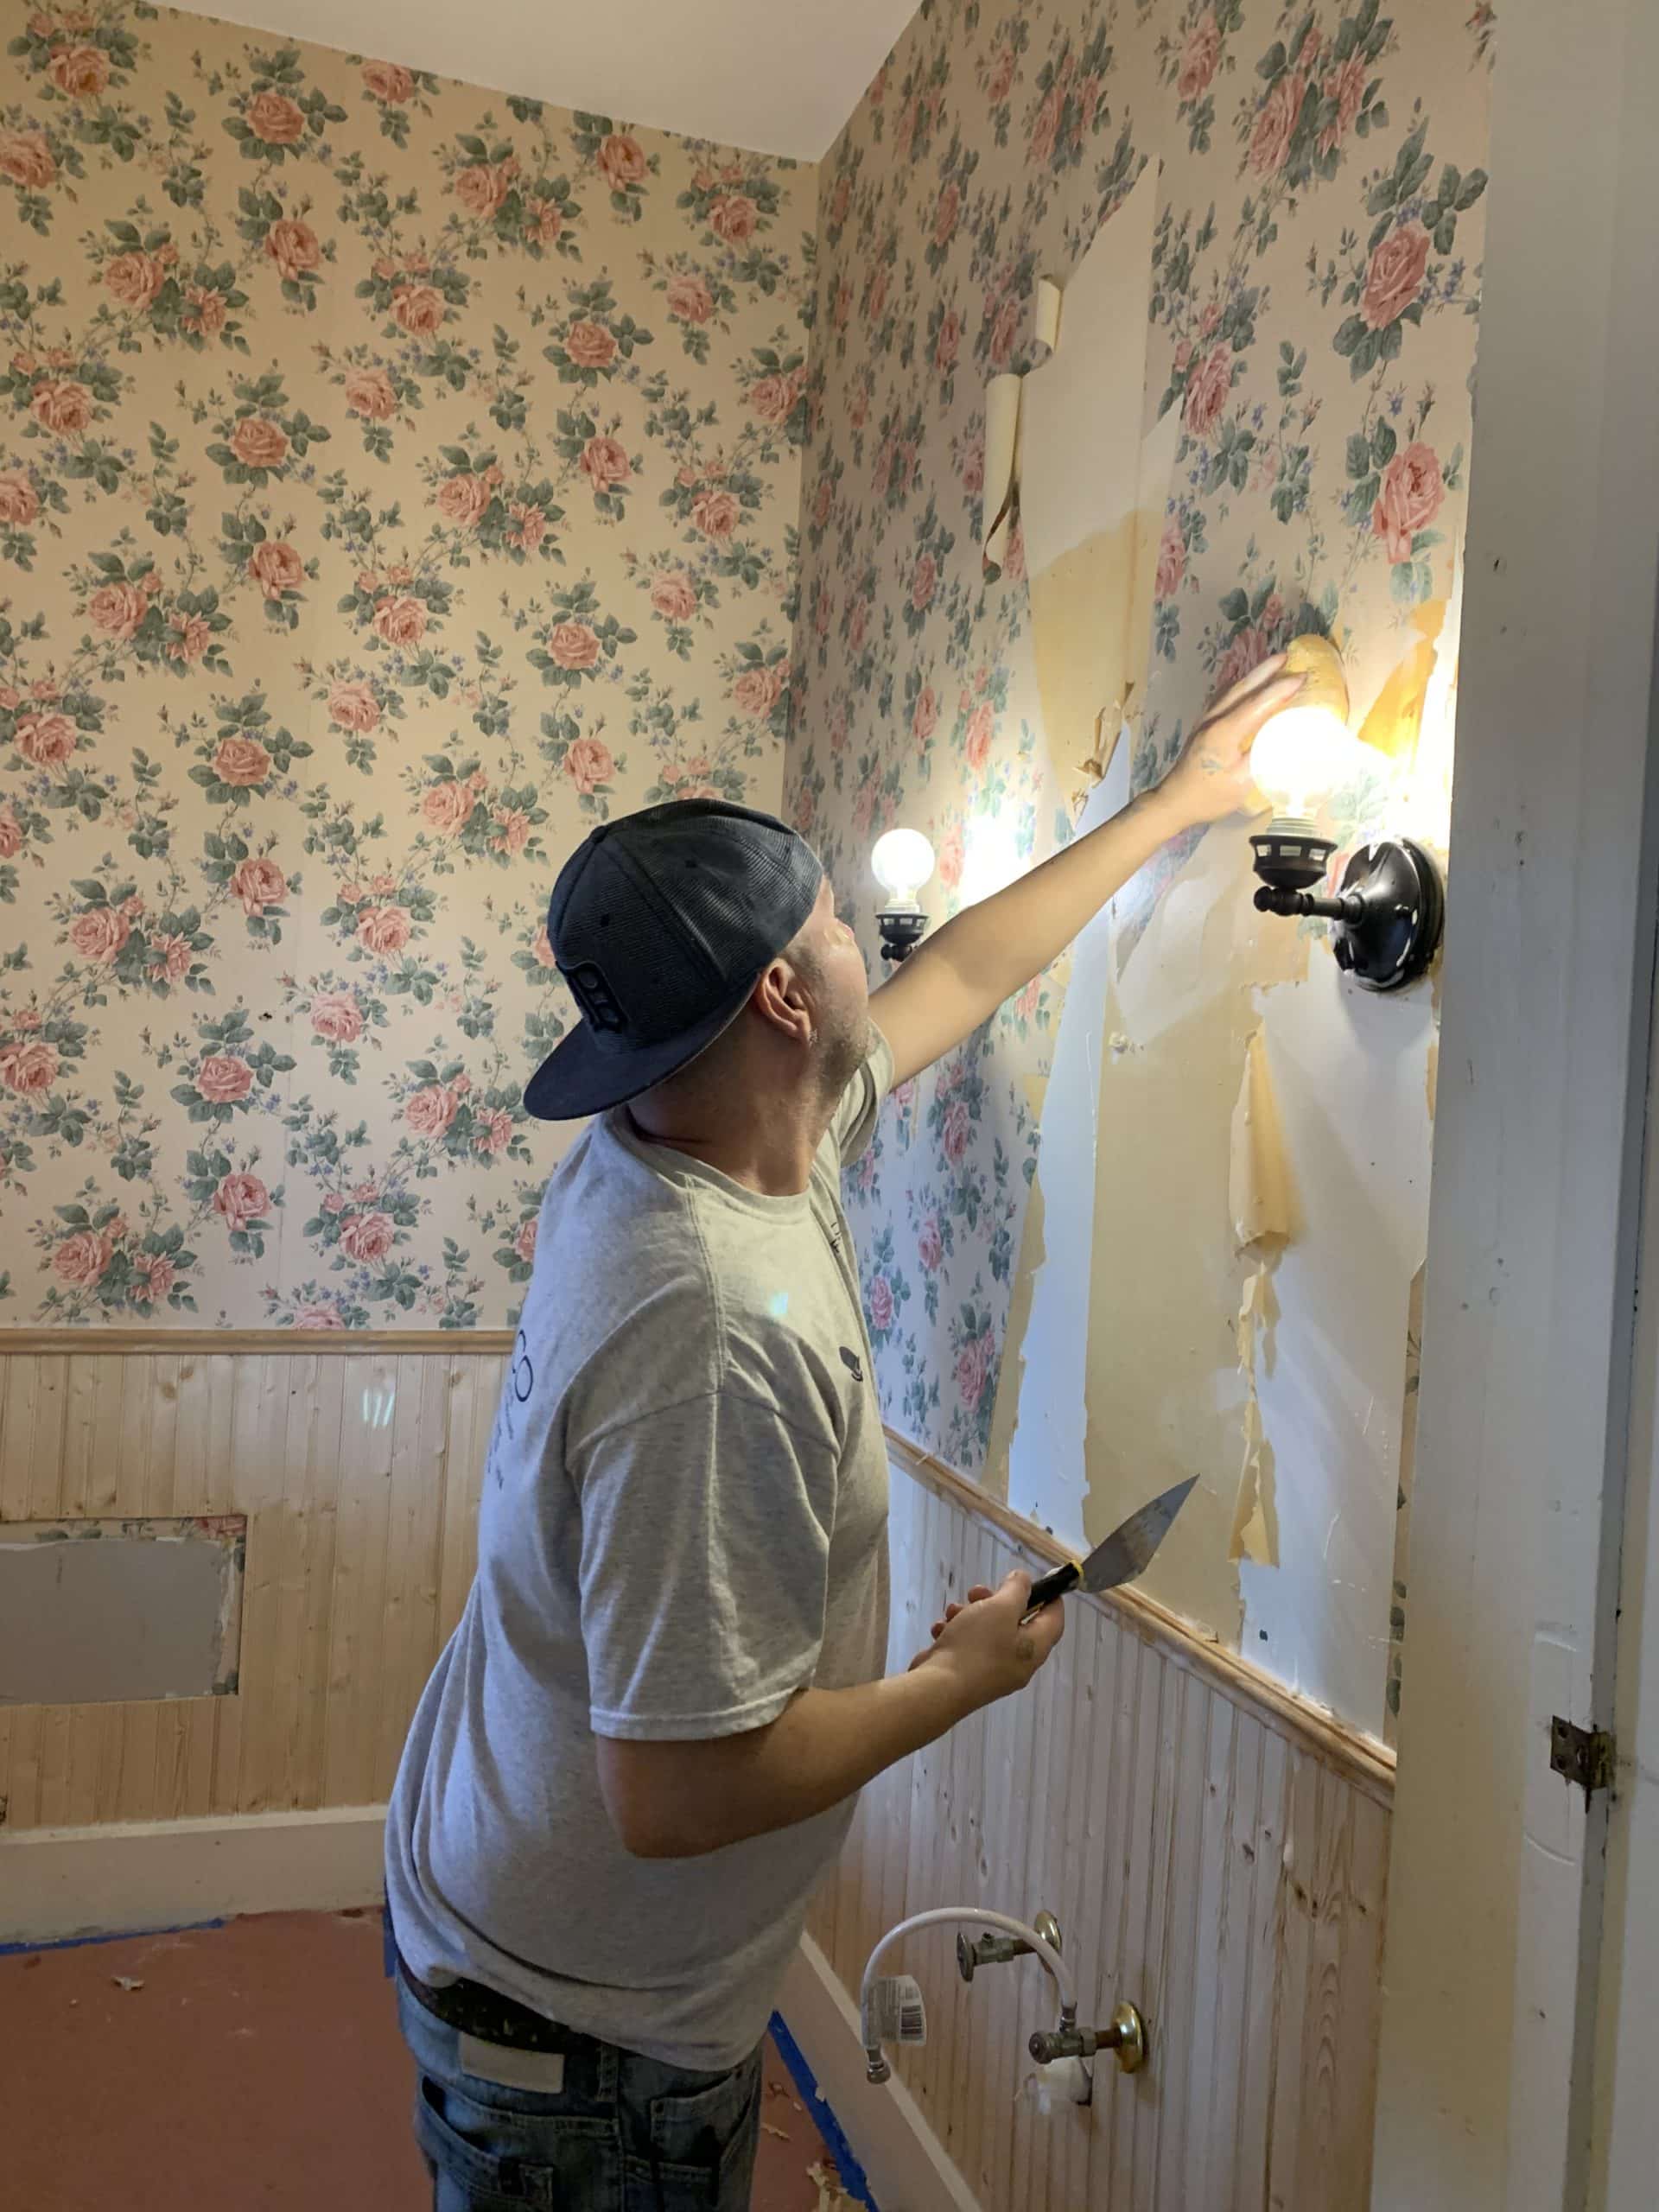
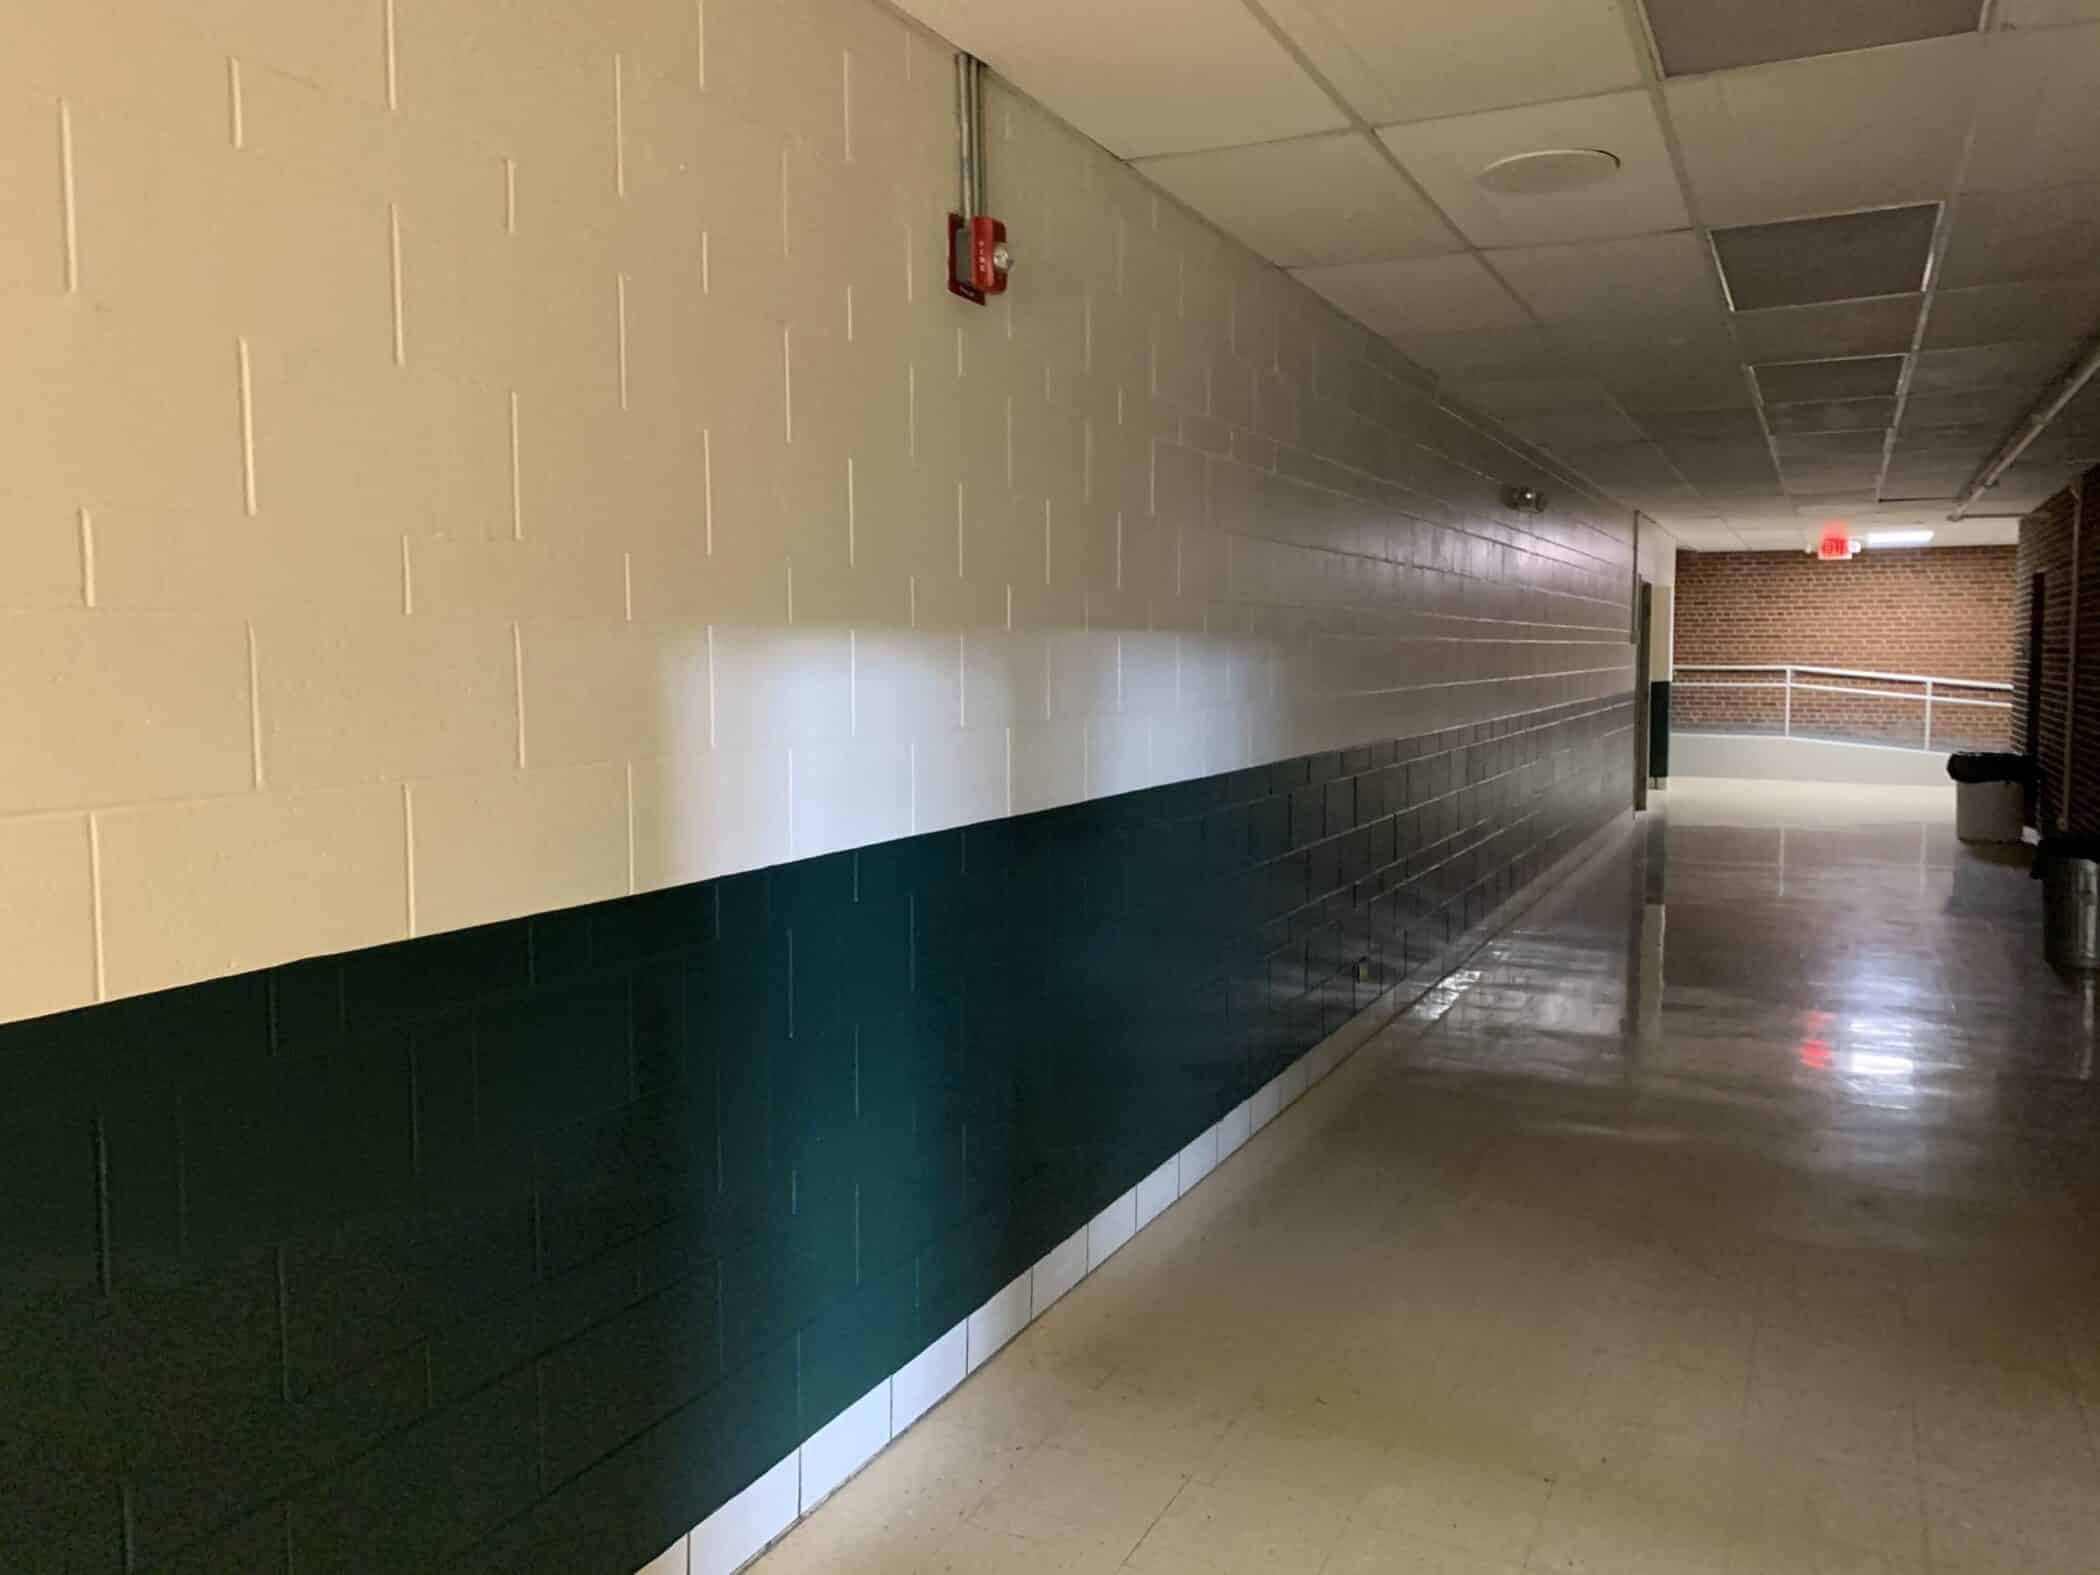
Inspect your walls before the installation begins.
I start on my left and work left to right. I do this because I am right-handed, and it is easier for me to make double cuts and trim the wallpaper with my right hand than my left. So, I make sure that is also the direction I move in.

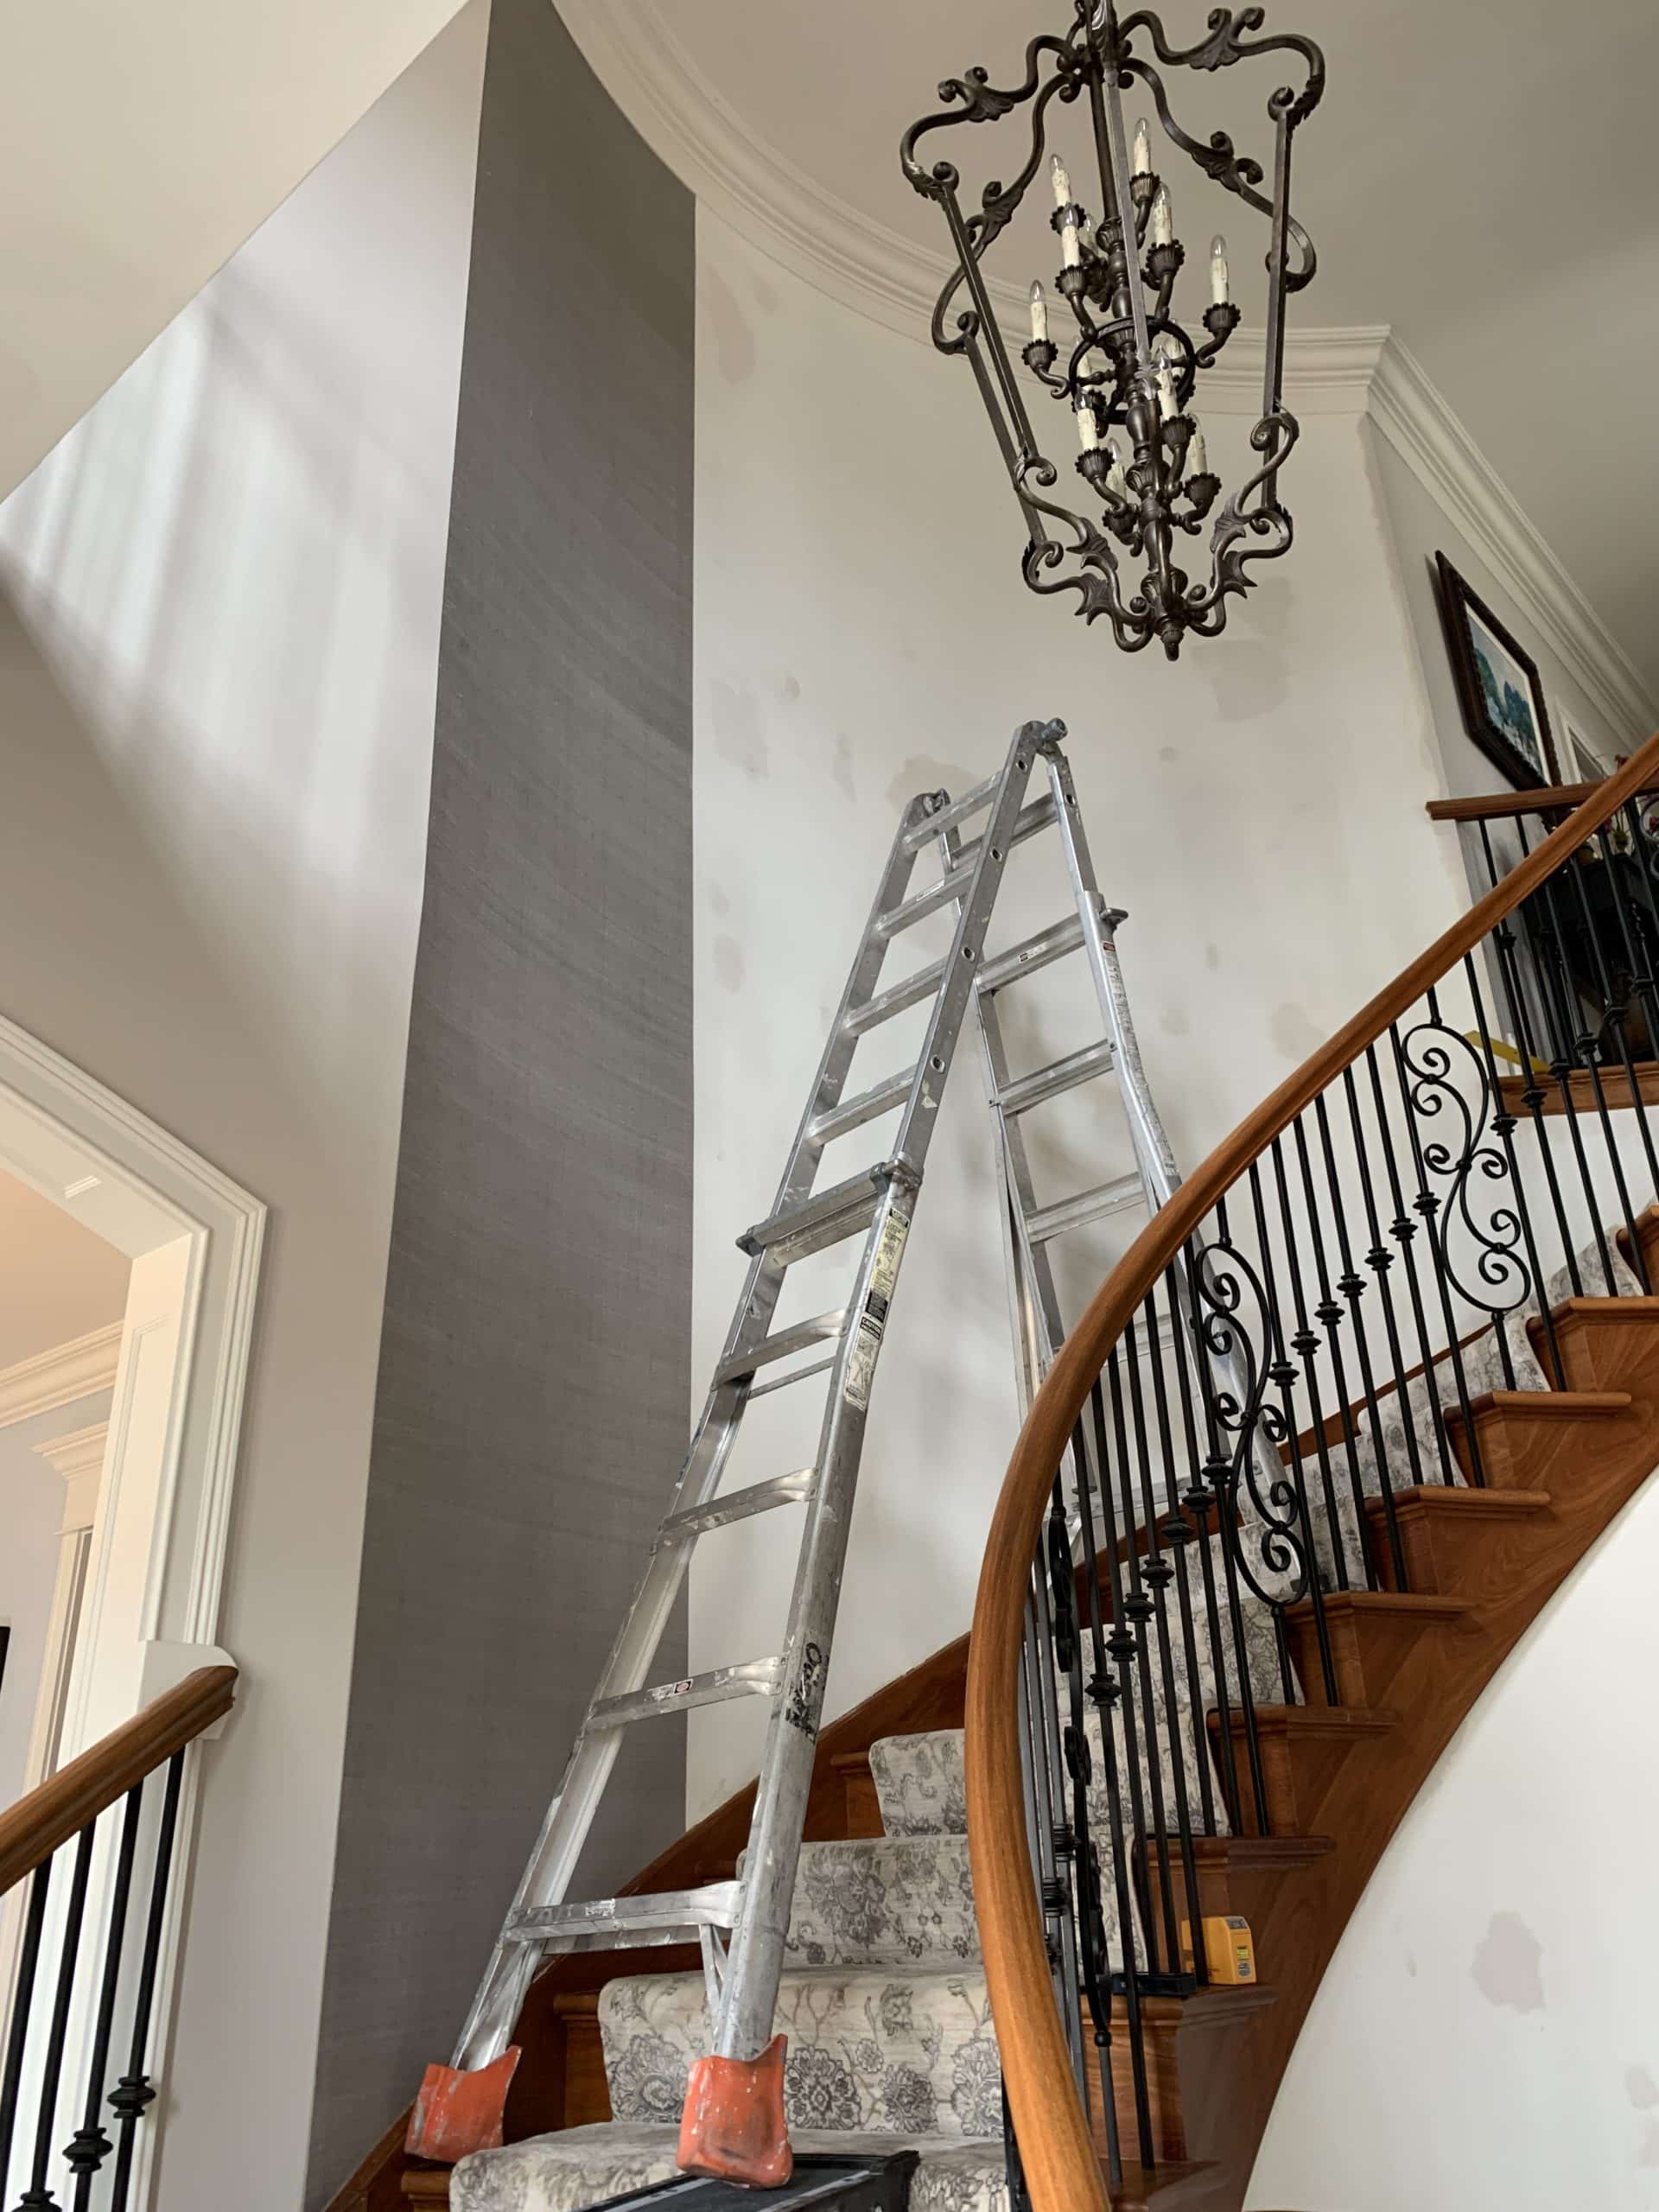
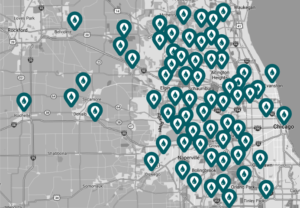
Panel one of a Chicago wallpaper mural.
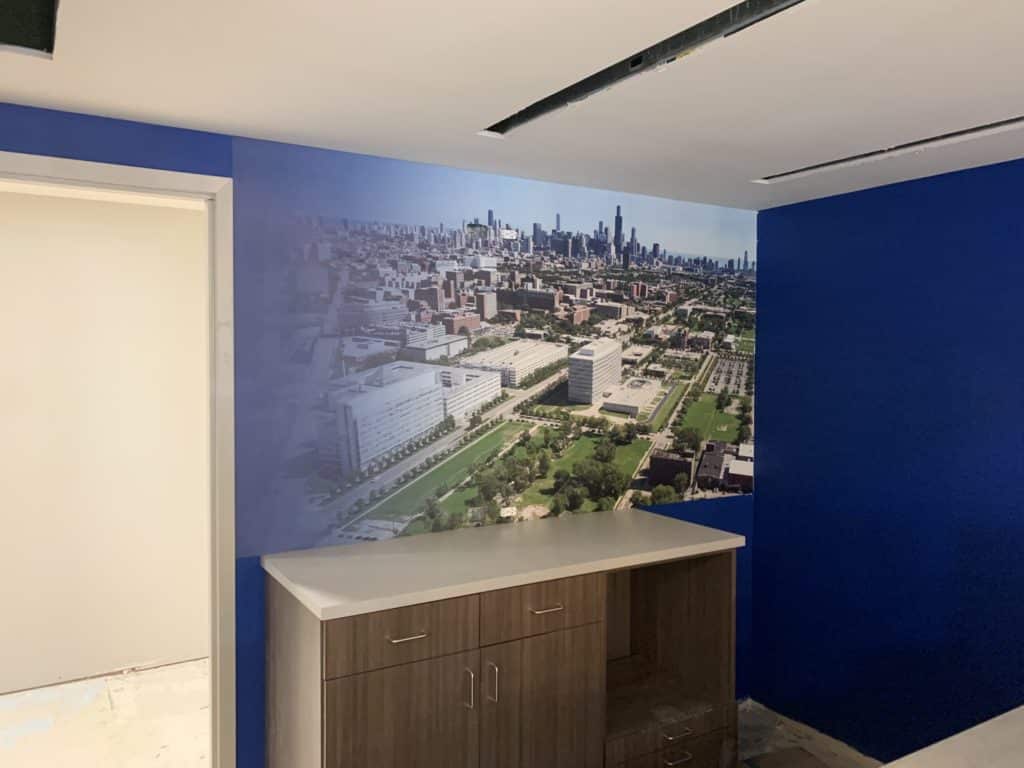
Chicago Map Wallpaper Mural
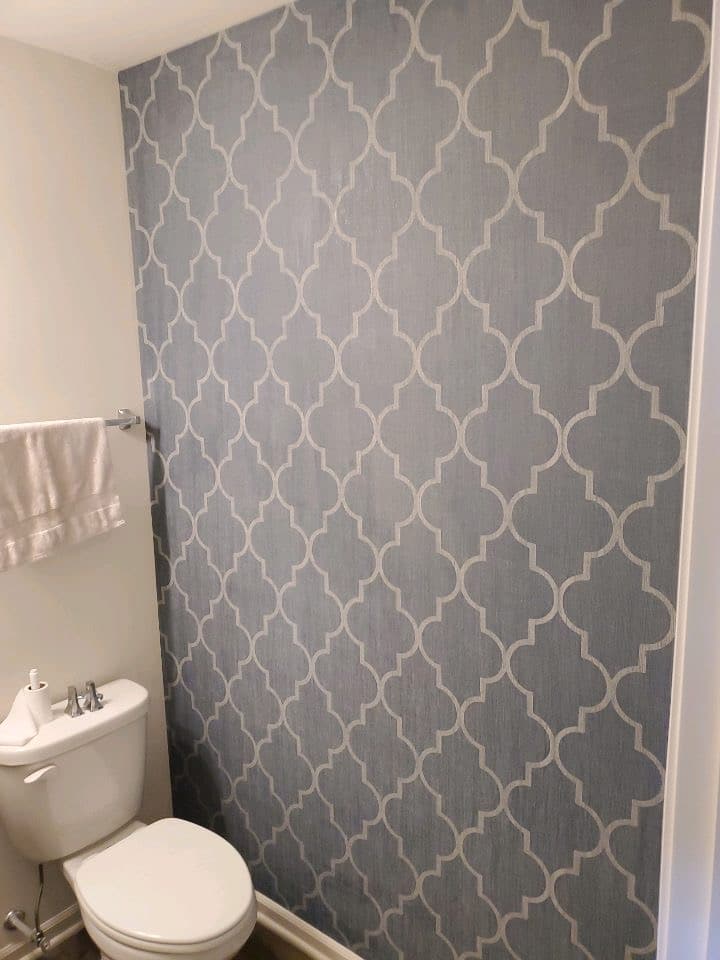
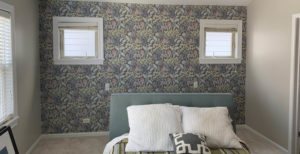
Self-stick or peel-and-stick murals
Up until now, I was assuming you were installing a wallpaper mural that must be glued or adhesively applied to either the wall or to the back of the wallpaper. I thought I should mention that peel-and-stick murals are a completely different type of installation. Make sure what kind you bought prior to the purchase. You can see a peel-and-stick install we did some time ago here.
Just a quick word on the peel-and-stick or self-stick murals… Make sure you are buying these from a reputable source. If you are paying the lowest amount you can find, there are REASONS for that. Don’t fall for it. It is not the right choice and will guarantee failure somewhere.
Let’s get a mural for you!
It’s not that hard to find one, have one made, or find someone to install it for you. So give us a call if you need help! Let us help you love the space you’re in with a fun and conversation-inspiring mural in your home office, work location, kids room, village offices, school, and maybe even your church!
Can’t wait to see what you come up with! Tag us on our Facebook to show us, too, @DfrancoFinishes