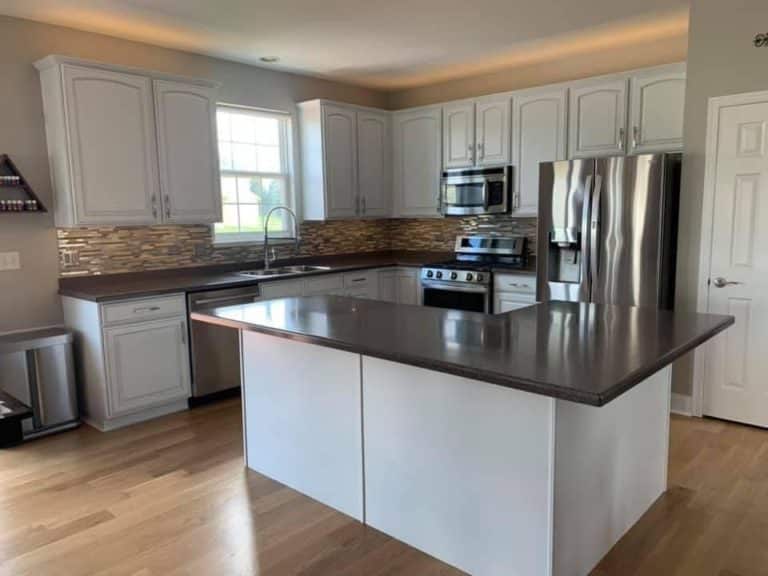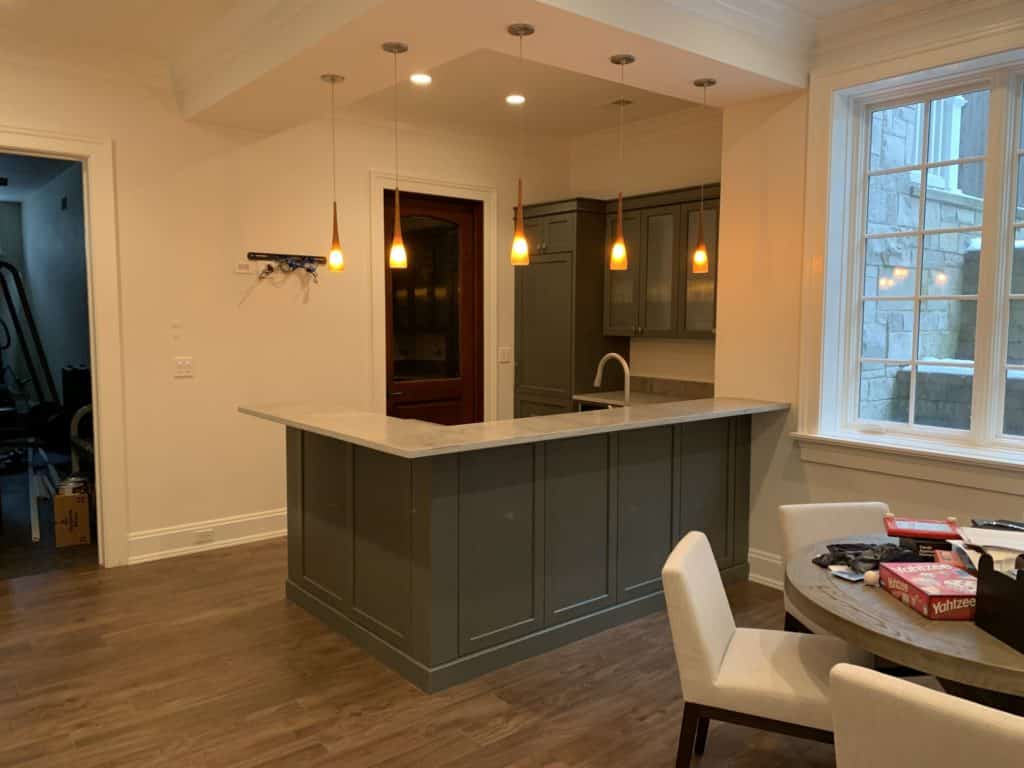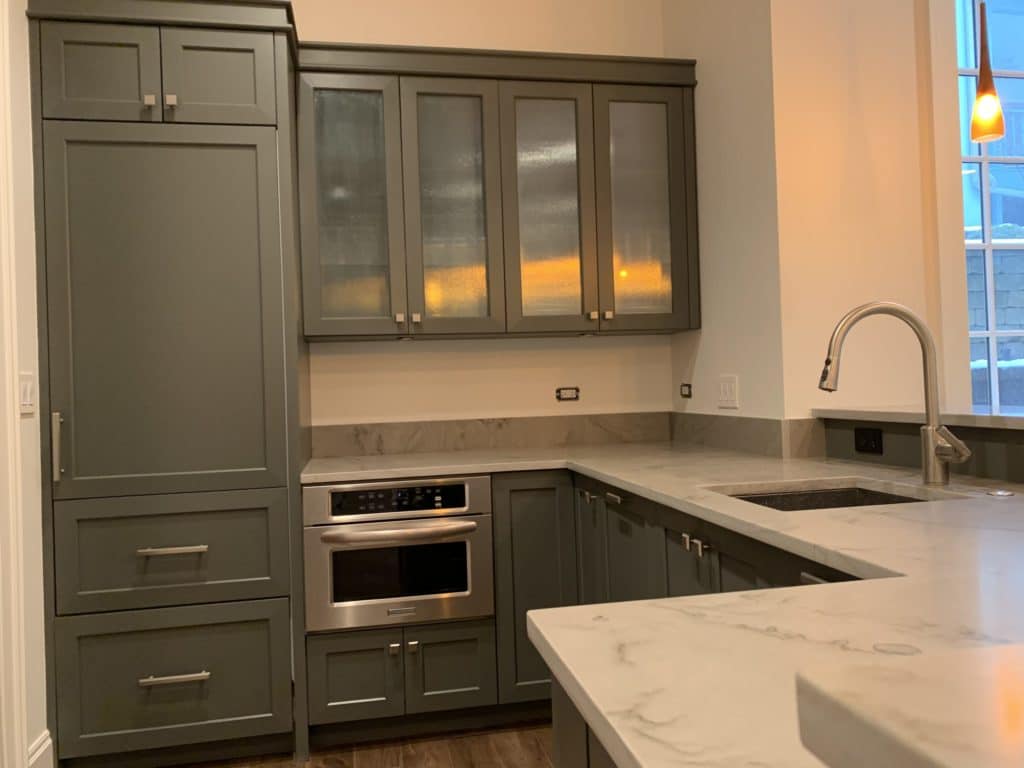
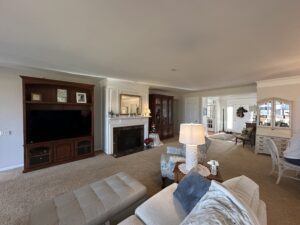


Do you have dark stained wood cabinets? Do you hate how they look? Have you ever asked yourself “Can I paint my dark cabinets white?” (And YES! is the answer!!)
The kitchen is the number one place for you and your family to hang out. Like most of our customers, the kitchen gets the most attention. This attention is from you, your family, and your friends when they come over. But like so many people, the thought of replacing and remodeling the kitchen is too overwhelming, too costly, and too time-consuming. Not anymore.
Here is one of our YouTube videos we have posted a small movie clip that shows a cherry cabinet painted white. Read this blog article about how we are transforming kitchens, (painting them white) changing how you feel about your home, loving the space you’re in all over again!
If you are buying or selling a home, the kitchen is the number one room that can make or break the sale.
Here is our process for painting Dark Wood Cabinets White:
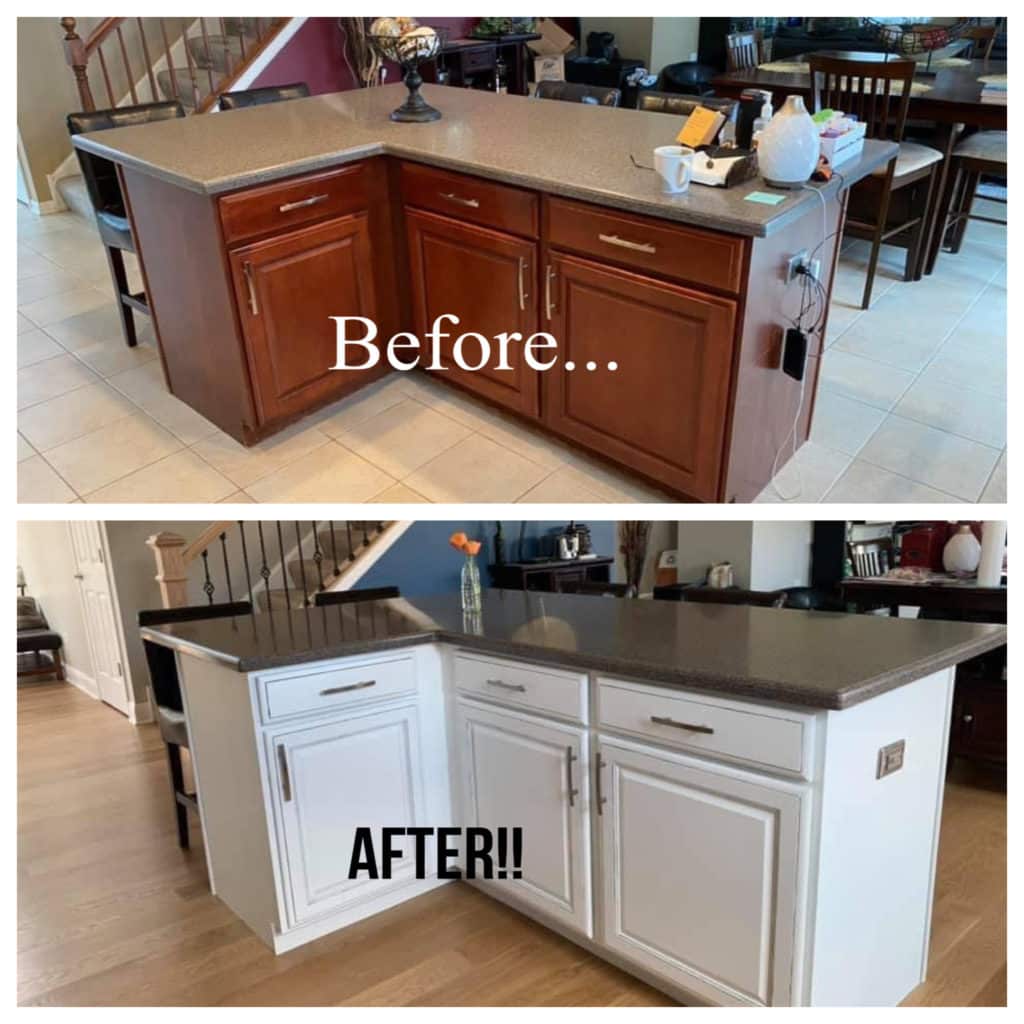
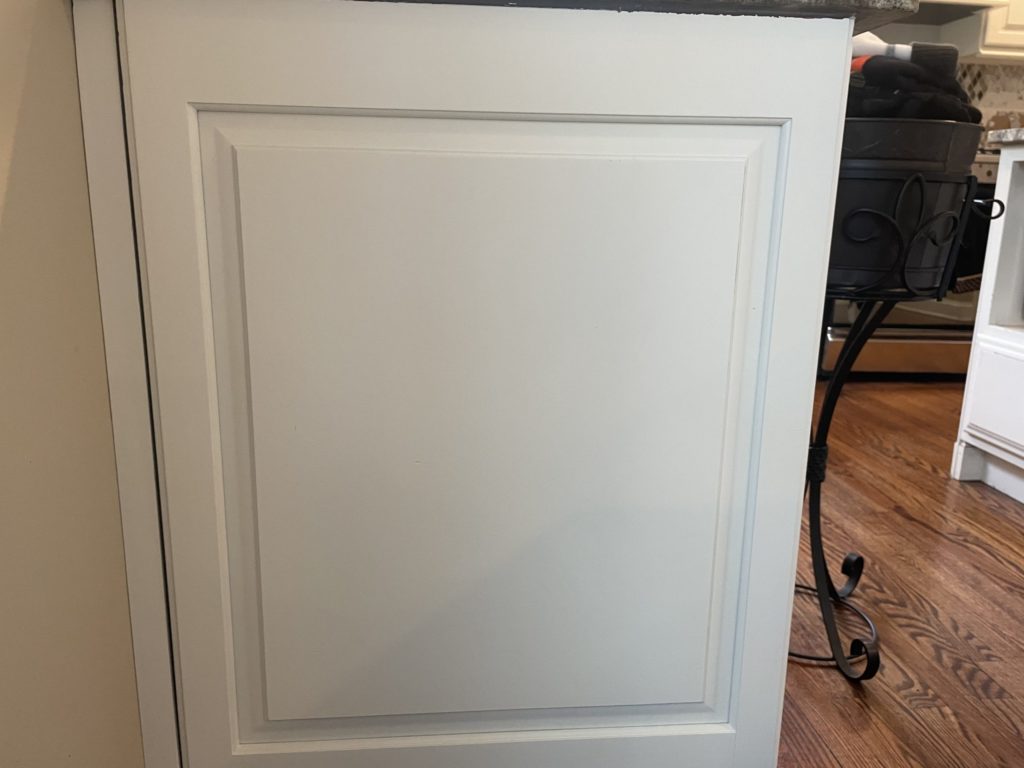
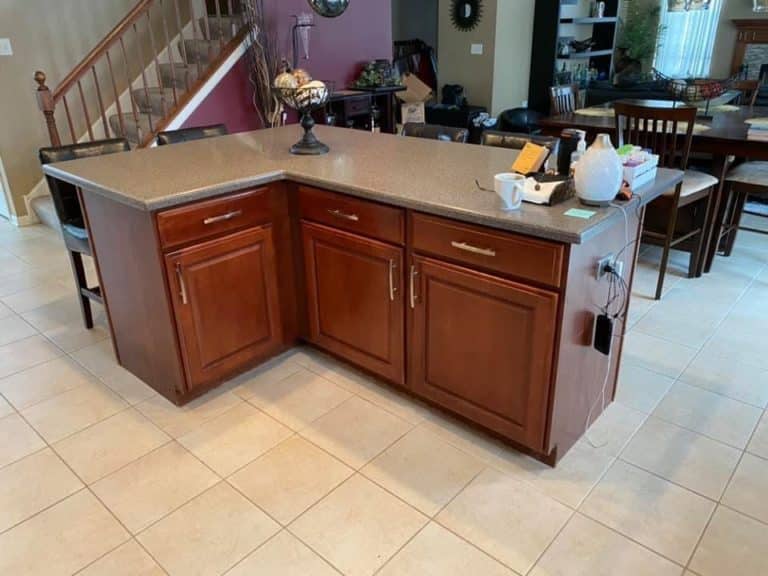
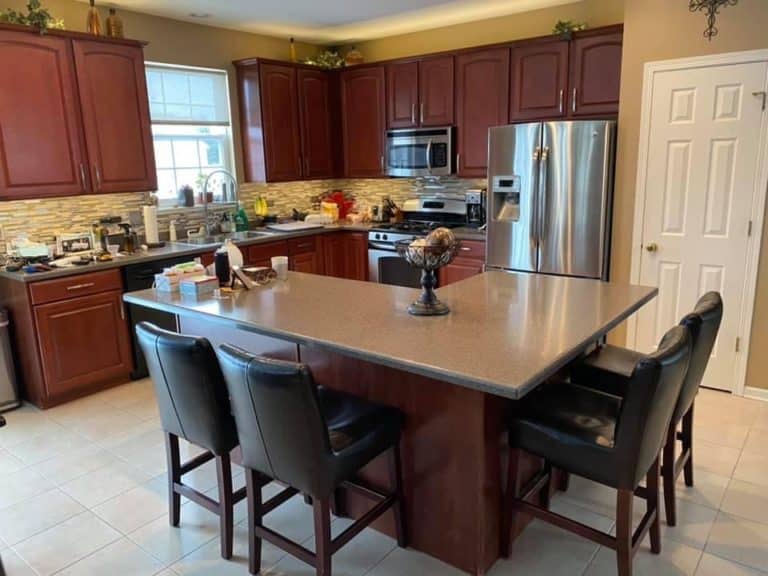
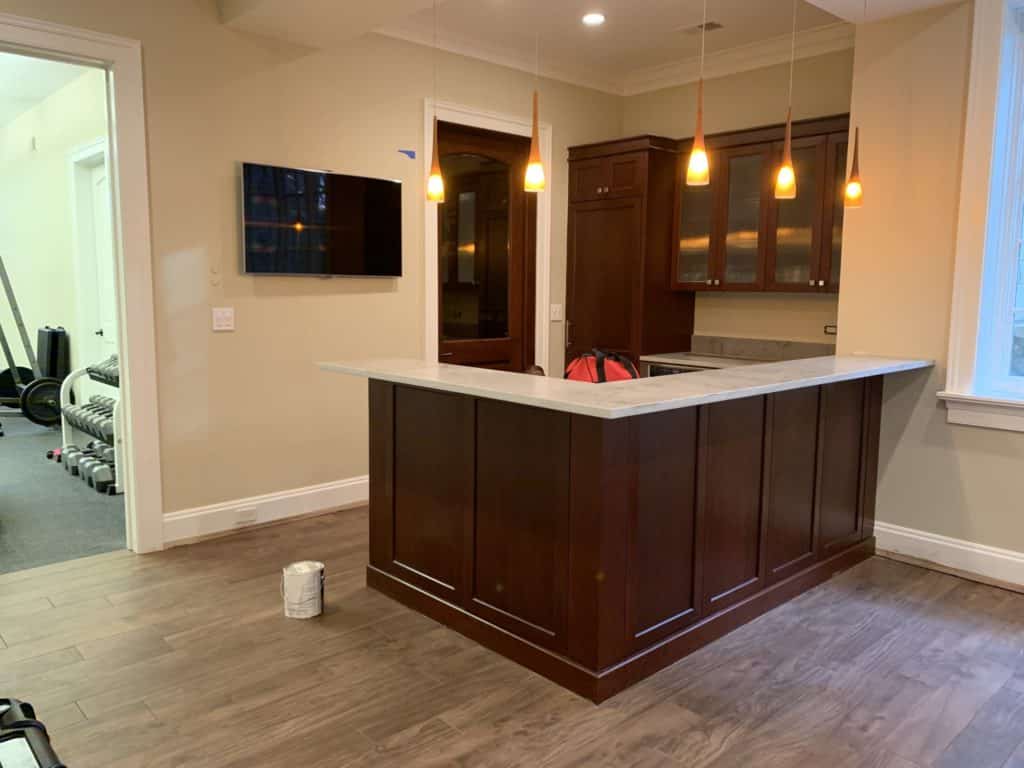
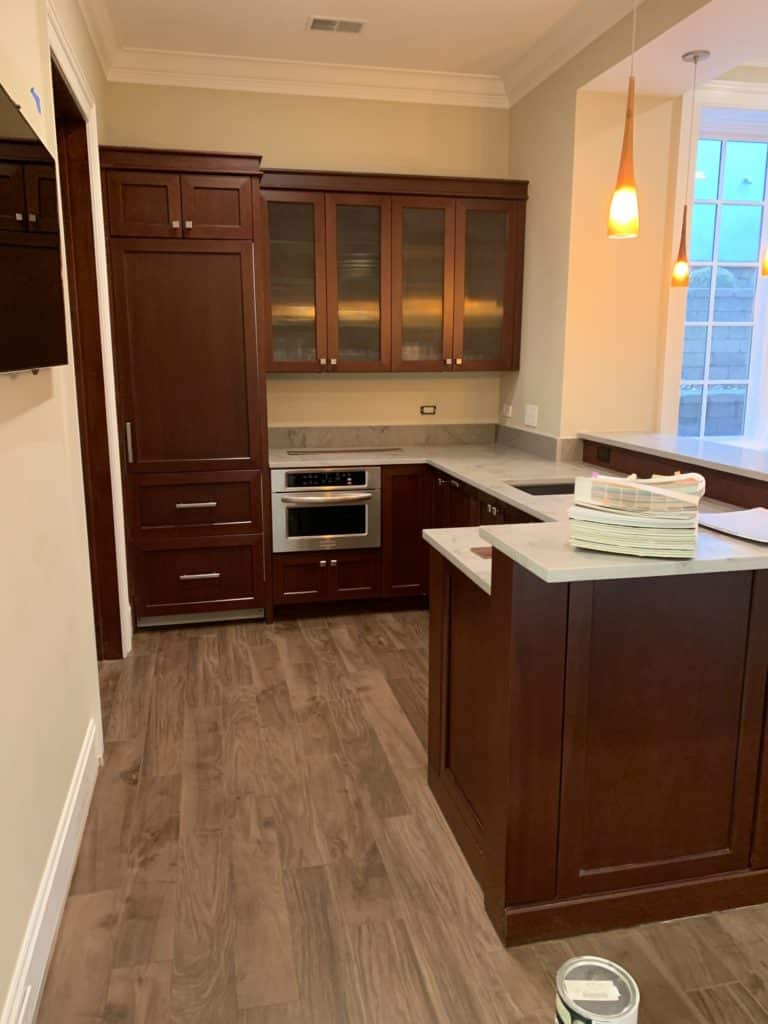
Dark Stained Wood Cabinets
Painting over these types of cabinets is a relatively painful process and we guide you all the way through it. I’ve painted the wooden cabinets in my own home so I know stressful how it sounds. For the past 10+ years, we have refined our process, found the best materials, and have the needed experience to make this remodeling easy for you.
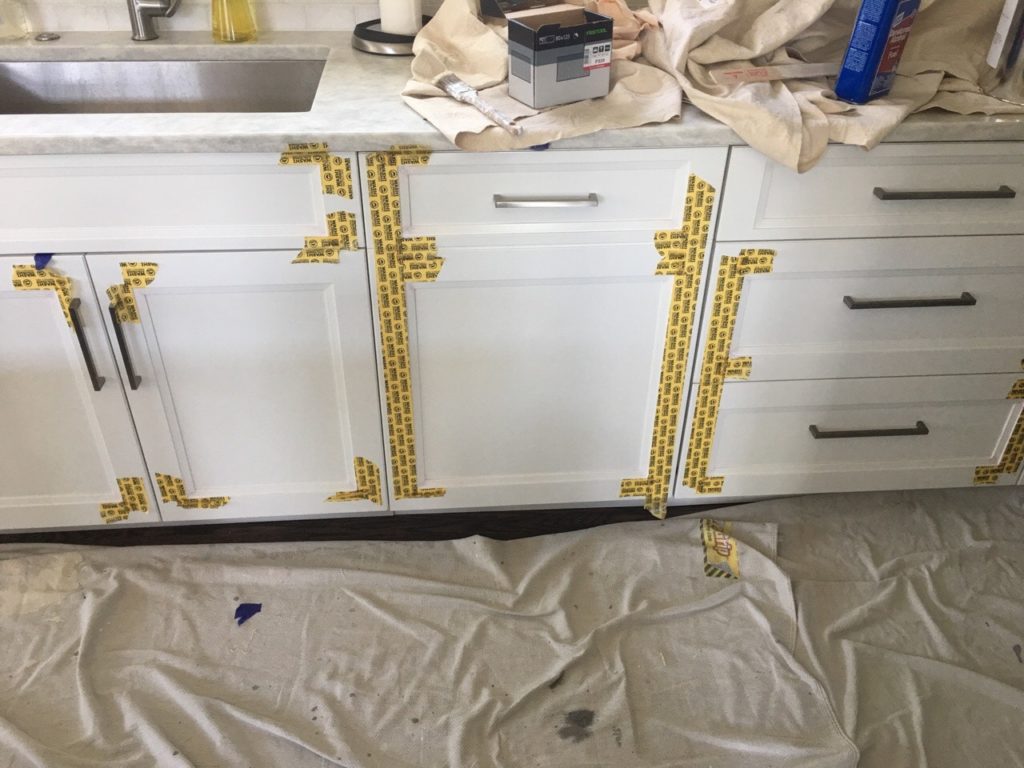
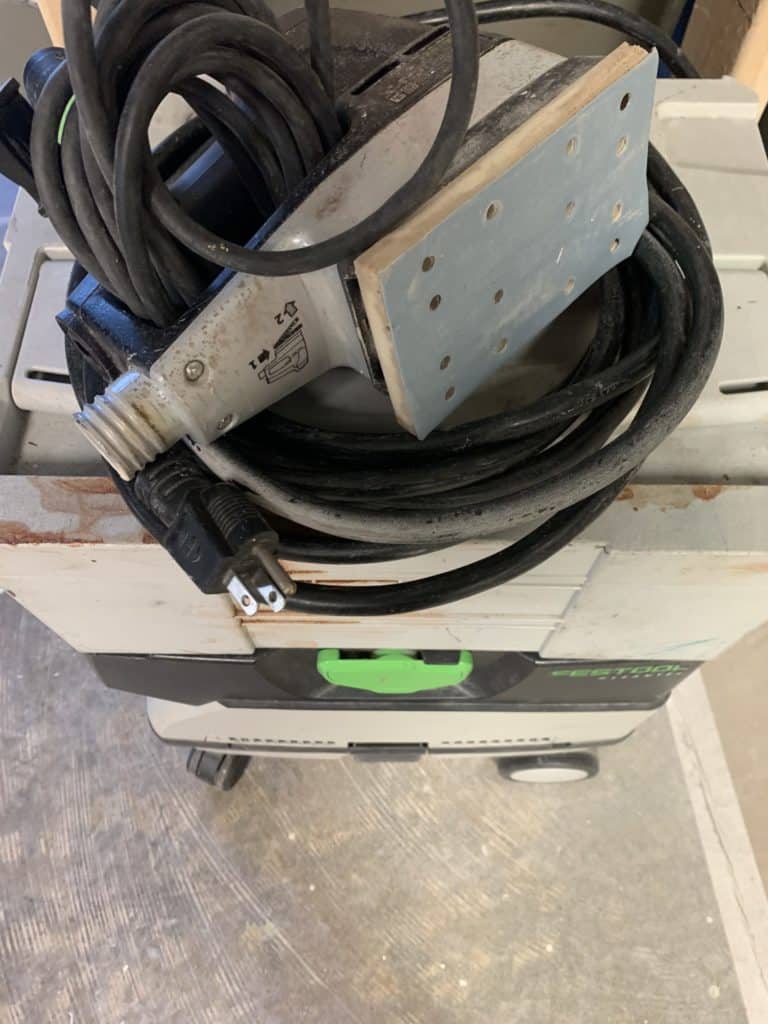
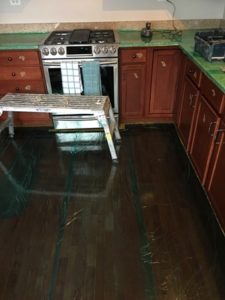
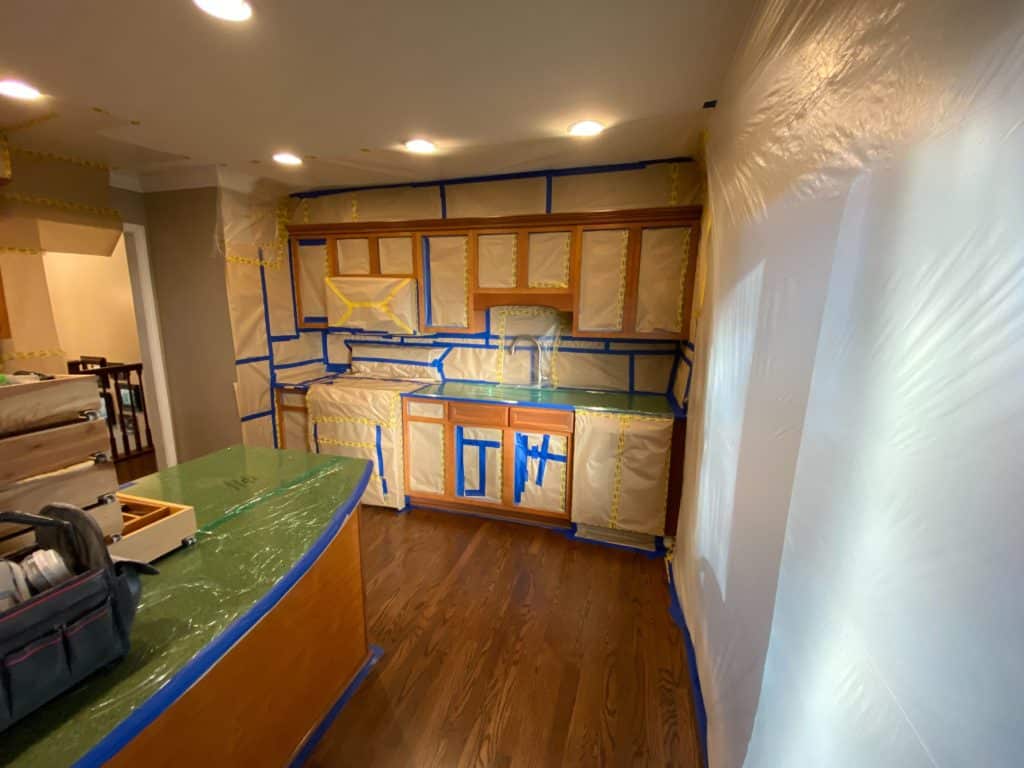
1. Prep Work
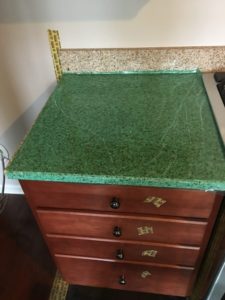
We start with the prep work covering floors and countertops.
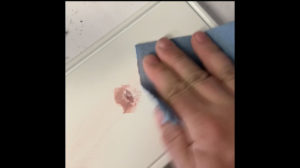
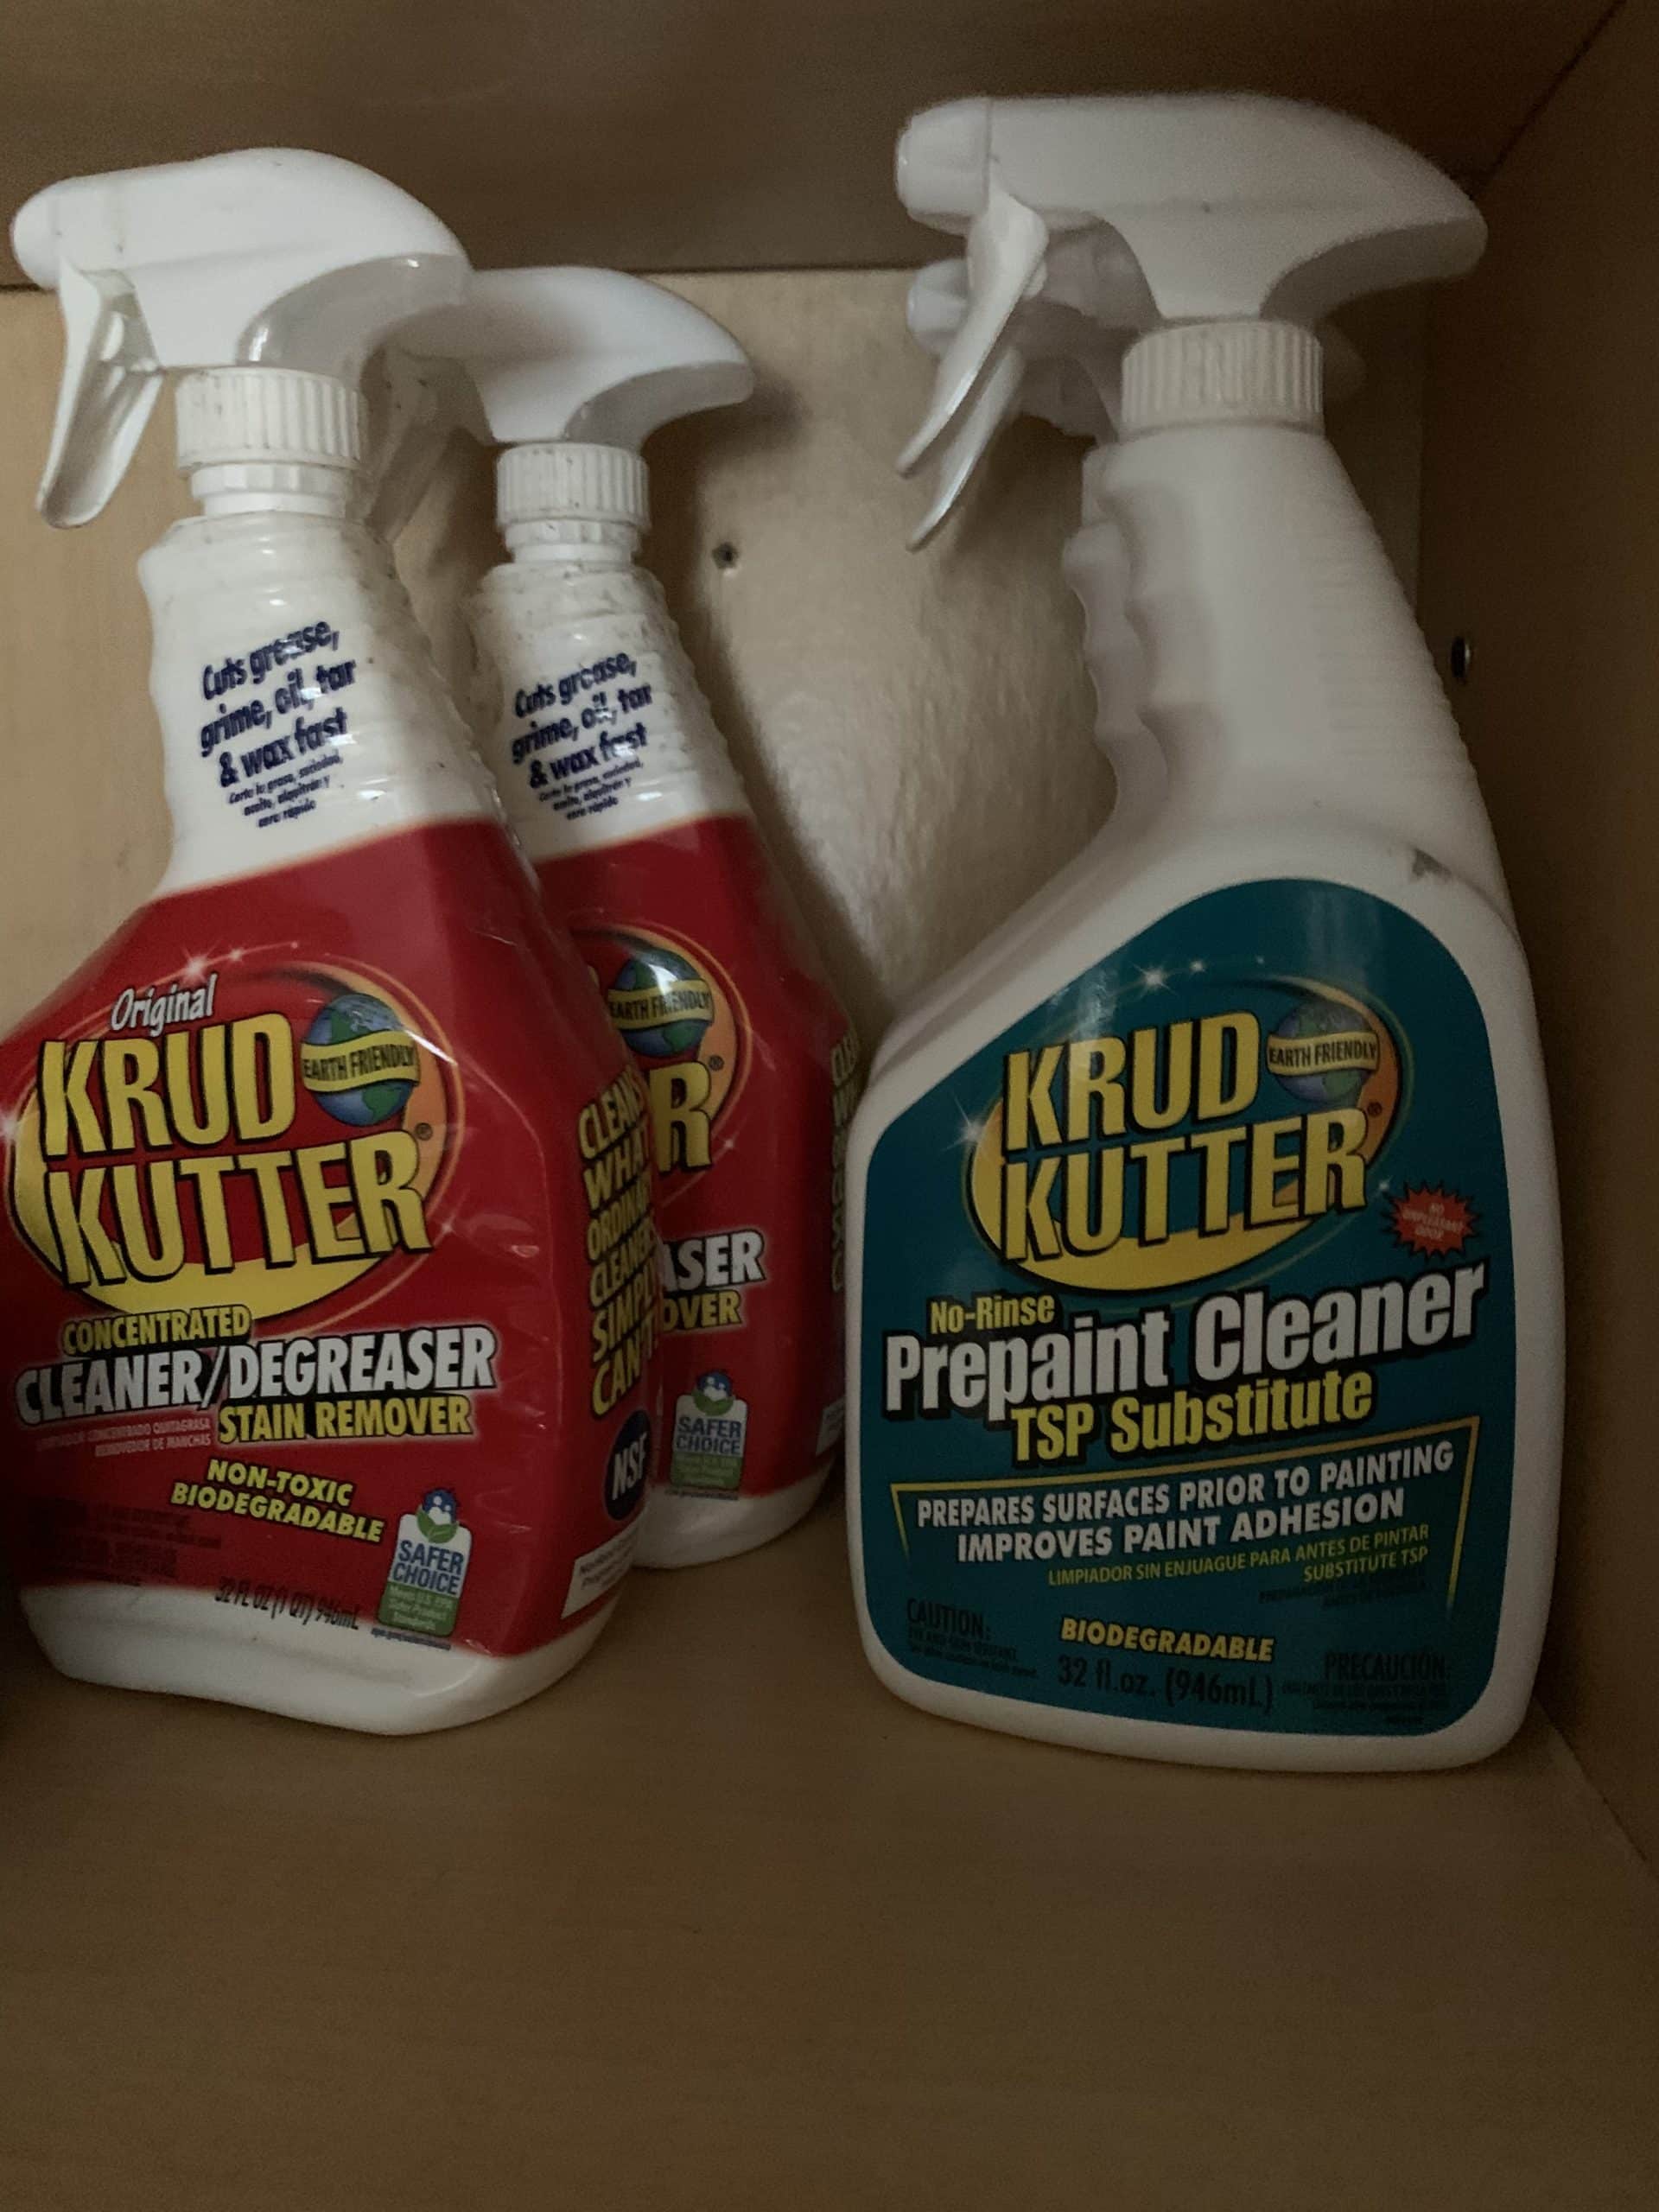
2. Clean Everything! Before you use Primer.
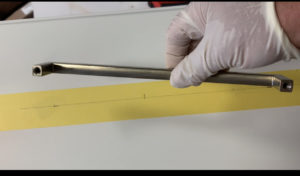
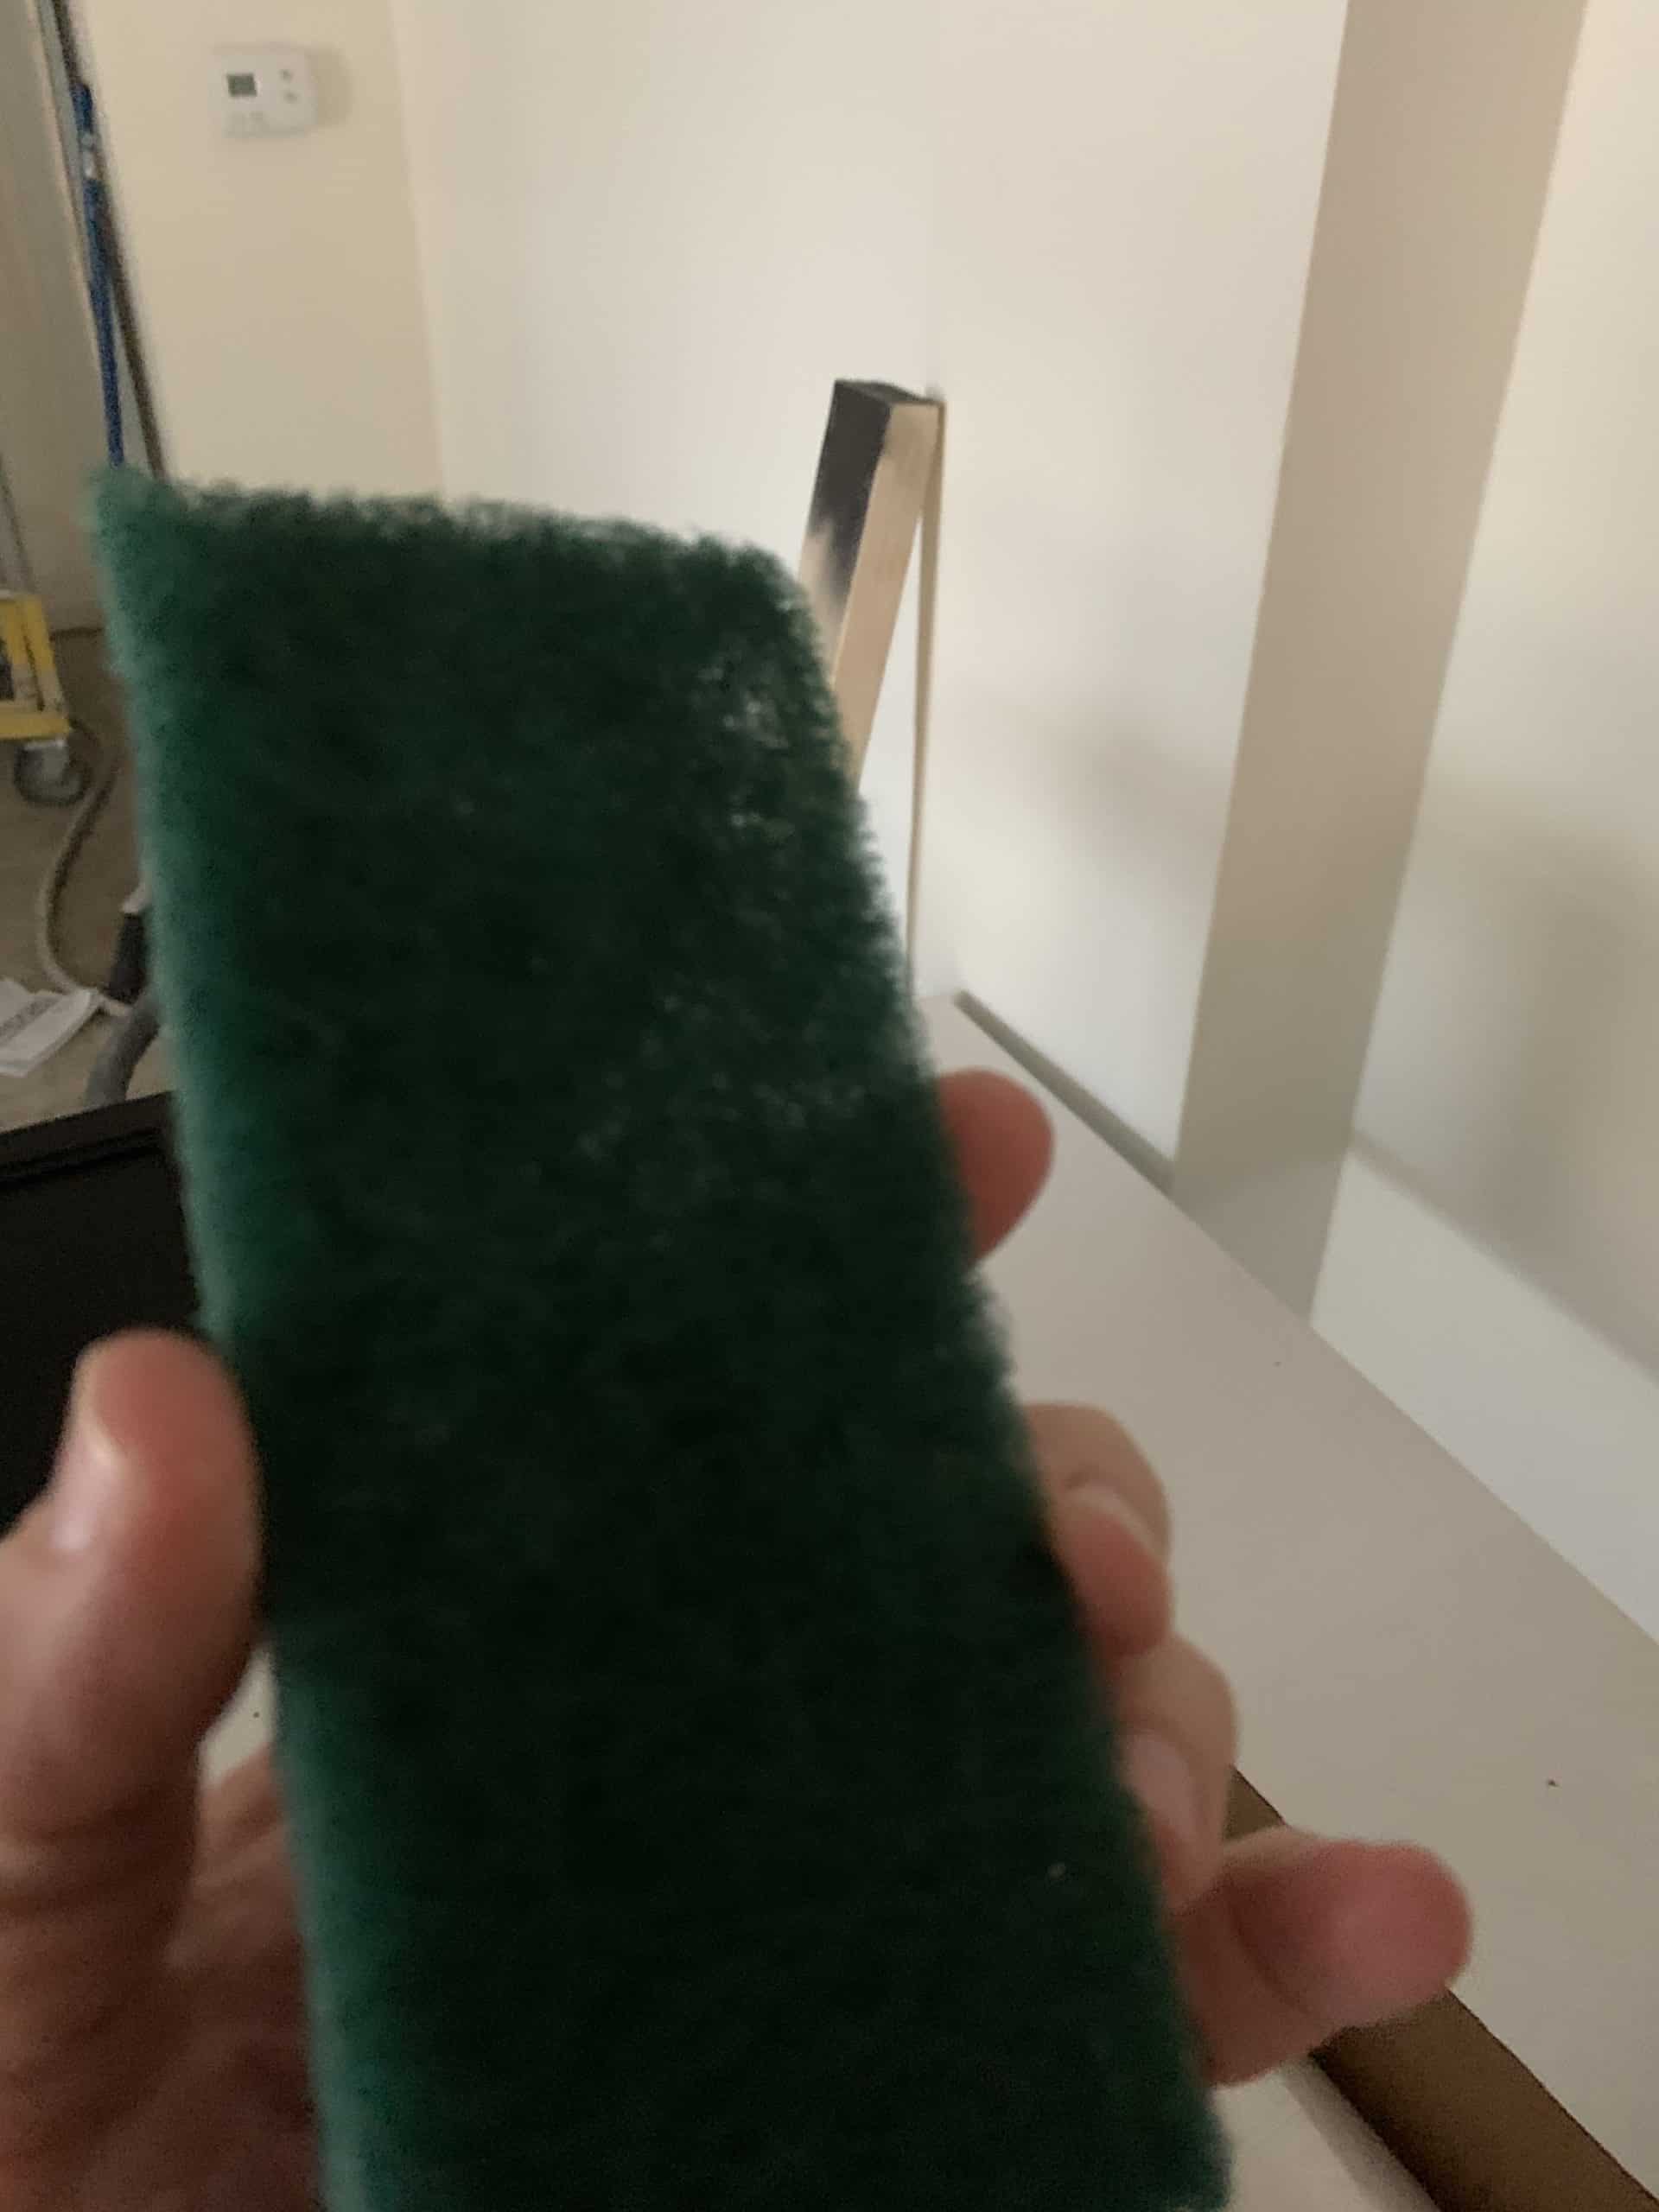
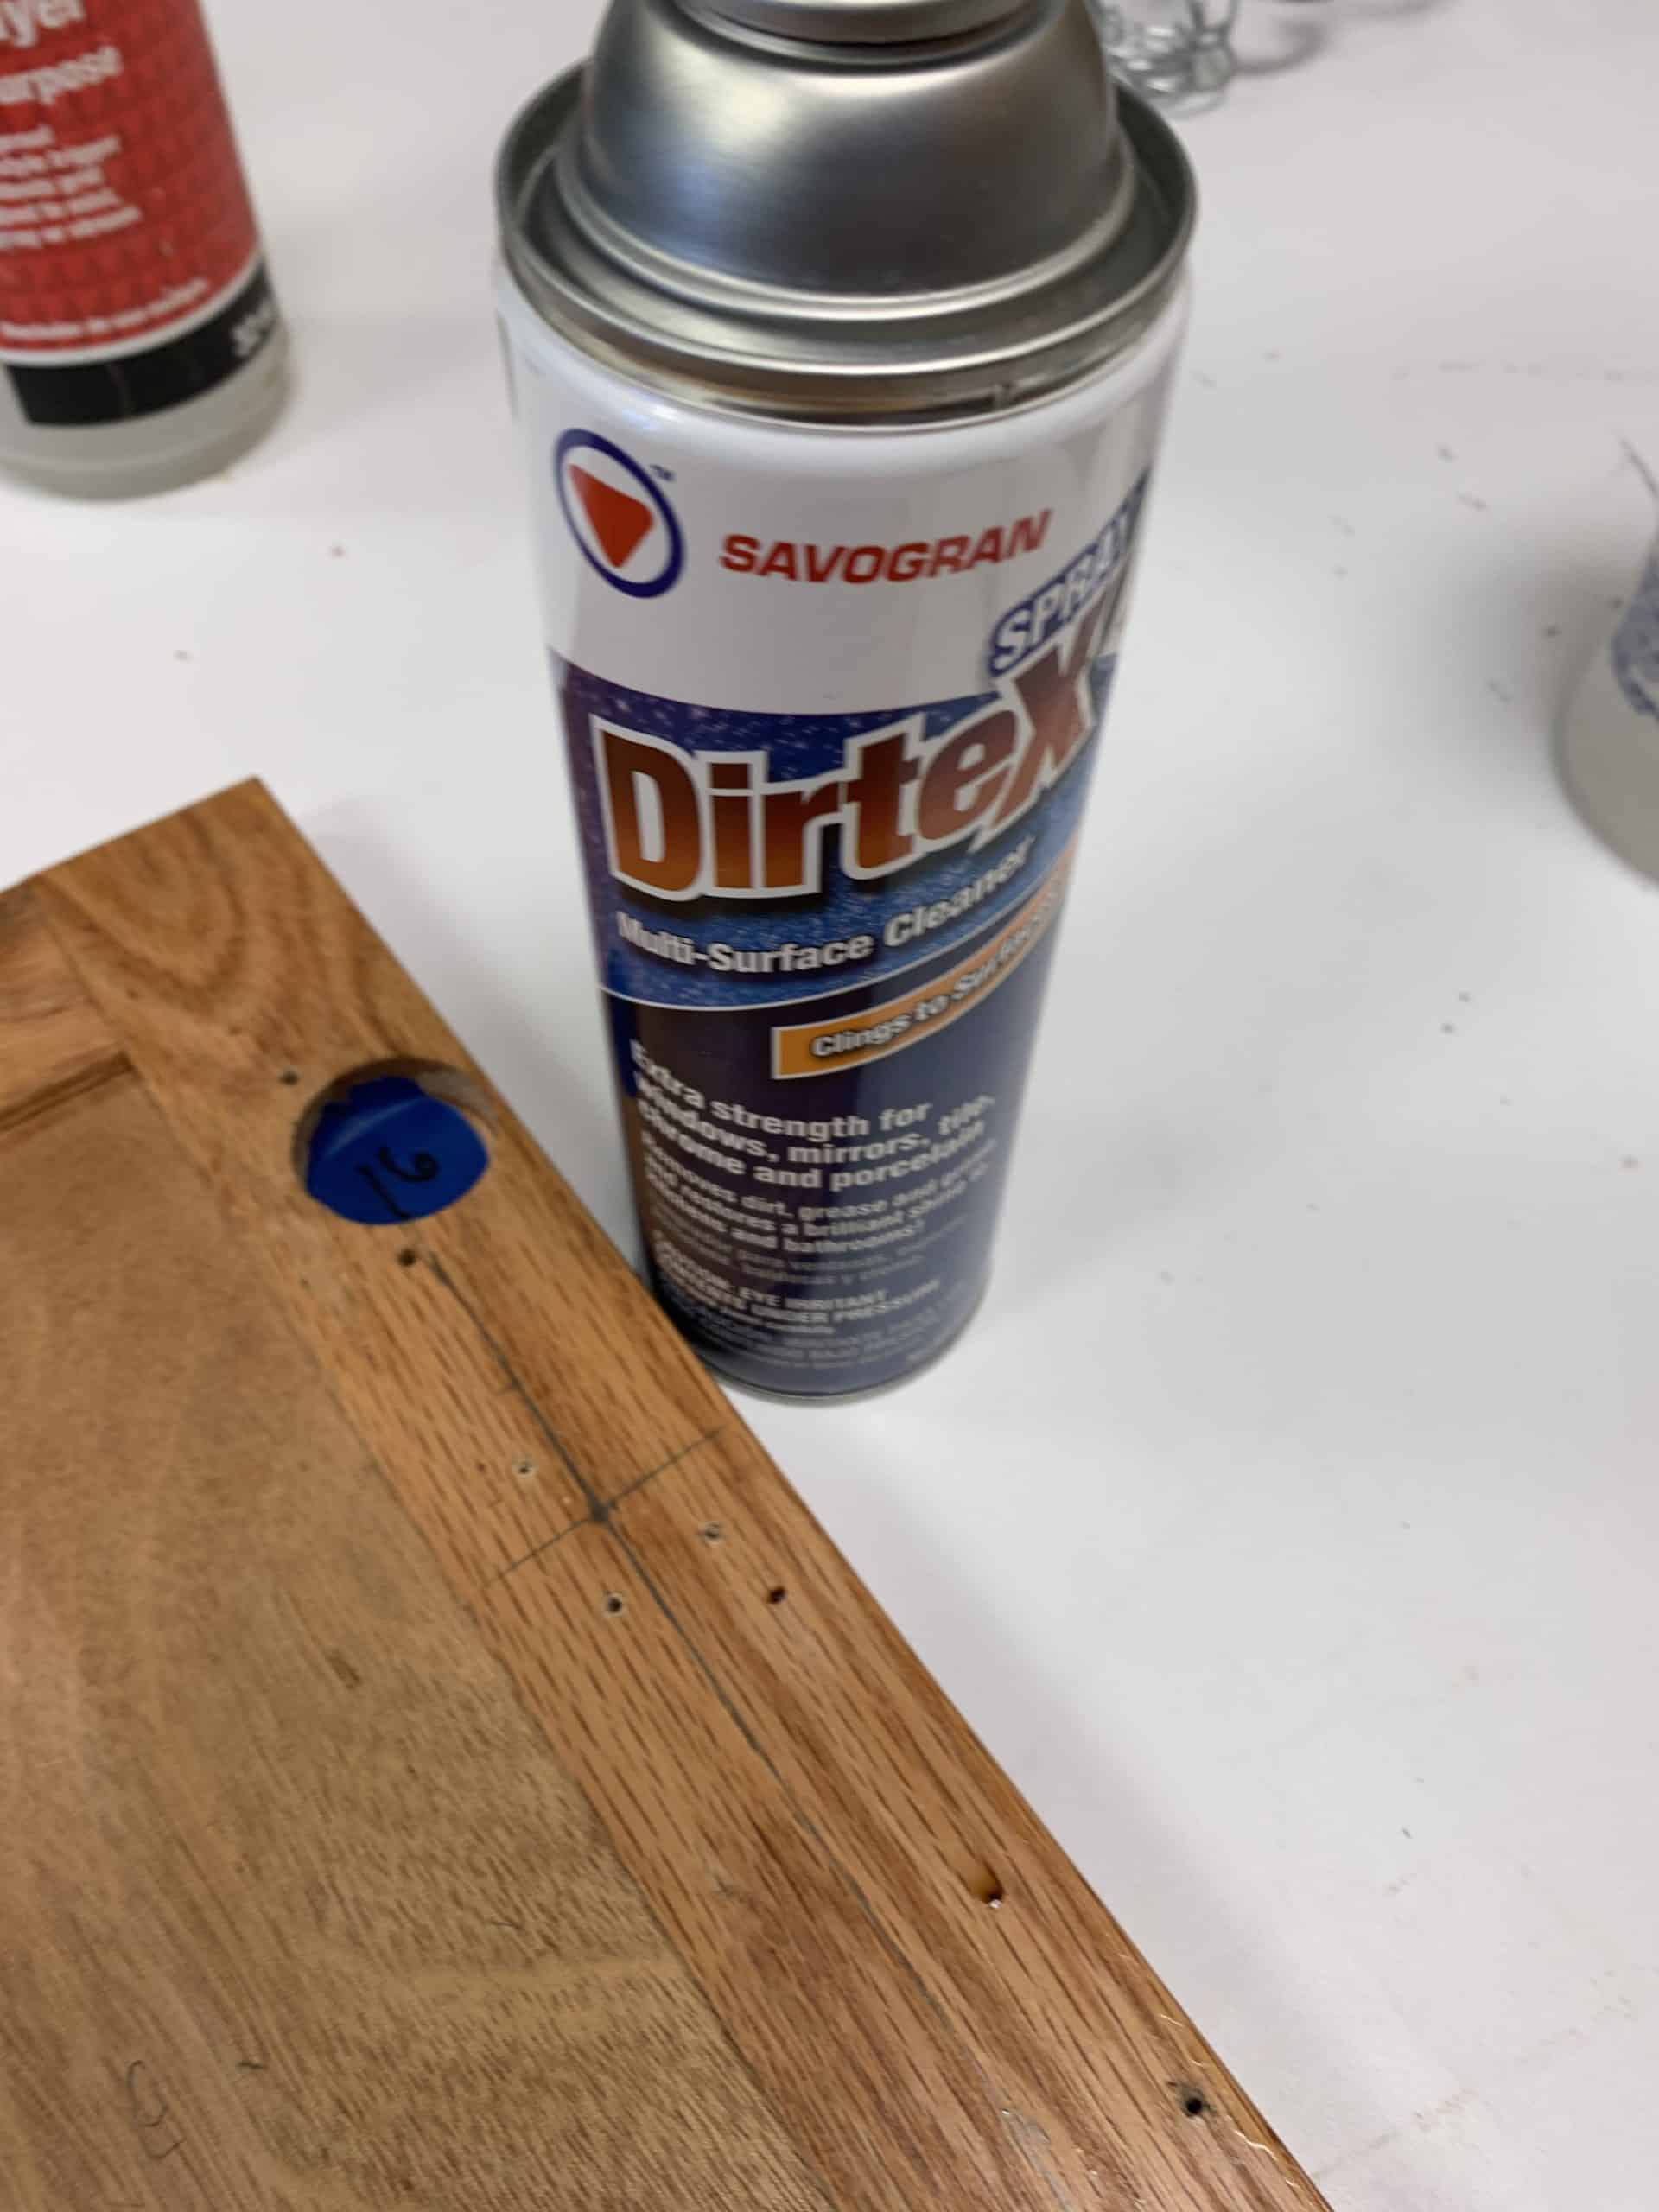
You are going to need few materials before beginning this process:
- TSP or other cleaner
- 220 grit sandpaper
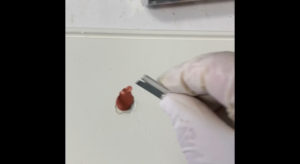
- Degreaser
- Denatured alcohol
- Scuff pads
- Clean rags
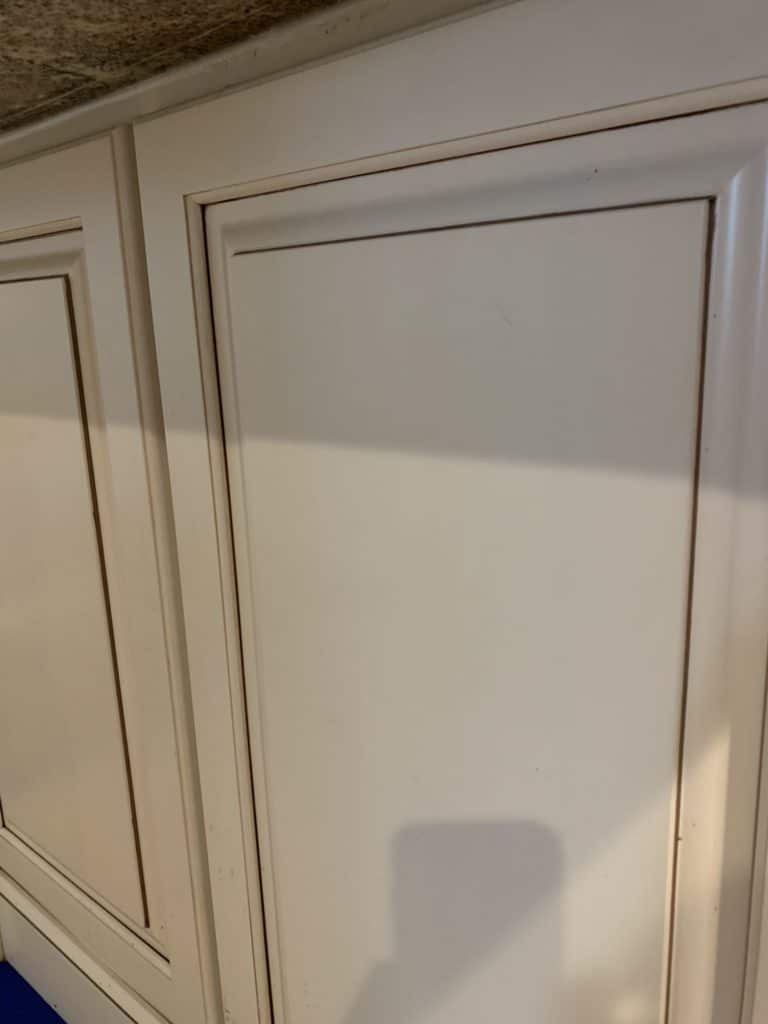
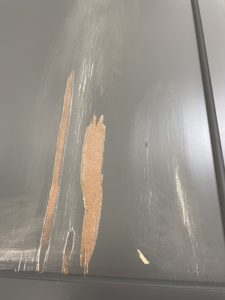
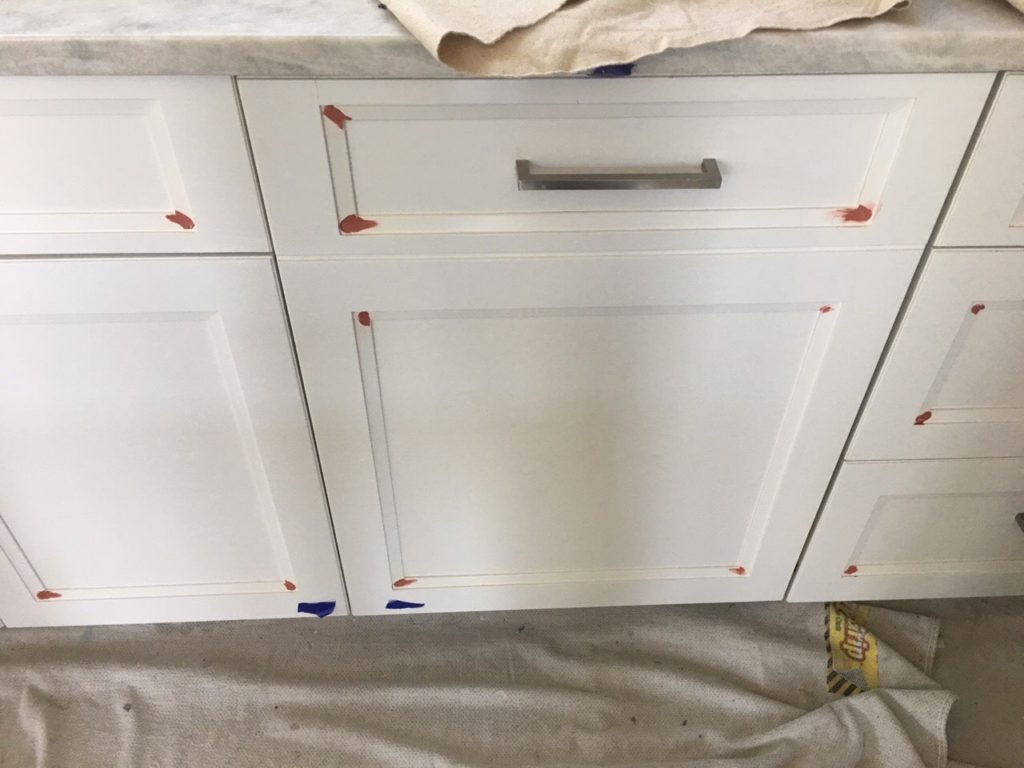
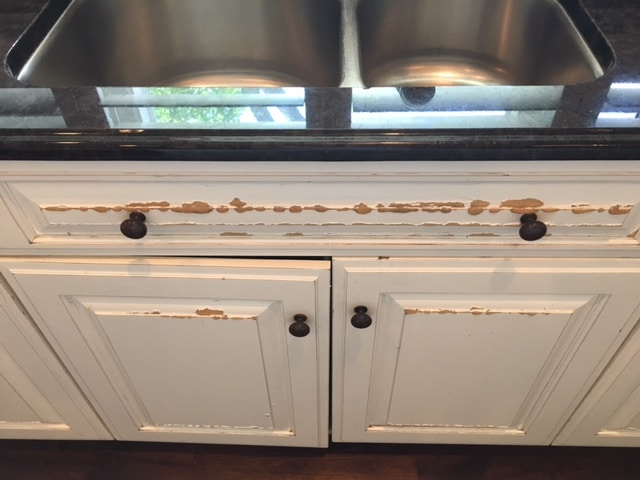
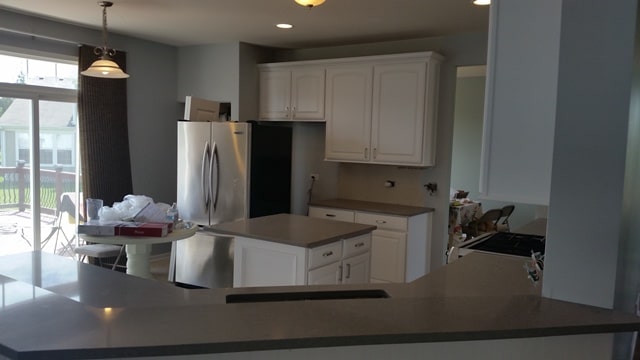
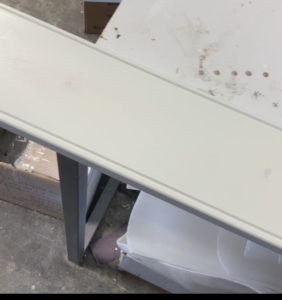
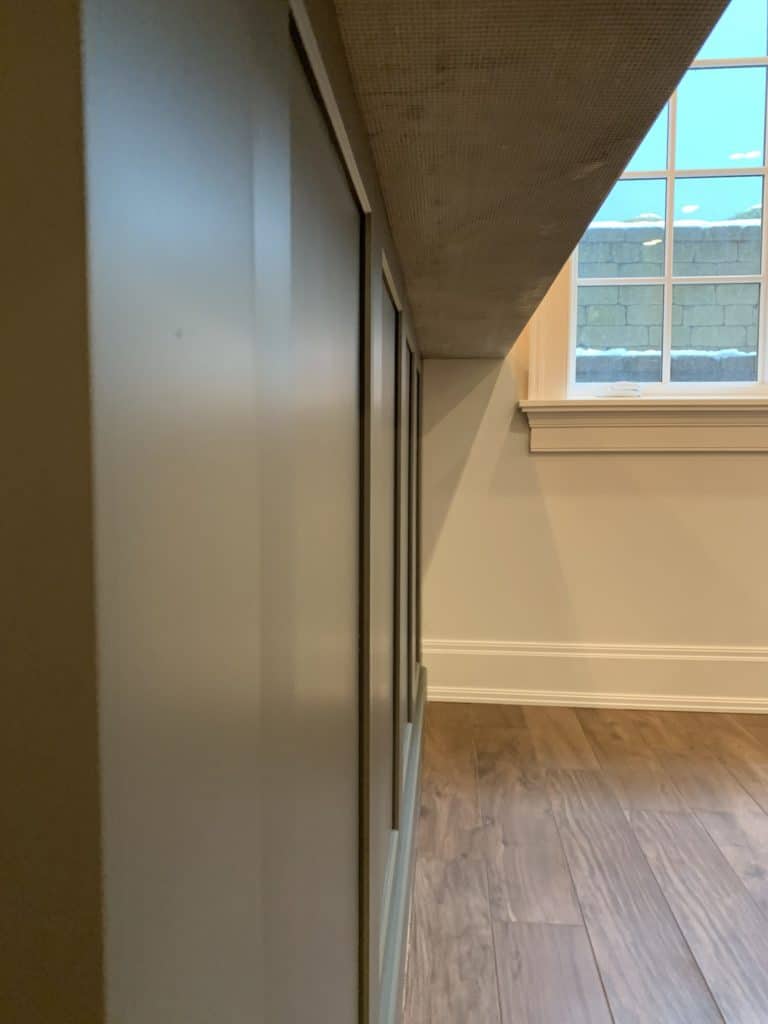
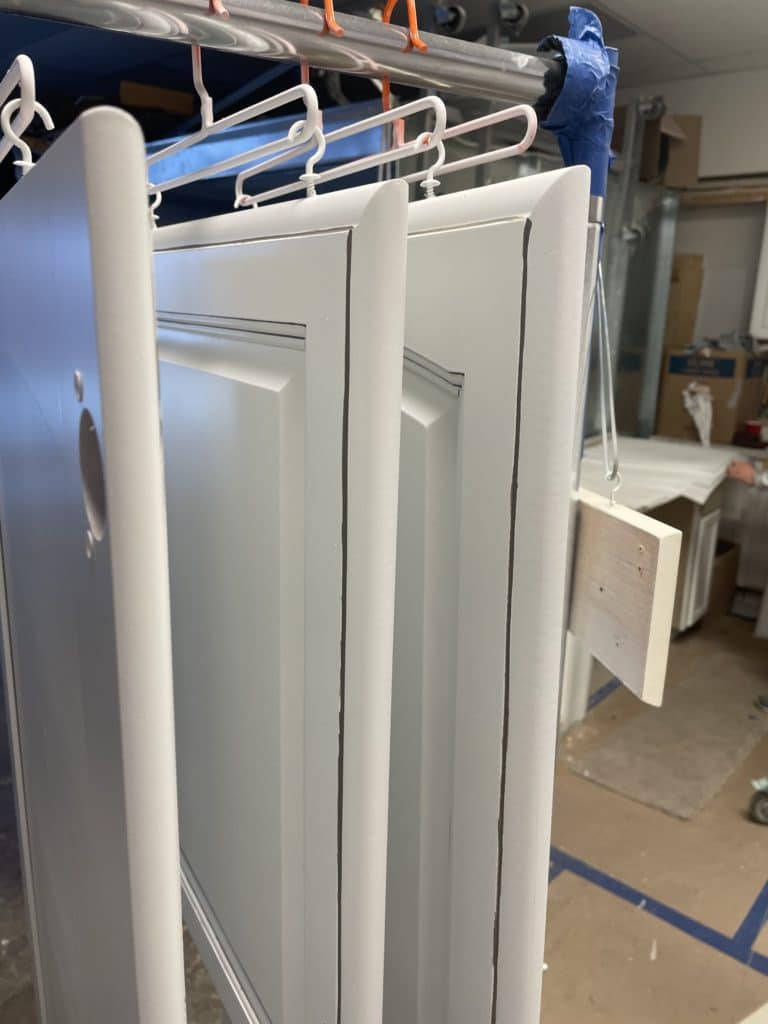
As you see by the photo below we removed all the doors, this is an after photo of all the doors painted and primed.
Once all the doors are off, we clean the cabinet boxes. The cleaner the better. You do not want to have issues with grease dirt or oil contaminating the surface or bleeding through the primer. There are times that some grease and oil may not come out of the wood. When this happens then it is time to use a oil-based spot primer.
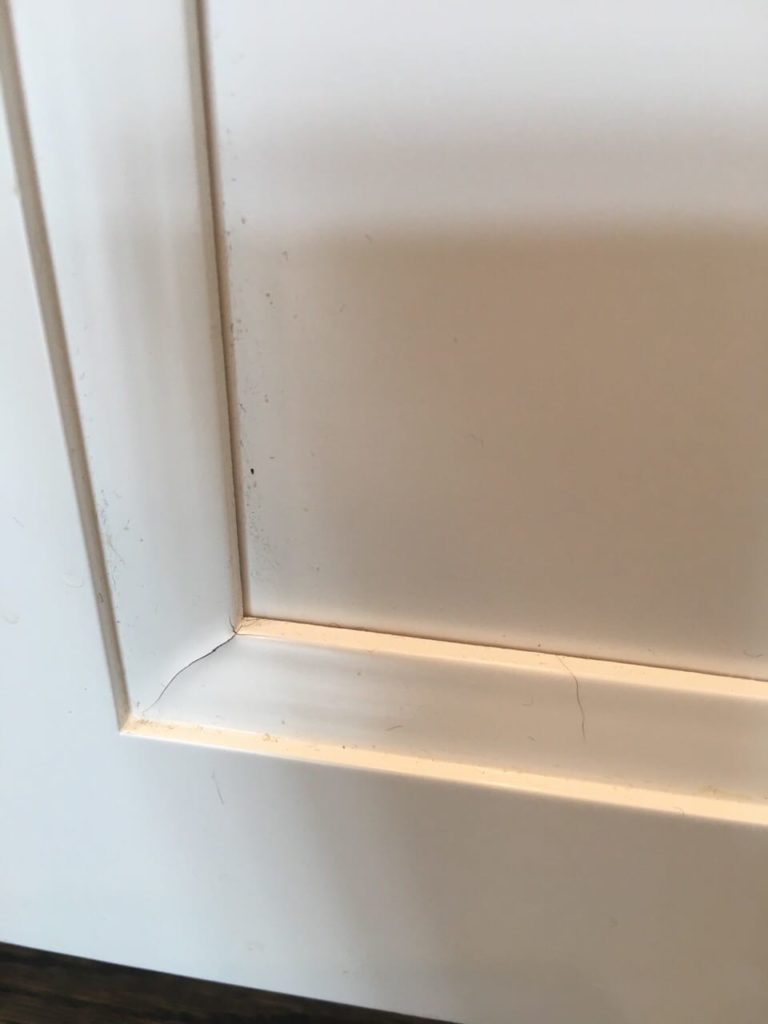
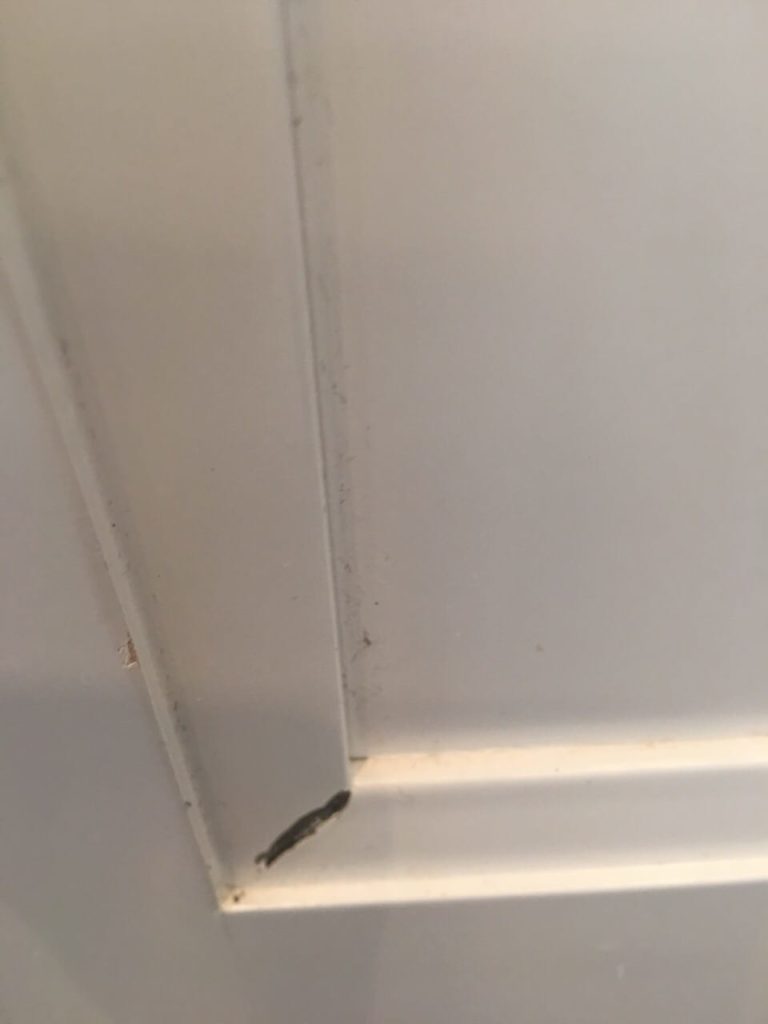
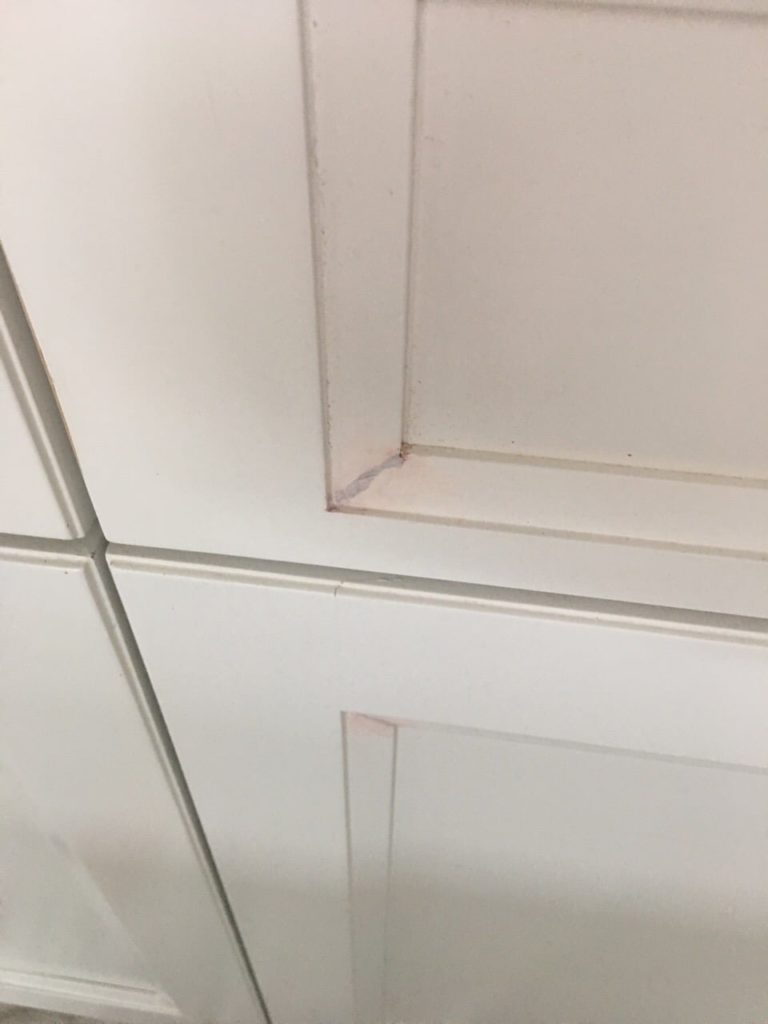
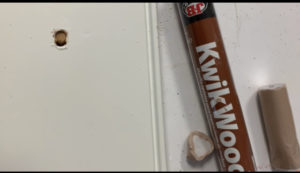
One thing that people forget is to caulk the gaps and fill nail holes. When cabinets are dark wood, they usually have all of the gaps left open and all the nail holes left as well. So once we prime, all the black lines and holes show up. So we fill these areas to make a clean surface.
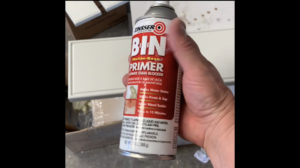
We prime all the surfaces with bonding primer. The cabinet boxes and doors get a sand paper treatment (yes that means we sand then with a sander) to make sure you get an ultra-smooth surface.

3. All the items are Primed. Now paint!
When we remove the cabinet doors, they are taken off-site to our shop and we repeat the same process of cleaning them, sanding them degreasing- denatured alcohol, spot primer where needed before we begin painting.
We will actually hang the doors when we paint, and yes we always spray our doors!
Once all the doors are painted we load them up and bring them back to your home.
The doors are all packed up and placed in foam sleeves to make sure they do not get banged up or damaged.
Every door and hinge that was removed has a specific number so they go back to where they came from.
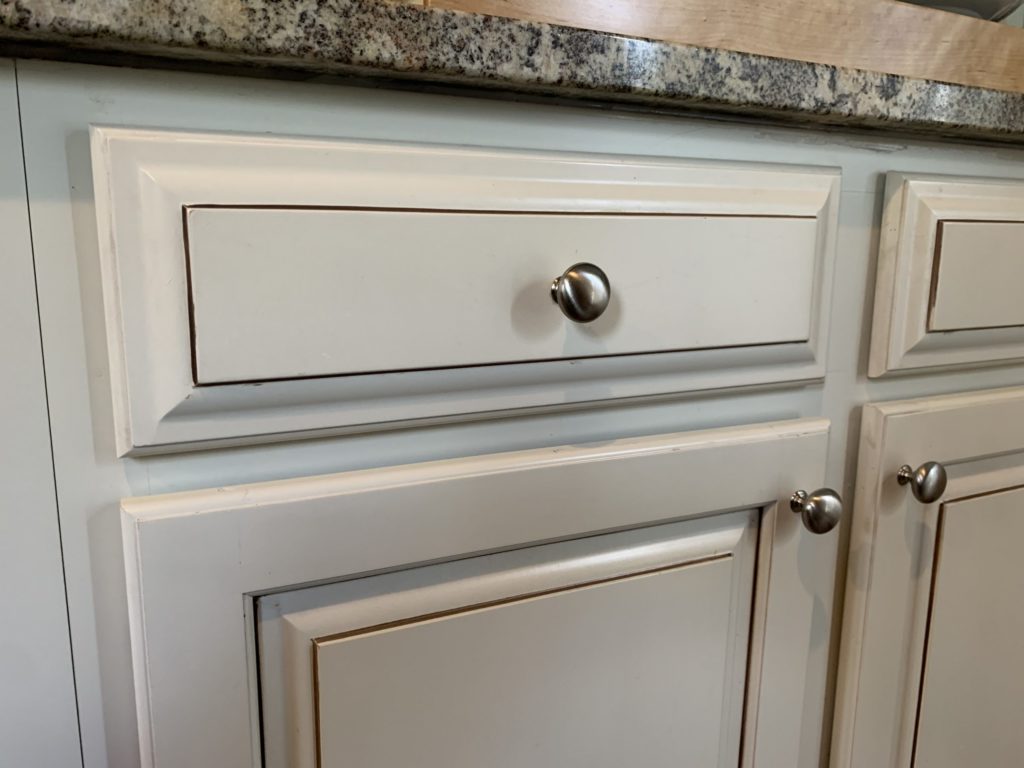
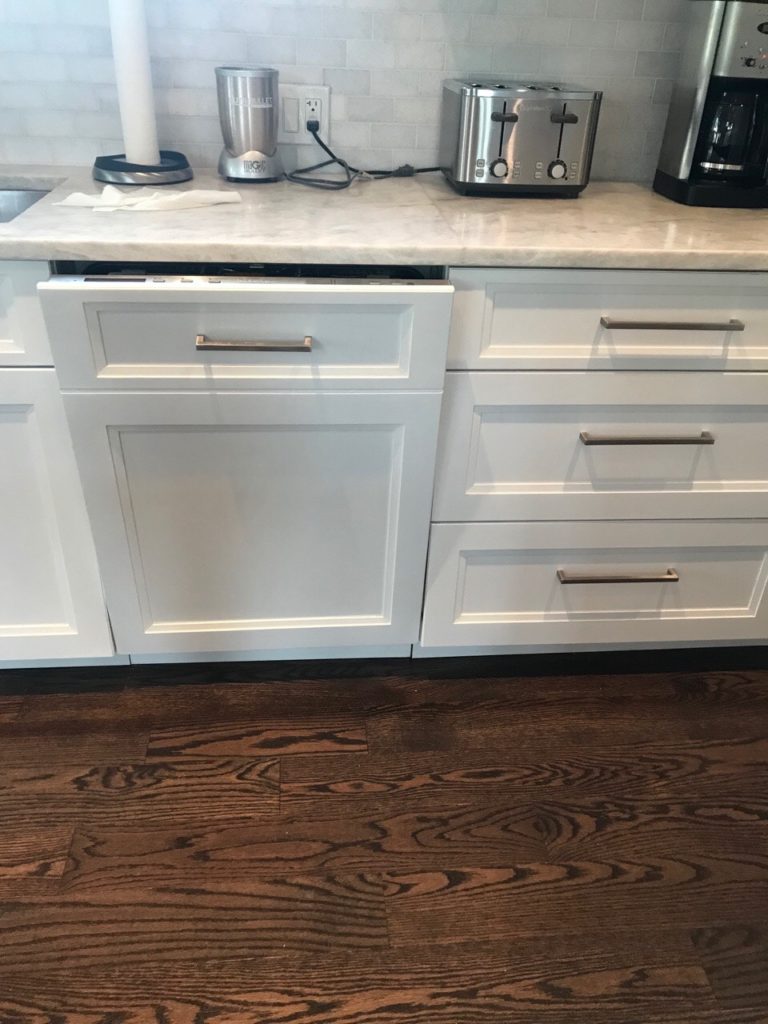
Once they are installed, hardware is replaced, and final adjustments are made.
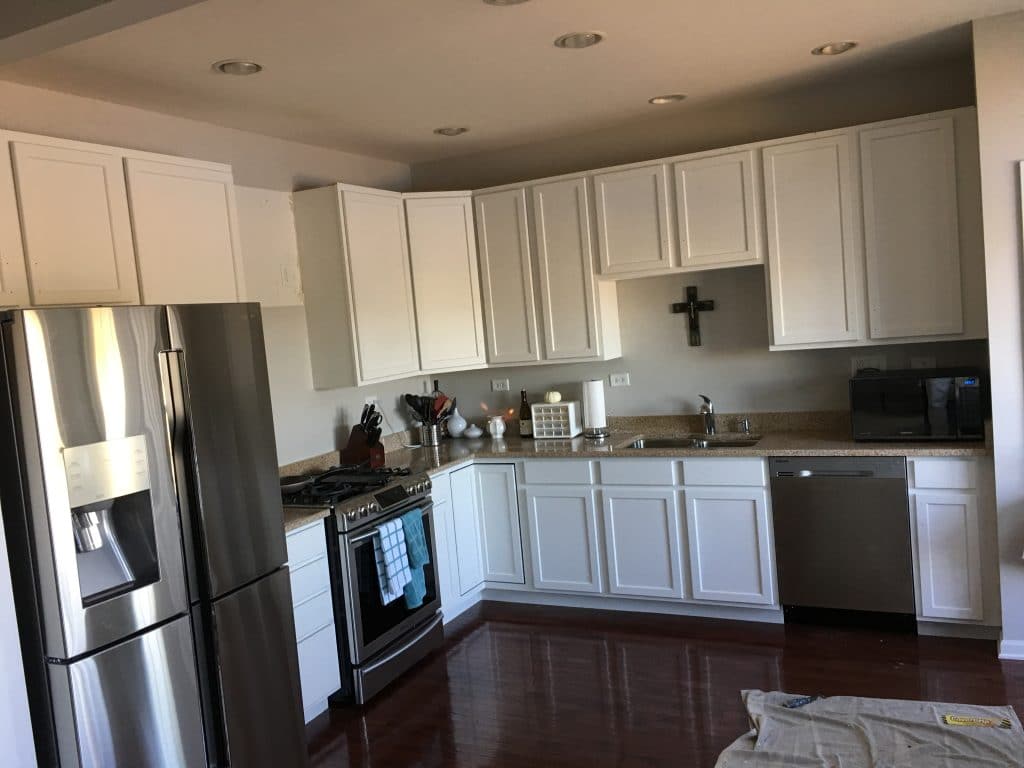
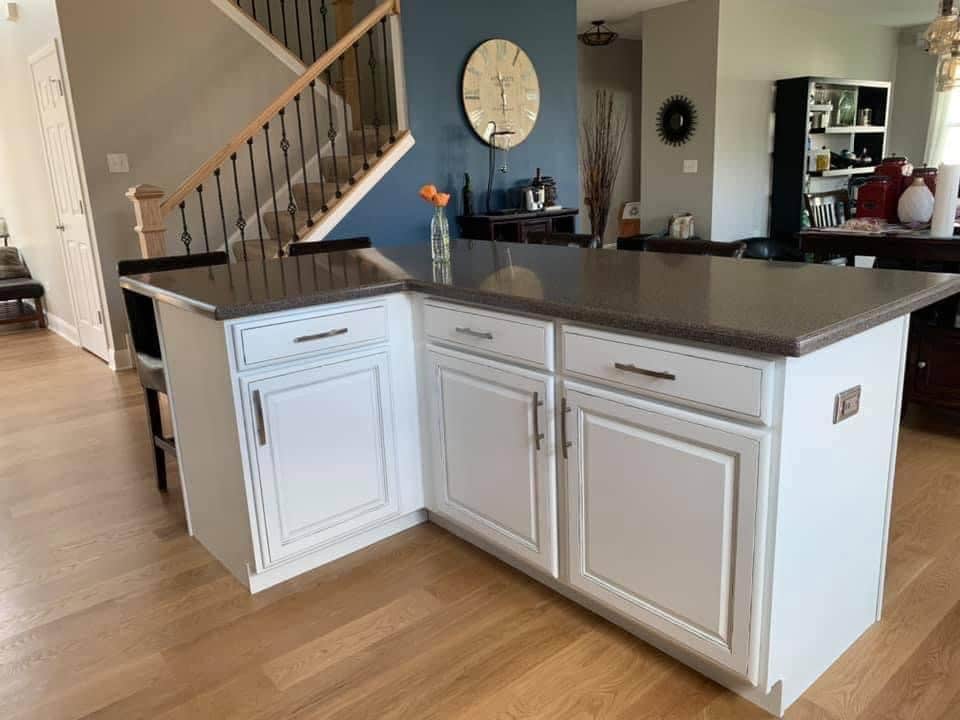
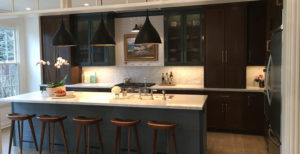
There you have it a brand new kitchen! Check out this video!
Call us at (847) 349-4112 with your questions and schedule an estimate on painting your kitchen cabinets! We are here to help you love the house you live in.